Arkel Elektrik Elektronik San. ve Tic. A.Ş. www.arkel.com.tr
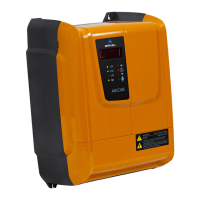
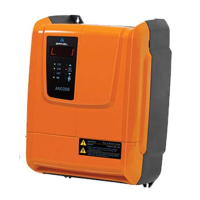
ARKEL 46 ARCODE
Step-4: Auto-tune
Press ESC button to back main menu after completion of steps explained upper. When pressed ESC button you
will see a warning “Changes will be saved Confirm?”. Select “Yes” to back main menu.
ARCODE can do auto-tune both with ropes and
wihtout ropes. To run it, the cursor should be
aligned icon of “Auto-tune” and press Enter
button.
When pressed Enter button, if gearless machine is used, Figure-11b appears on the screen, if geared machine is
used, there will be only 1 option for motor tuning which is like the Picture on Figure-11c. When pressed Enter
button again, you will see “Turn the recall switch to INSPECTION possition ”
Turn the recall switch Which is located in control panel to inspection possiton. Press up or down button until see
“Auto-tune was completed” If you release button before auto-tune is completed you must run again.
Pay attention: ARCODE does not start auto-tune if you turn hand terminal which is located on car roof to
inspection position. The hand terminal which is located in control panel should be turned to inspection.
After auto-tune is completed press up or down button to drive motor.
When you press up or down button if the motor turns opposite direction, you must change “motor direction” by
parameter “driver settings”.
To fix motor direction if “motor direction” had been selected “ clockwise” you must select “ counter-clock
wise”. If “motor direction” had been selected “ counter-clockwise” you must select “ clock wise” .
If the motor turns correctly in inspection mode you can pass other steps below.
Remove the bridging made for safety circuit terminals 110-140 (see Figure-6).
Remove the bridging made for correction switches 817 and 818. (See Figure-7a).
Figure-11a: Auto-tune screen
Figure-11b: Auto-tune starting screen for gearless Figure-11c: Auto-tune starting screen for geared