SECTION 3
OPERATING THE ASTROJET M1
28
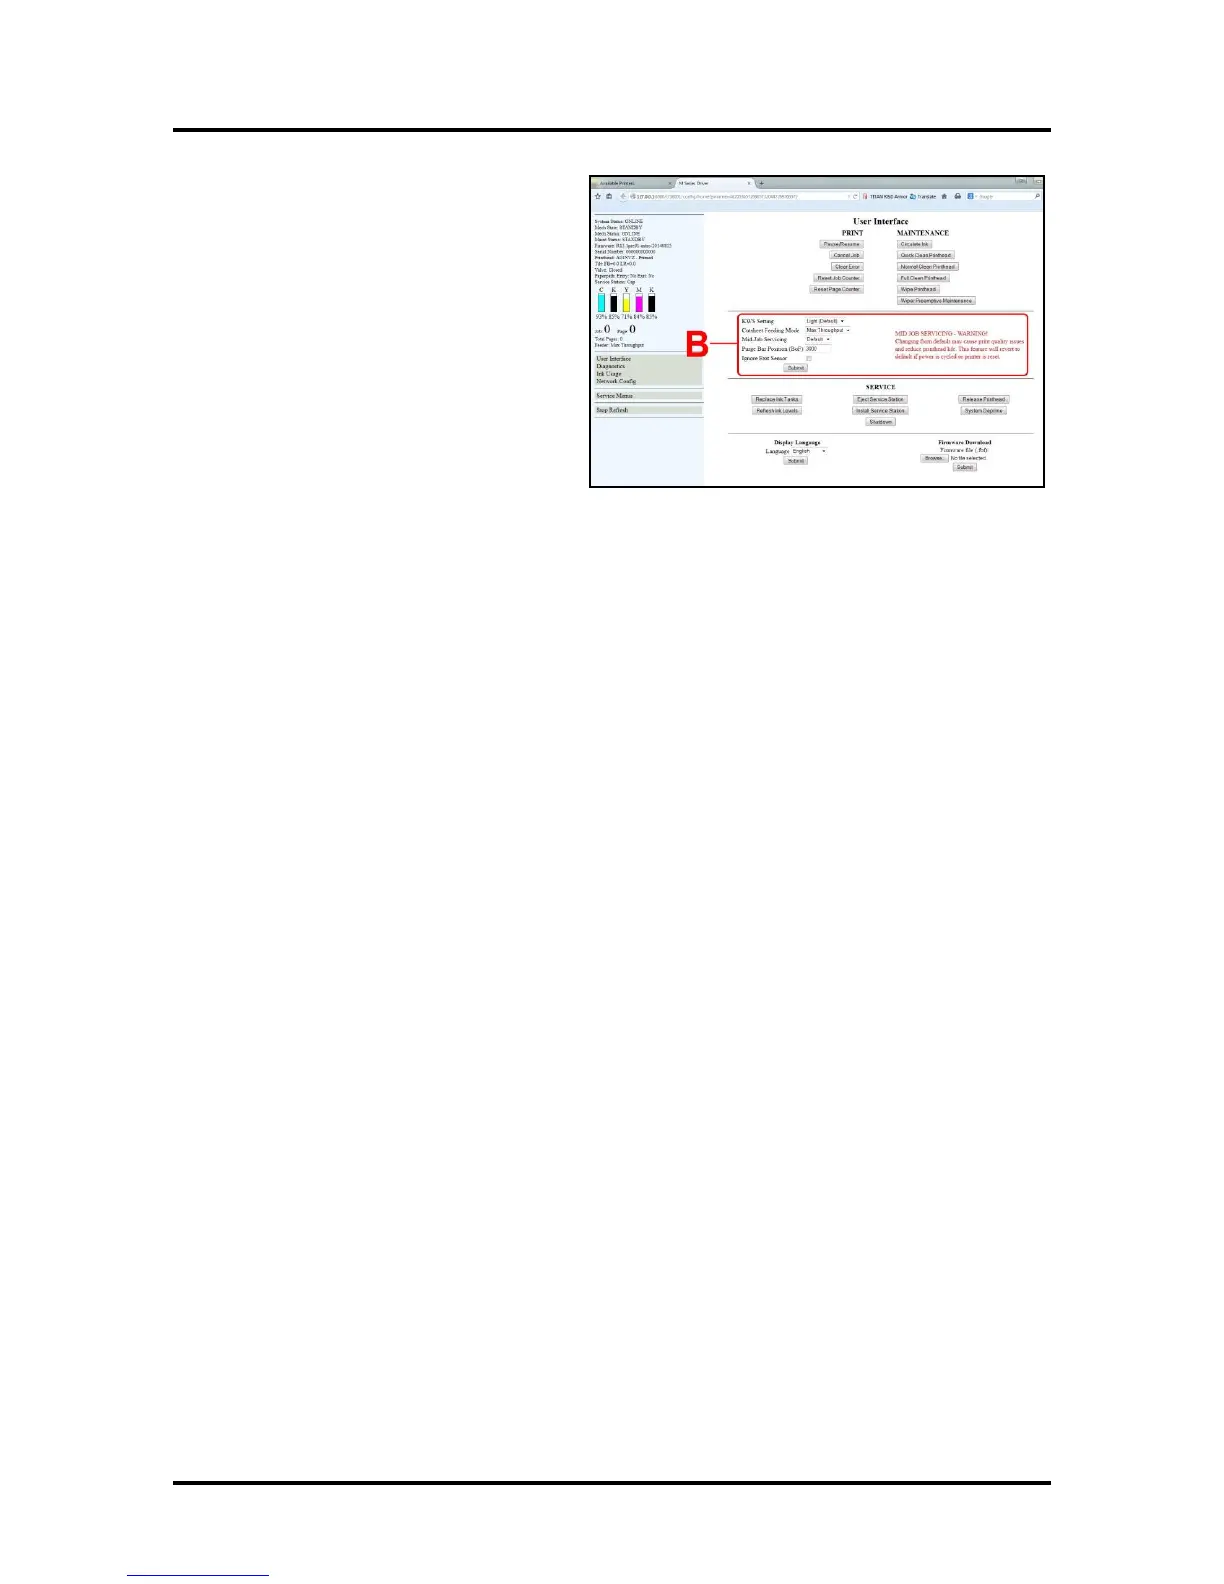
[B] SETUP Settings – Let you adjust automated
service and cleaning intervals, adjust the feeder
speed for a job, manually set the gap between
pieces and adjust the Printer for pre-printed
media.
KWS Setting – (Keep Wet Spitting) Keeps
Printhead hydrated while running a job. Select
from 3 settings: None, Light (default), Heavy,
to determine how much ink will “spit” from
the Printhead Nozzles. Set in conjunction with
“Mid-Job Servicing” which determines the
frequency of the Printer stopping for self-
servicing during a job.
Cutsheet Feeding Mode – Permits you to change how the Printer feeds media depending on the type of
job you are running:
Safe Feed – Leaves a larger gap between pieces to reduce overprinting onto the next piece. This
setting is useful for more intricate printing jobs or jobs requiring the best print quality.
Max_Throughput – Allows fastest printing speed. The Printer works like a stream feeder. This
setting is useful for simple printing jobs. NOTE: A few extra blank pieces may run through at the end
of the job.
NOTE: These two settings can be changed without stopping the job. Example: While running a job
in “Max-Throughput” you find that the media is jamming excessively due to speed. Open the
Toolbox, check “Safe Feed” and click “Submit”. The Printer will automatically adjust without
having to pause or stop the job.
Mid-Job Servicing – Sets the frequency of automatic maintenance cycles run during a job after a set
amount of media is run. Settings are: Default (14m), Level 4 (100m), Level 3 (250m), Level 2 (375m),
Level 1 (500m) and Off (. NOTE: Changing the setting from “Default” may cause print quality
issues and reduce Printhead life.
Purge Bar Position – In operation, the Printhead spits a small amount of ink in the gap between pieces to
keep the nozzles refreshed. For irregular-shaped pieces (like an envelope flap), the sensor may “read” the
lower end as the edge and spray on the tip of the flap instead of the actual gap between pieces. This
feature allows you to manually set the gap (1 micron increments) to account for the extra length needed to
reach the actual gap.
Ignore Exit Sensor – Checking this box turns the Exit Sensor OFF. The Sensor may not detect the
trailing edge of a piece of pre-printed media if the back of that media is dark or black. (Example: adding
addresses to a pre-printed postcard.) This may cause the Sensor to react as if a jam has occurred. Turning
the Sensor OFF prevents these “false jams” from stopping the job.
Click “Submit” to apply settings.