42
Importing
Final Cut Pro (version 7), Final Cut Pro X, Adobe CS5 (with 5.51 update),
EDIUS 6, Sony Vegas 10, Davinci Resolve 8.0 +, Lightworks and
AvidMediaComposer6supportimportedlesfromyourNinjaVdisk.
Importing Ninja V footage into Final Cut Pro X
You can import Ninja V footage into Final Cut Pro X (FCP X) in just a few
simple steps.
First, connect the Ninja V Docking Station to your Apple Mac using the
USB 2.0 or USB 3.0 port. Insert the Ninja V Master Caddy II containing
the disk with your footage into the Docking Station and you will see the
drive appear in your Finder window.
Start FCPX and open your project (or start a new one).
The screen will look like this:
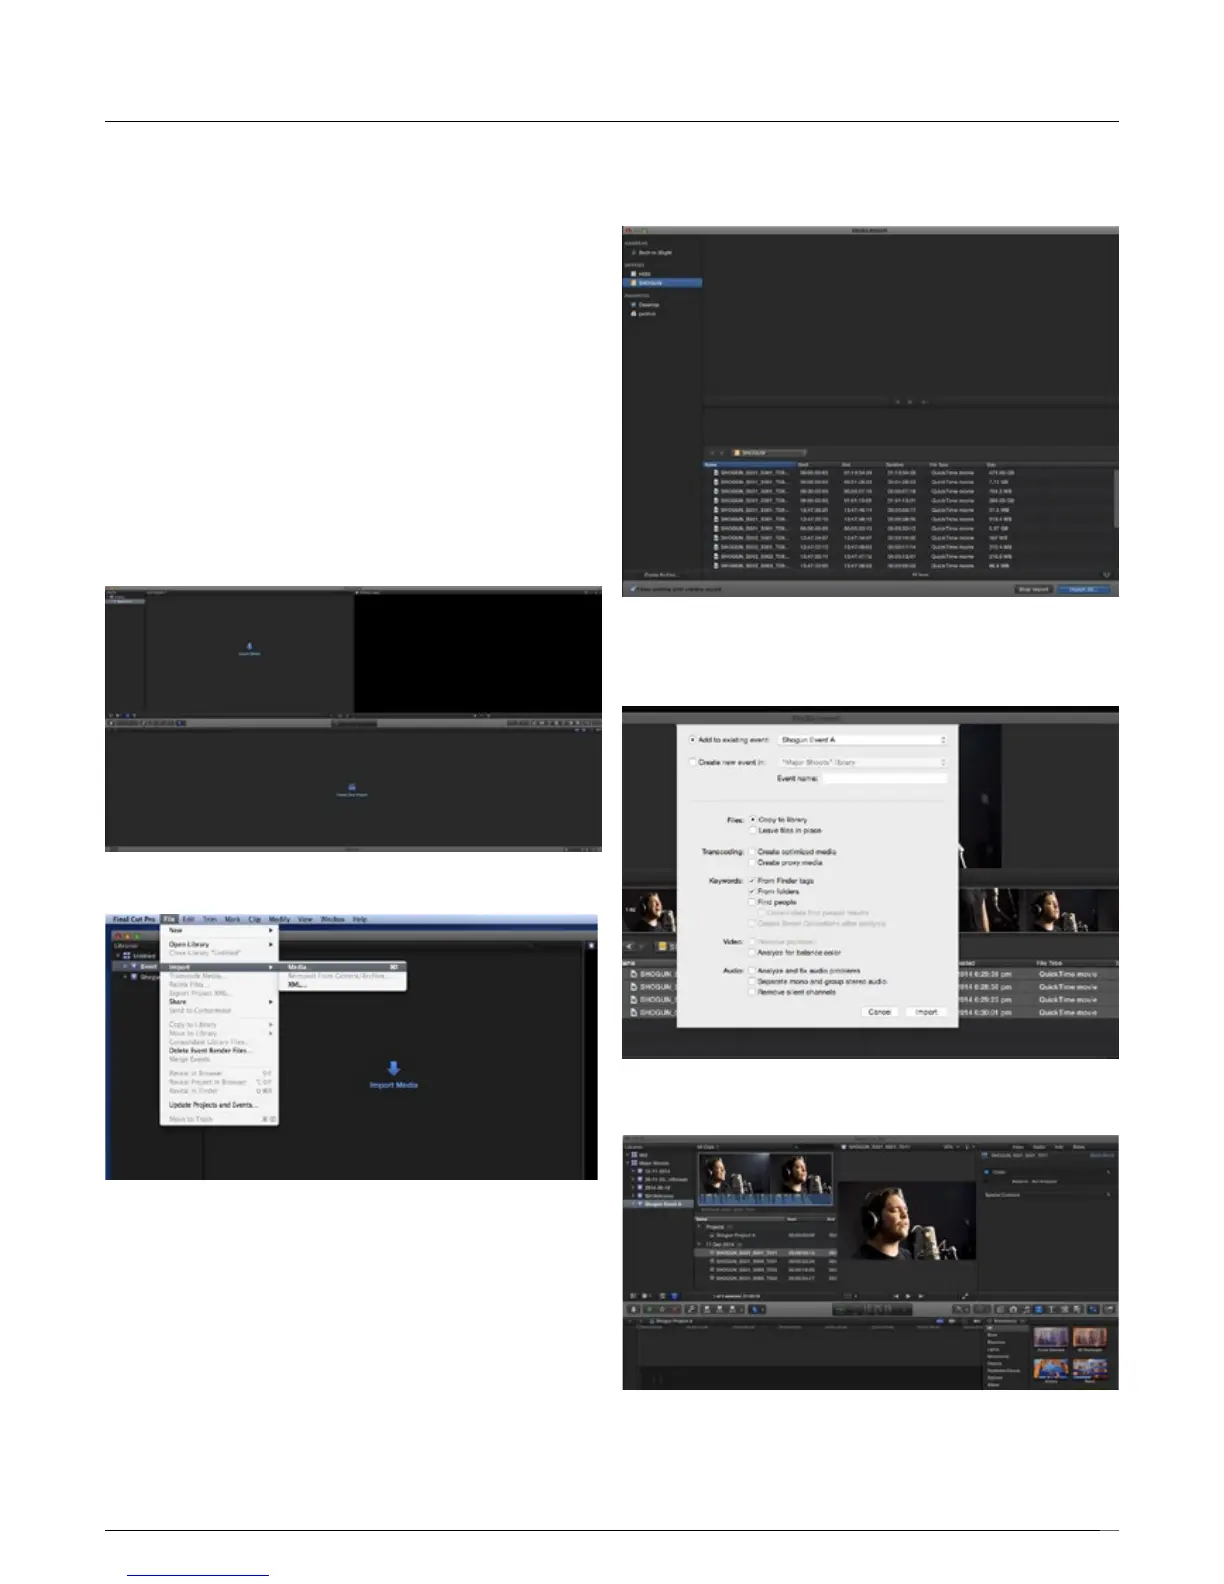
Go to the File menu and select Import > Media
FCPXwillshowyoua“browse”window.LookfortheNinjaVdrive,and
click on it.
You’ll see the folders in the Ninja V drive. Select the folder containing the
footage you want to import:
Click on Import All or Import Selected, individual clips can be selected.
Choose the Event you wish to import the footage into, or create a new
event.
Select Import:
YourScene,ShotandTakelesnowappearintheprojectwindow,ready
for use in your FCP X project.
12. Connecting & Editing12. Connecting & Editing