9
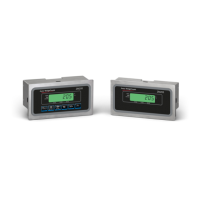
Model E1070 Indicator Service Manual
Menu Structure
There are several menus you use to setup or service the Model E1070. You
access the menus through the front panel. Each menu is briefly described
here. For in depth information about a menu, go to that menu's section in
this manual.
User menu (password is 111)
The first menu covered in this manual is the User menu. This
menu allows the user to:
• view software part numbers and revision level
• view mV/V output of the scale
• test the display and buttons
• test the serial ports
• view the number of configurations and calibrations per-
formed on the indicator
Service menu (password is 0701)
The second menu covered is the Service menu. In it you can:
• calibrate the system
• configure the metrological function of the indicator
• enable or disable available applications
• configure serial ports
• test the display and buttons, test the serial ports, test the
inputs and outputs
• view the number of configurations and calibrations per-
formed on the indicator
• configure inputs and outputs and options
Supervisor menu (password is 1793)
The third menu is the Supervisor menu. This section lets you:
• set time and date
• clear and/or print data gathered by each application
• choose special modes of operation for applications
• test the display and buttons, test the serial ports, test the
inputs and outputs
• view the number of configurations and calibrations per-
formed on the indicator
• configure recipes, ingredients, sample mode, over/under
values
1. Access the menus by pressing and holding the ESC key for 3-5 sec-
onds. See note on upper left of this page.
PASS_ is displayed.
2. Key in the password of the menu you want to enter and press ENTER.
The first item in that menu is displayed.
3. Use the navigation keys shown in the box near each menu to move
through the menu.
Accessing the Menus
You must begin to key in the
password within 10 seconds or
the display returns to normal
operation mode.
The indicator must be unsealed
to change anything in the
Service menu. Placing a
jumper on P3 in the enclosure
unseals the indicator. See
photos below.
Sealed
Unsealed