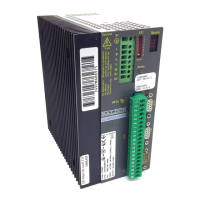
50
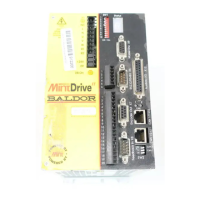
4.1.3 Starting the Min t Drive
If you have followed the instructions in the previous sections, you should now have connected all the
power sources, your choice of I/O peripherals, CAN network connections (if required) and the serial
cable linking the PC with the MintDrive. It is advisable to c heck all of these connections before
proceeding.
You are now ready to power the MintDrive:
1. Turn on the mains supply.
2. If your MintDrive has an external 24VDC logic supply, turn this on.
The MintDrive’s Ready LED should be orange-green.
Note: If the Ready LED is red after powering the unit, turn off the power immediately.
This indicates that the drive has detected a fault - see section 7.1.3 on page 87.
If this is a severe error condition such as under or over-voltage the unit could be damaged.
Re-check the wiring in accordance with section 2.3 on page 10.
Power the unit again; if the Ready LED is still red then see the troubleshooting guide starting
on page 85.
3. After a couple of seconds the Ready LED should turn green and the Monitor LED should display a minus
sign (
- ). If no LEDs are lit then re-check the power supply c onnections.
Both CAN LEDs should be green, but if your MintDrive is configured as node 1 and no CANopen devices
are attached, the CAN1 L ED will be red.