P/N 133487 109
Banner Engineering Corp. • Minneapolis, U.S.A.
www.bannerengineering.com • Tel: 763.544.3164
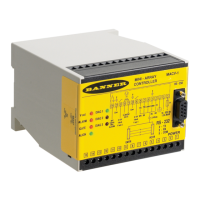
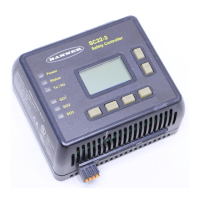
SC22-3 Safety Controller
Instruction Manual
Appendix B
B.6 Configuration Confirmation
You will need to confirm this new configuration before it can be
used in a safeguarding application. To do this you will need to
connect the SC22-3 Controller to your computer, using the USB
cable. The confirmation process has two parts:
1. The SC22-3 microcontrollers receive and check a copy of
the configuration to be sure that all safety critical settings are
appropriate (configuration validation).
2. The Controller sends a copy of the configuration back to the
PC Interface for the final, manual confirmation check process
(configuration verification).
To confirm CFG1, follow the steps below.
• Save CFG1
• Connect the SC22-3 Controller to the PC using the USB cable
(refer to Section 1.3.1.)
• Apply 24V dc power to the Controller.
When the powered Controller is connected, the Receive, Send
and Confirm buttons in the PCI tool bar become
active and turn from gray scale to full color.
• Click on the Confirm button.
A message will appear, asking if you want to save a copy of the
Controller’s existing configuration.
NOTE: The Controller used during the confirmation process may
have an existing (either factory default or user-defined)
configuration. Any configuration already loaded in the
Controller will be overwritten (and therefore lost) during
this confirmation process. It is the user’s responsibility
to save existing configurations, as needed.
• Select Yes to save the configuration or No to proceed to
overwrite the Controller’s existing Configuration.
• Enter the password (the factory default is 0000) on the Confirm
Configuration pop-up menu.
• Click OK.
• A pop-up warning message will ask if you want to continue;
select Yes.
The configuration validation process takes a few seconds and
when complete, the verification window appears.
• Review the properties in the right column to be sure that they
match the properties in the left column.
If any device properties need to be changed, see Edit the
Configuration at the end of this section (page 110).
If both columns match, select Confirm for each device.
The confirmation screen shows the summary that is created
when you have completed verifying each property.
As each device is confirmed, the Device Properties window for
that device will compress, eventually showing only a checklist.
• To review a confirmed device property, click on the checkbox
and the Device Properties window for that device will expand.
• When the manual verification is complete, click OK.
• The Controller requires a system reset (or cycle power) to enter
Run mode.
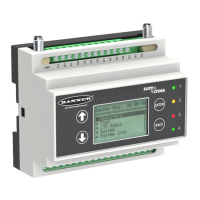
• Because the two-hand control (THC) inputs are not connected,
the Controller will enter Lockout mode (the Controller’s Status
indicator will be flashing red and the front panel display will
indicate “ES01: Stop” and then “THC01: Fault”, on line 5 for
SO3.