47R5911705 /02 Bragi
Image 3–10
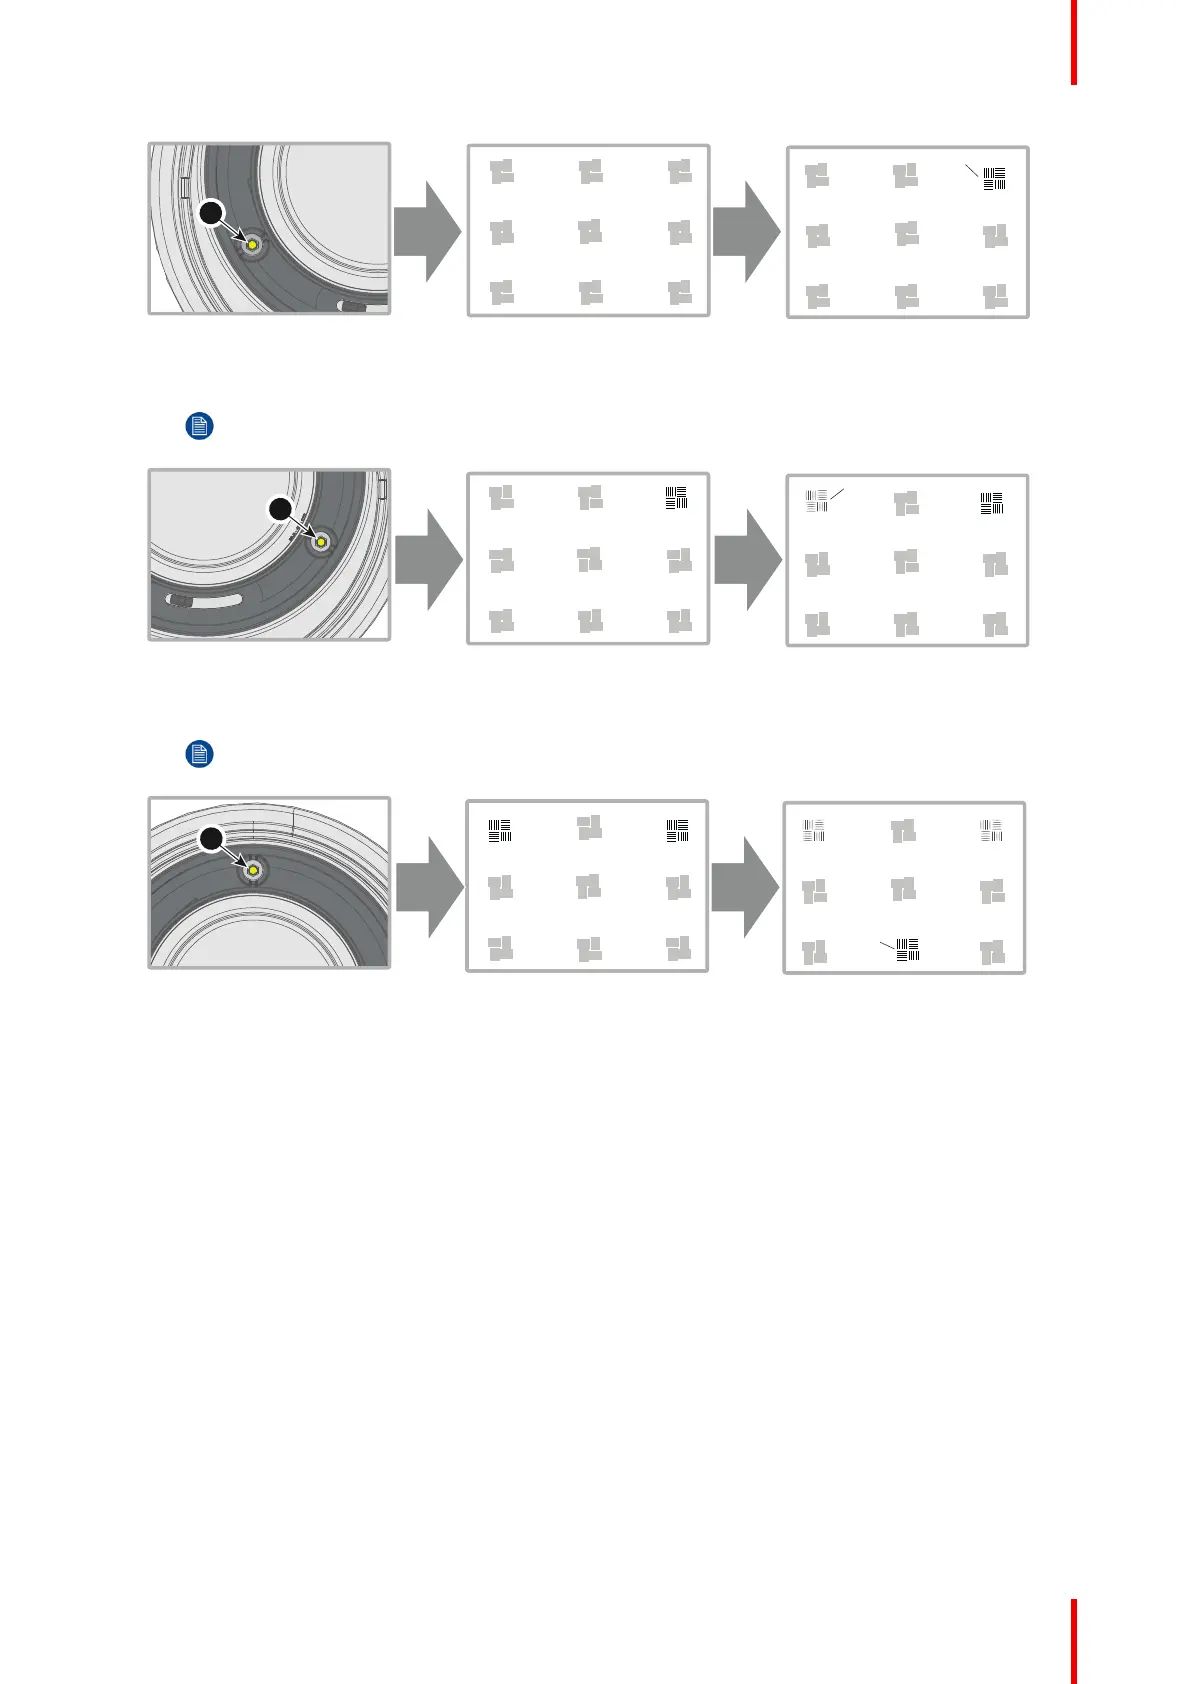
3. Adjust the right side Scheimpflug adjustment screw (reference 2) until the test image in the top left side of
the screen is in focus. Use a size 4 hex key to do this.
Note: This process may cause the other areas of the image to slide out of focus. This is totally normal.
Image 3–11
4. Adjust the top Scheimpflug adjustment screw (reference 3) until the test image in the bottom half of the
screen is in focus. Use a size 4 hex key to do this.
Note: This process may cause the other areas of the image to slide out of focus. This is totally normal.
Image 3–12
5. Continue adjusting the screws one at a time until the test image is uniformly sharp across all areas of the
display.
6. Test the focus by zooming out (minimum image size on screen) and then zooming in again. Verify the
image is still sharp. If there are any deviations to sharpness, repeat steps 2 to 6 until the image is correct.
7. Tighten the three set screws in the following order: left (1b), right (2b) and then top (3b). Use a size 6 hex
key to do this.
Physical installation