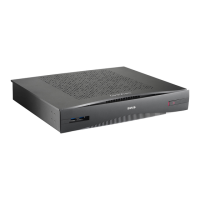
R5900049 /13 ClickShare CSE-80040
Image 4–2 Mounting hole dimensions
4. Install the Base Unit with the brackets on the wall so that the fixation holes matches the holes in the wall.
Drive in 2 screws.
Note: Make sure the head of the screw is larger than the hole in the bracket. Otherwise, insert a
washer between the screw and the bracket.
4.4 Ceiling mounting
About ceiling mounting
Use the mounting brackets, inserted in the CSE-800 box, to mount the Base Unit to the ceiling.
Required tools
• a drill (type of drill depends on the type of wall)
• Torx T10 screwdriver
• Additional screwdriver that matches the mounting screws (mounting screws not delivered)
Required parts
• 2 mounting screws
• 2 plugs
• 2 Mounting brackets with fixation screws (included in the CSE-800 box)
How to install
1. Install in the same way as for wall mounting. See “Wall mounting”, page 38.
CSE-800 Installation

 Loading...