4. ClickShare installation
4. CLICKSHARE INSTALLATION
About this chapter
The installation chapter gives an o verview of the different way s to install and connect ClickShare’s Base unit.
Overview
• Installatio n m ethods for the Base unit
• Table mounting
• Wa ll mounting
• Video signal connections to the Base unit
• Audio conne ction
• LAN connection
• Power c onnection
4.1 Installation methods for the Base unit
For optimal performance, ins tall the Base unit close to the d isplay and avo id obstacles between the Base unit
and the Buttons.
Introduction to the ins tallation methods
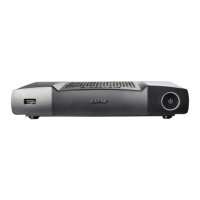
The Base unit can be installed in different ways in a meeting room.
• Table mount
• Wa ll mou nt
The articulated antennas are removable. T hey can rotate for better wireless connection and they can
WARNING: Ceiling mount is no t allowed !
4.2 Table mou nting
Overview
Put the Base Unit directly on the meeting room table.
The total weight of the Base Unit is 530 g.
4.3 Wall mounting
About wall mounting
Use the mounting brackets, inserted in the ClickShare box, to mount the Base unit on the wall.
The total weight of the Base Unit is 530 g.
Necessary tools
• a drill ( type of drill depend s on the type of wall)
• Flat screw driver
• Additional screwdriver t hat matches the mounting screws (mou nting screws not delivered)
R5900014 CLICKSHARE 16/09/2013
17
 Loading...