4. ClickShare installation
Necessary parts
• 4 m ounting screws
• 4 plugs
• Mounting bracket (included in the C lickShare box)
How to install
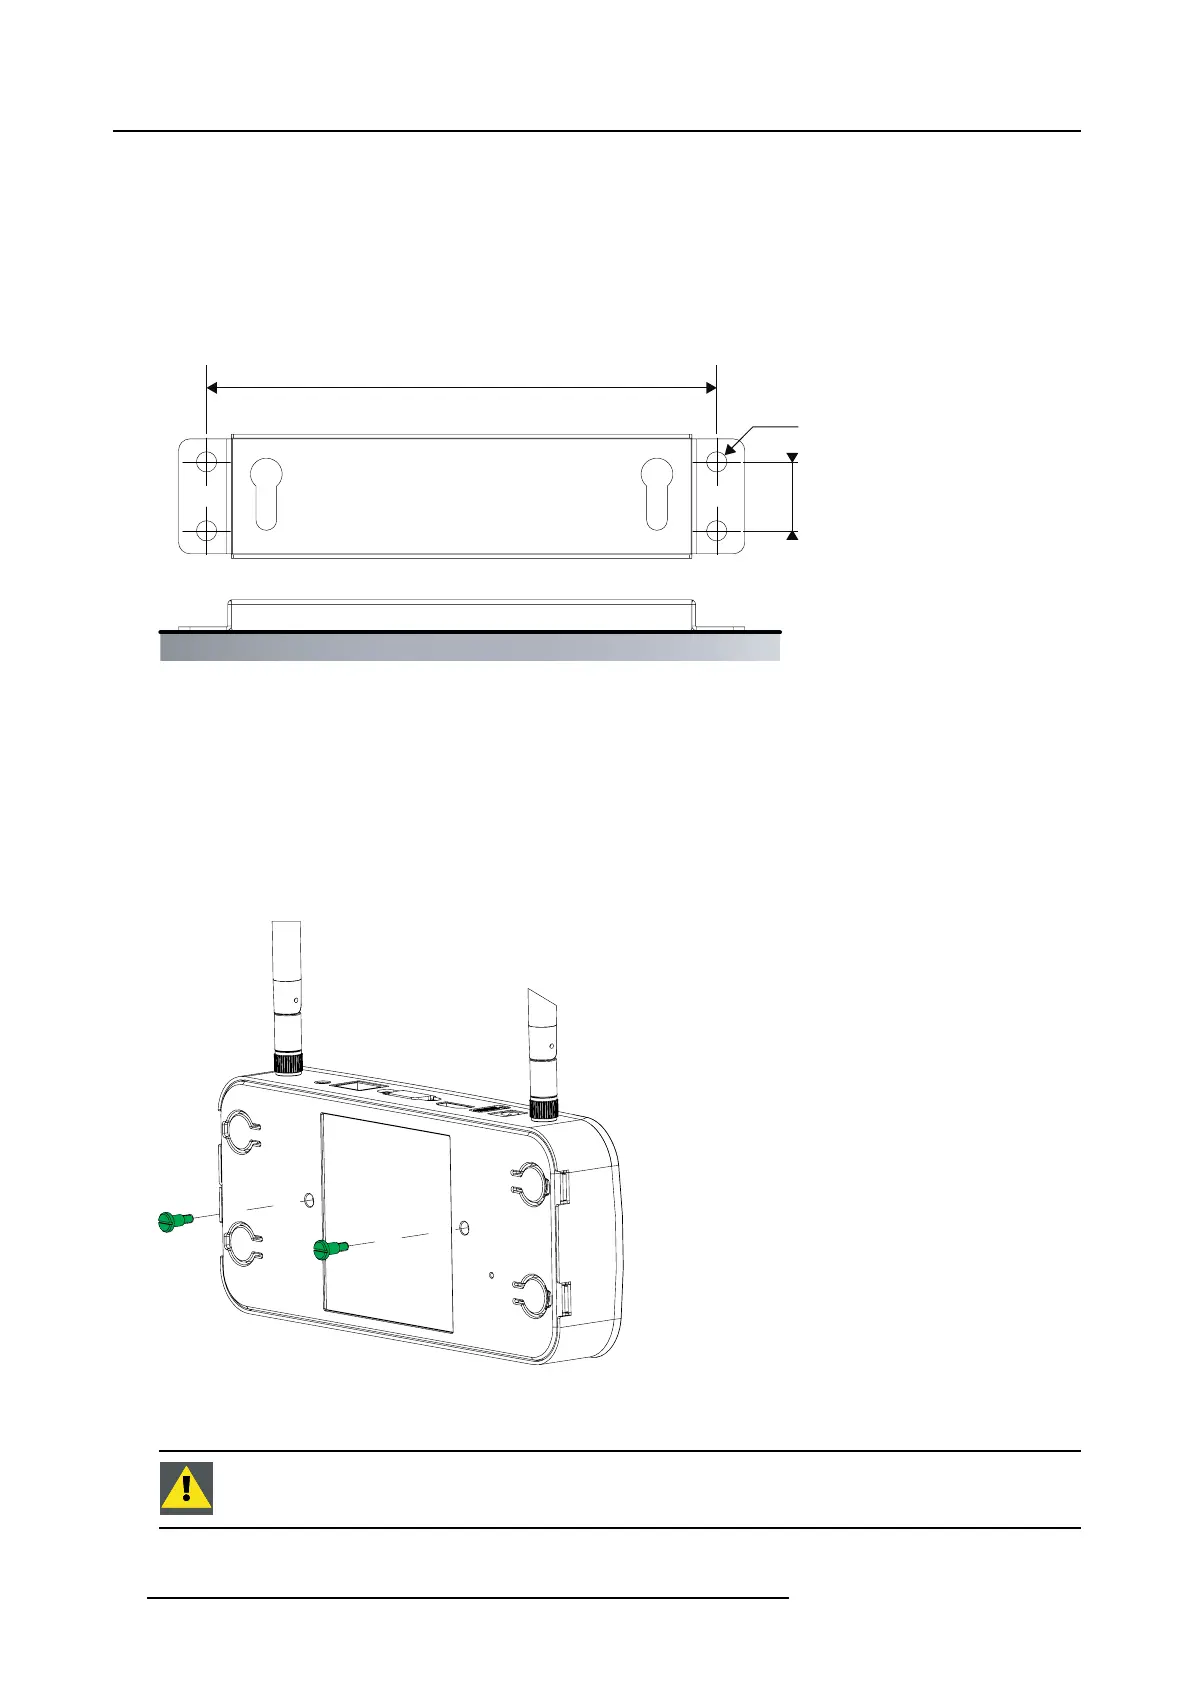
1. Drill four holes in the wall as indicated on the drawing.
Horizontal distance : 111 mm,
Vertical distance: 15 mm
111 ±0.15
Ø4.4
15 ±0.15
Image 4-1
Mounting bracket
2. Insert a plug in eac h hole (if needed, depends on the wall type) and drive in 4 screws.
Note: Mounting screws and plugs are not included in the ClickShare box . The type of s
crews and plugs depend on the type
of wall (stone, wood, plasterboard, ...) you are mounting the Base Unit to. Make s ure the head of the screw is not larger
than the hole in the bracket.
3. Place the bracket on the wall so that the holes in the fixation flanges matches the holes in the wall and that the flanges are
touching the wall. Also, m ake sure that the big head of the fixation slots is facing upwards.
4. Fixate the bracket with 4 screws (not delivered).
Note: Make sure that the head of your screws is bigger than the holes in the p late.
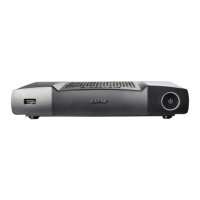
5. At the bottom s ide of the Base unit, turn in both delivered fixatio n s cre ws.
Image 4-2
Base unit fixation screws
6. Hook the Base unit into the m ounting bracket and slide the Bas e unit downwards until it is fixed in the bracket.
CAUTION: It is only allowed to mount the Base Unit front side up or down. Mounting on its side is not allowed!
18 R5900014 CLICKSHARE 16/09/2013