14
Quick installation of the projector.
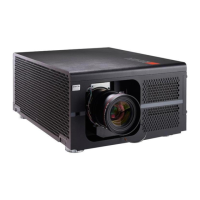
1. Orient the projector towards the screen
Screen
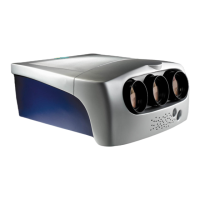
2. Connect the power cord to the projector
Please note that select the correct input (110V or 220V) voltage according to the area
where you operate the projector before you turn on the power switch.
3. Connect the projector to your PC and ip the switch to “I” to
turn on the power.
S-VIDEO VIDEO YUV 1
RGB-S
RS-232
12V TRIGGER
IR ext.I II
350mA
RGBHV / YUV 2
G/Y B/Pb R/Pr H VRGB-HV/SOG
HDMI
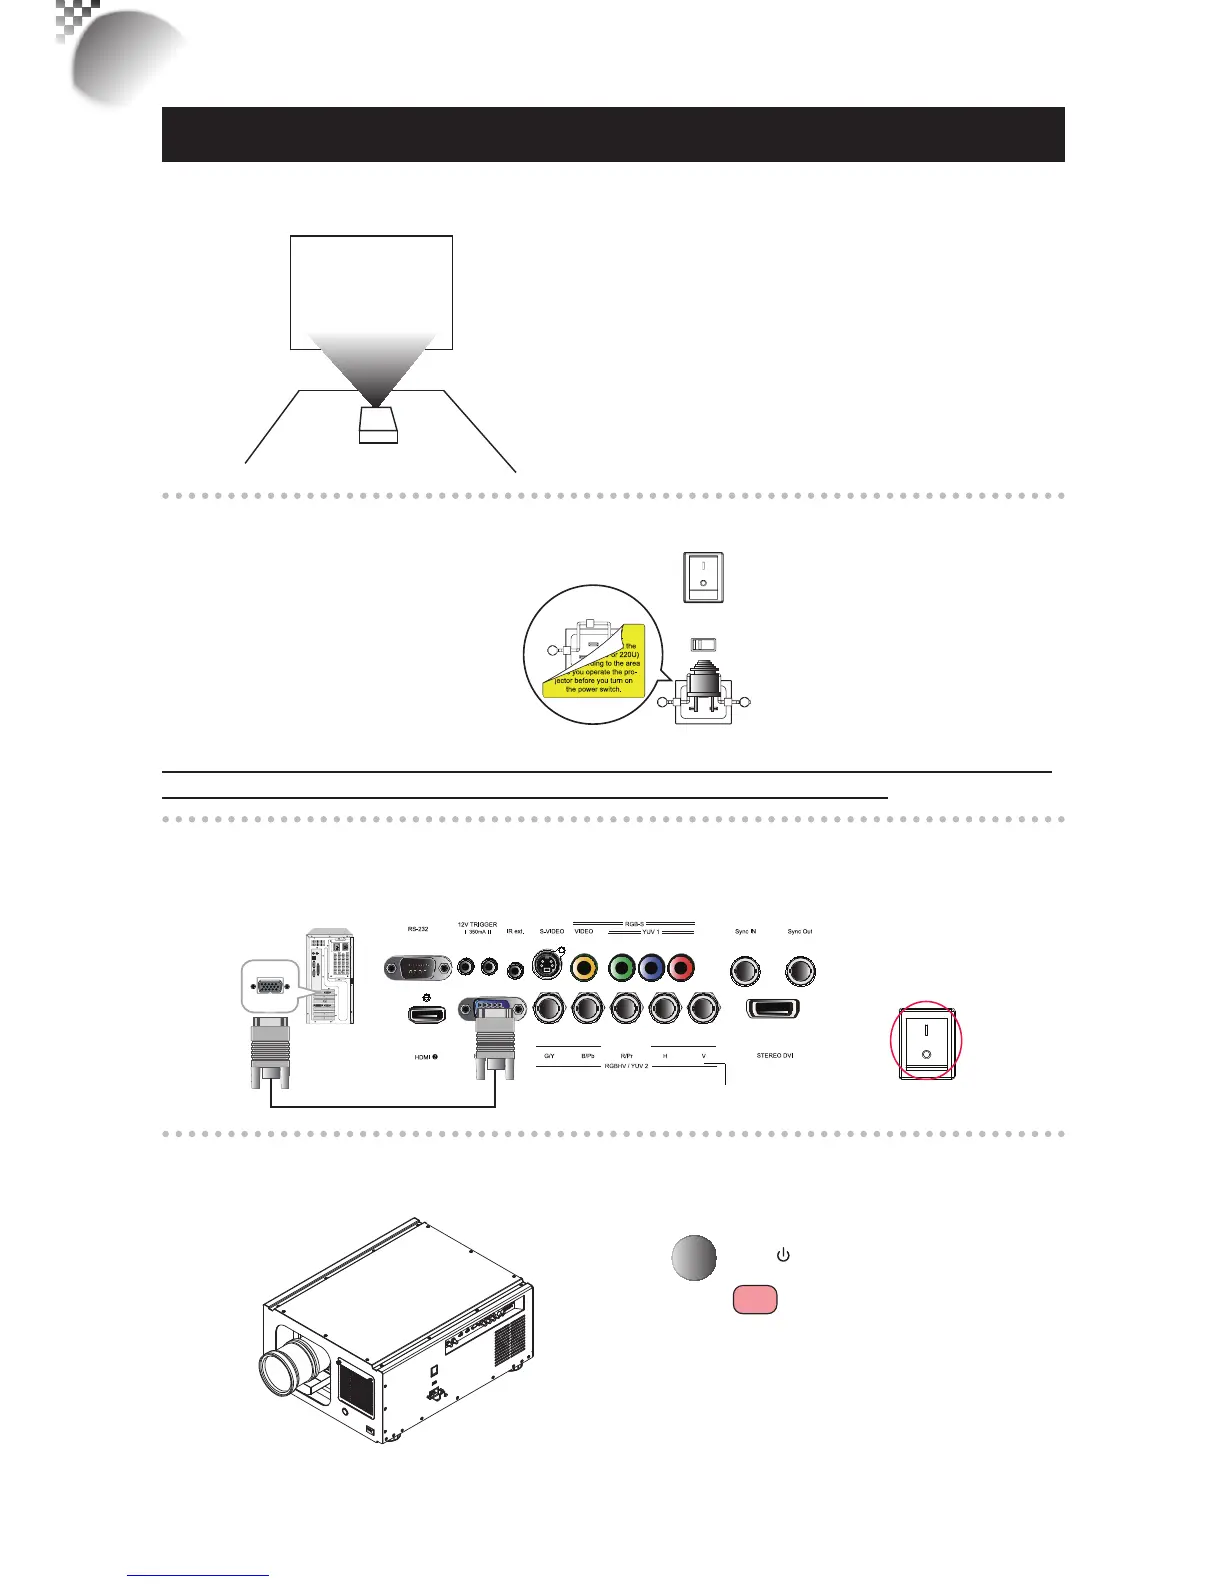
4. Remove the lens PU foam on the projector before starting it up.
Pressthe
STBY
buttononthe
projectororthe
l
buttononthe
remotecontroltostartuptheprojector.
3
Quick installation of the projector
AC MAINS
100-130 / 200-240 Volts
50/60Hz
AC POWER SWITCH
VOLTAGE SELECT
Pleaseselectthe
correctinputvoltage
beforeremovingthe
warnninglabe.

 Loading...