Using Integration Business Services Policy-Based Security
BEA WebLogic Adapter for SAP User’s Guide 6-3
Configuring Integration Business Services Policy-Based Security
Before you create instances of policies, you must have a minimum of one user or one group
to associate to an instance. You can create users and groups using Servlet Application
Explorer. For more information, see How to Create a User to Associate With a Policy on
page 6-3 or How to Create a Group to Associate With a Policy on page 6-5.
An execution policy governs who can execute the business service to which the policy is
applied. For more information, see How to Create an Execution Policy on page 6-7.
You configure the IP and Domain Restriction policy type slightly differently from other
policy types. The IP and Domain Restriction policy type controls connection access to
Integration Business Services Engine (iBSE) and therefore, need not be applied to an
individual business service. You need not create a policy, however, you must enable the
Security Policy option in Servlet Application Explorer. For more information, see How to
Configure IP and Domain Restrictions on page 6-10.
Note: BEA recommends that you leave policy-based security disabled.
Procedure: How to Create a User to Associate With a Policy
To create a user to associate with a policy:
1. Open Servlet Application Explorer.
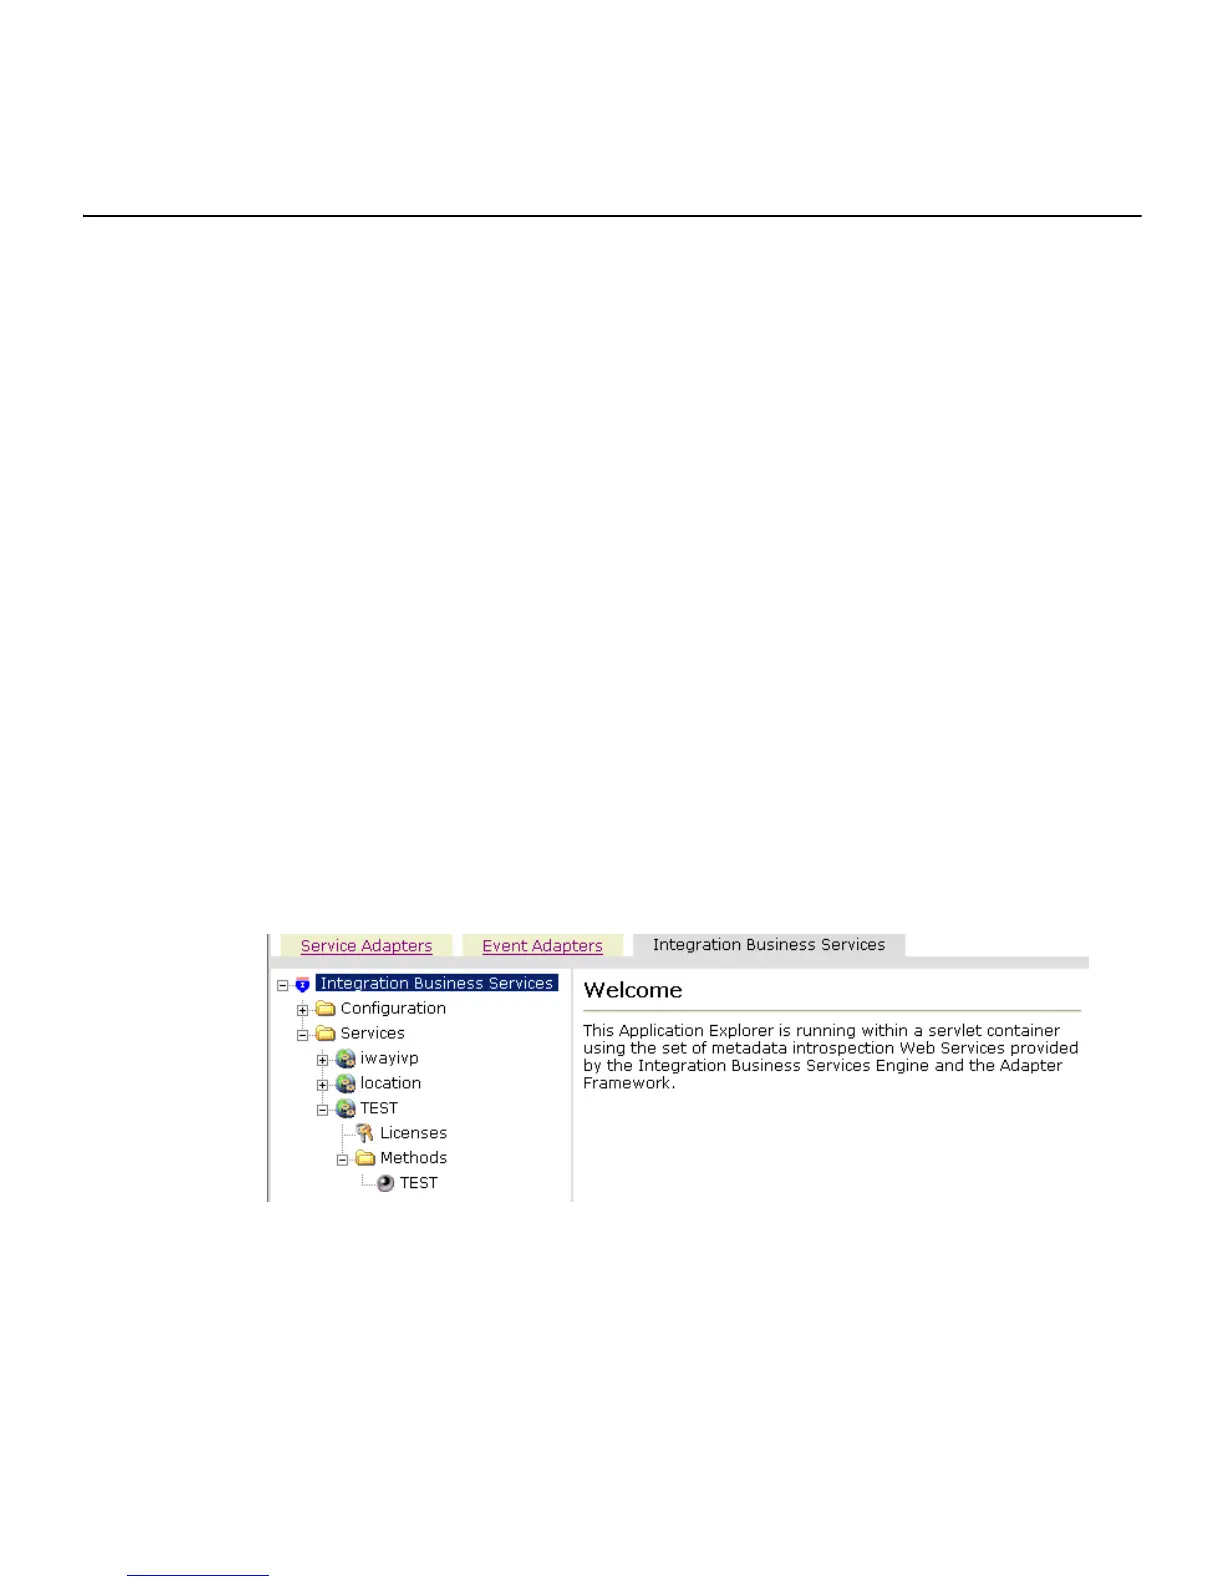
The following image shows the window that opens and includes three tabs
corresponding to Service Adapters, Event Adapters, and Integration Business Services.
The Integration Business Services tab is active and displays a Welcome screen on the
right and the Integration Business Services node expanded on the left.
a. Click the Integration Business Services tab.
b. Expand the Configuration node.
c. Expand the Security node.
d. Expand the Users and Groups node.
e. Select Users.