L
Lisa RodriguezAug 20, 2025
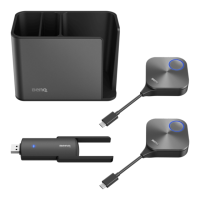
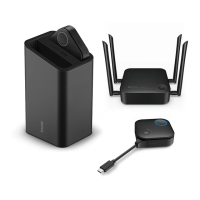
How to fix BenQ WDC20C Projector Accessories when screen is not appearing?
- HHolly SimmonsAug 20, 2025
If your screen isn't appearing when you press the Button on your BenQ Projector Accessories, it could be due to several reasons. First, the system might be locked; to resolve this, go to Web Management, then Advanced Setting, and disable Screen Lock. Alternatively, the Button might be connected to another Host, in which case you should pair it again with the correct Host. Finally, ensure you're pressing the Present key long enough, until the LED indicator changes from green to blue.