My bernette Embroidery
9
2019-02 EN 5020070.00A.04
Number Buttons Name Purpose
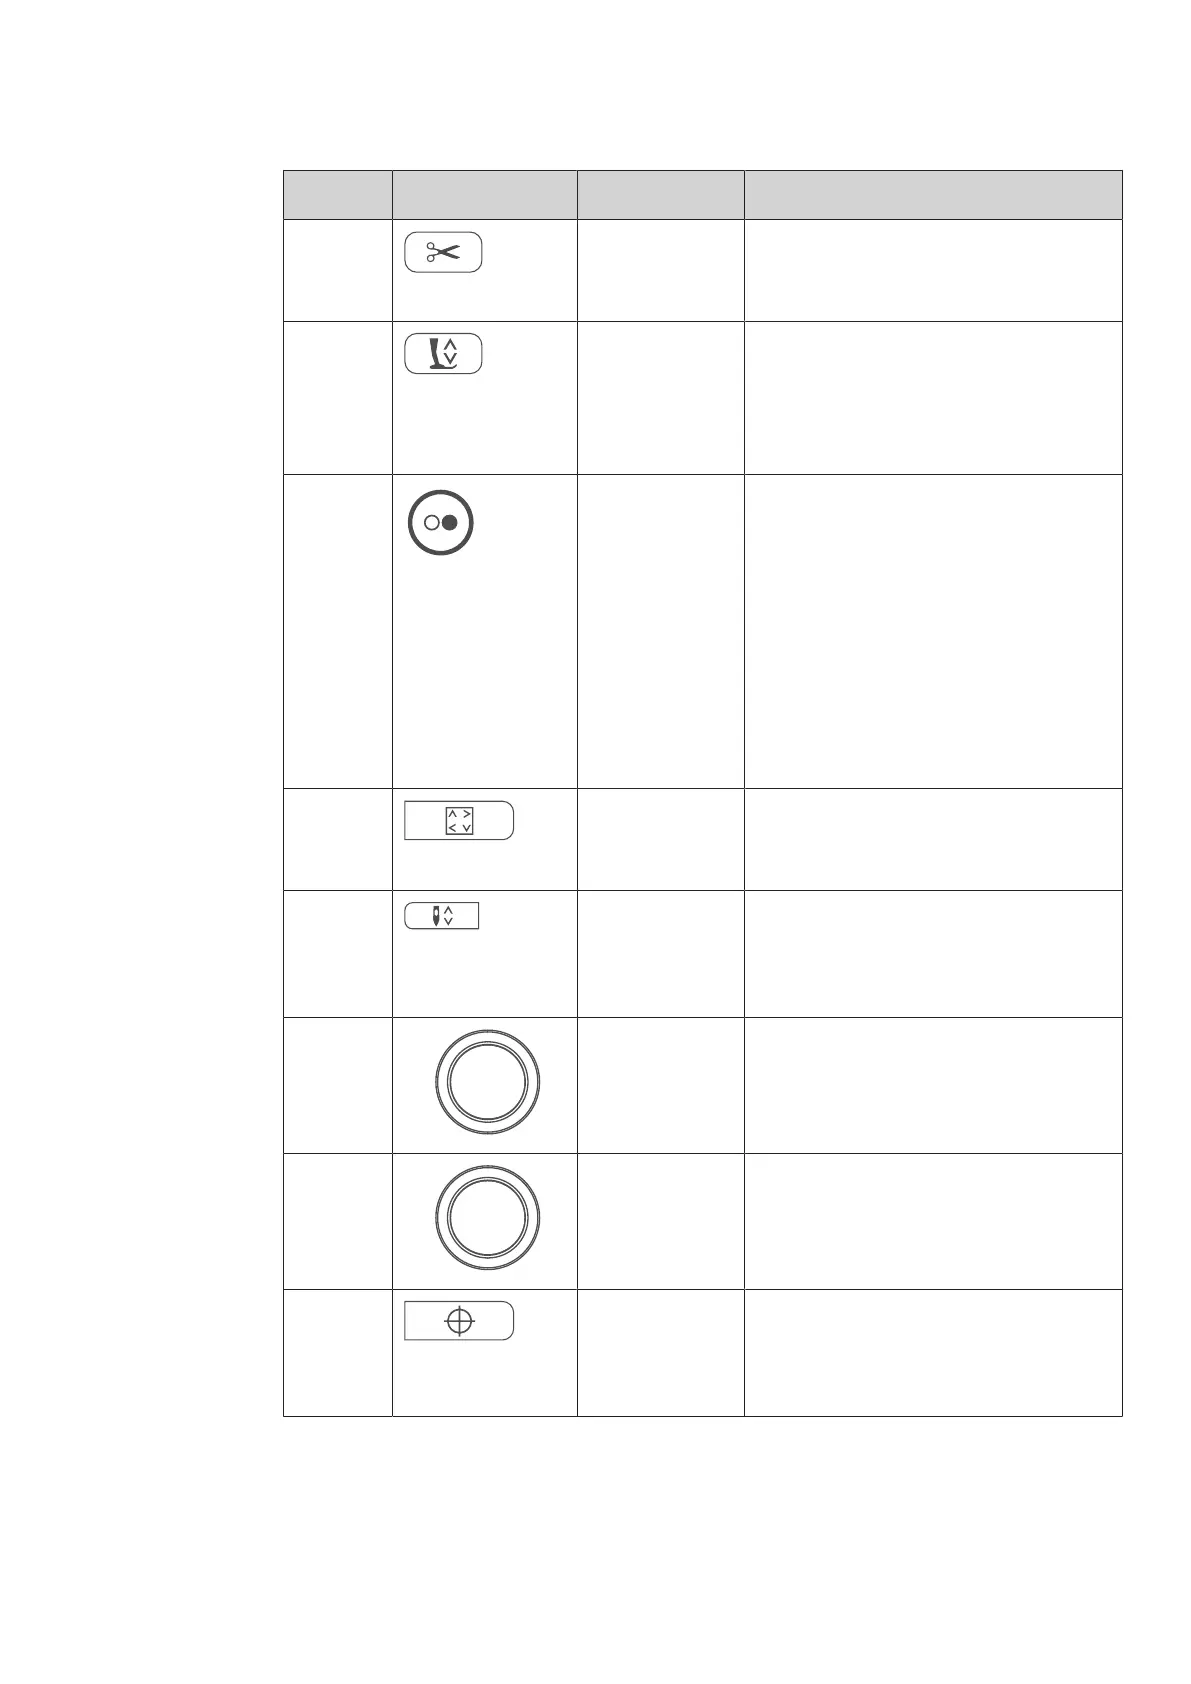
2 Thread cutter > Press the «Thread cutter» button in order
to cut the upper and lower threads
automatically.
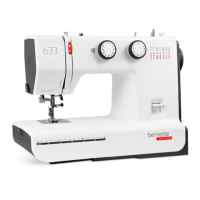
3 Presser foot up/
down
> Press the button «Presser foot up/down
»to raise the presser foot into hovering
position.
> Push the button «Presser foot up/down»
to raise the presser foot.
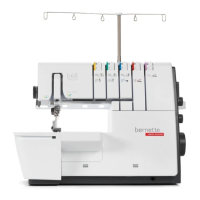
4 Start/Stop The button «Start/Stop» serves the purpose
to change the presser foot position and to
start the machine.
> To start the machine, keep the button
«Start/Stop» pressed for 2seconds.
> To bring the presser foot to its highest
position, quickly press «Start/Stop» in the
embroidery mode.
> Press the button «Presser foot up/down»
again to move the presser foot into
hovering position.
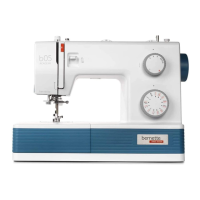
5 Checking motif
size
> To position the hoop on the display
according to the needle position, press
the icon «Checking motif size».
6 Needle up/down > Push the button «Needle up/down» to
lower the needle.
> Push the «Needle up/down» button again
to raise the needle.
7 Upper
Multifunctional
knob
With the «Upper Multifunction knob» setting
values can be changed in the embroidering
and the Setup Program.
8 Lower
Multifunctional
knob
With the «Lowerr Multifunction knob»
setting values can be changed in the
embroidering and the Setup Program.
9 Motif center > Touch the icon «Center of the embroidery
motif» to position the hoop so that the
needle is placed exactly over the center of
the embroidery motif.