154
Embroidery motifs
Starting to embroider
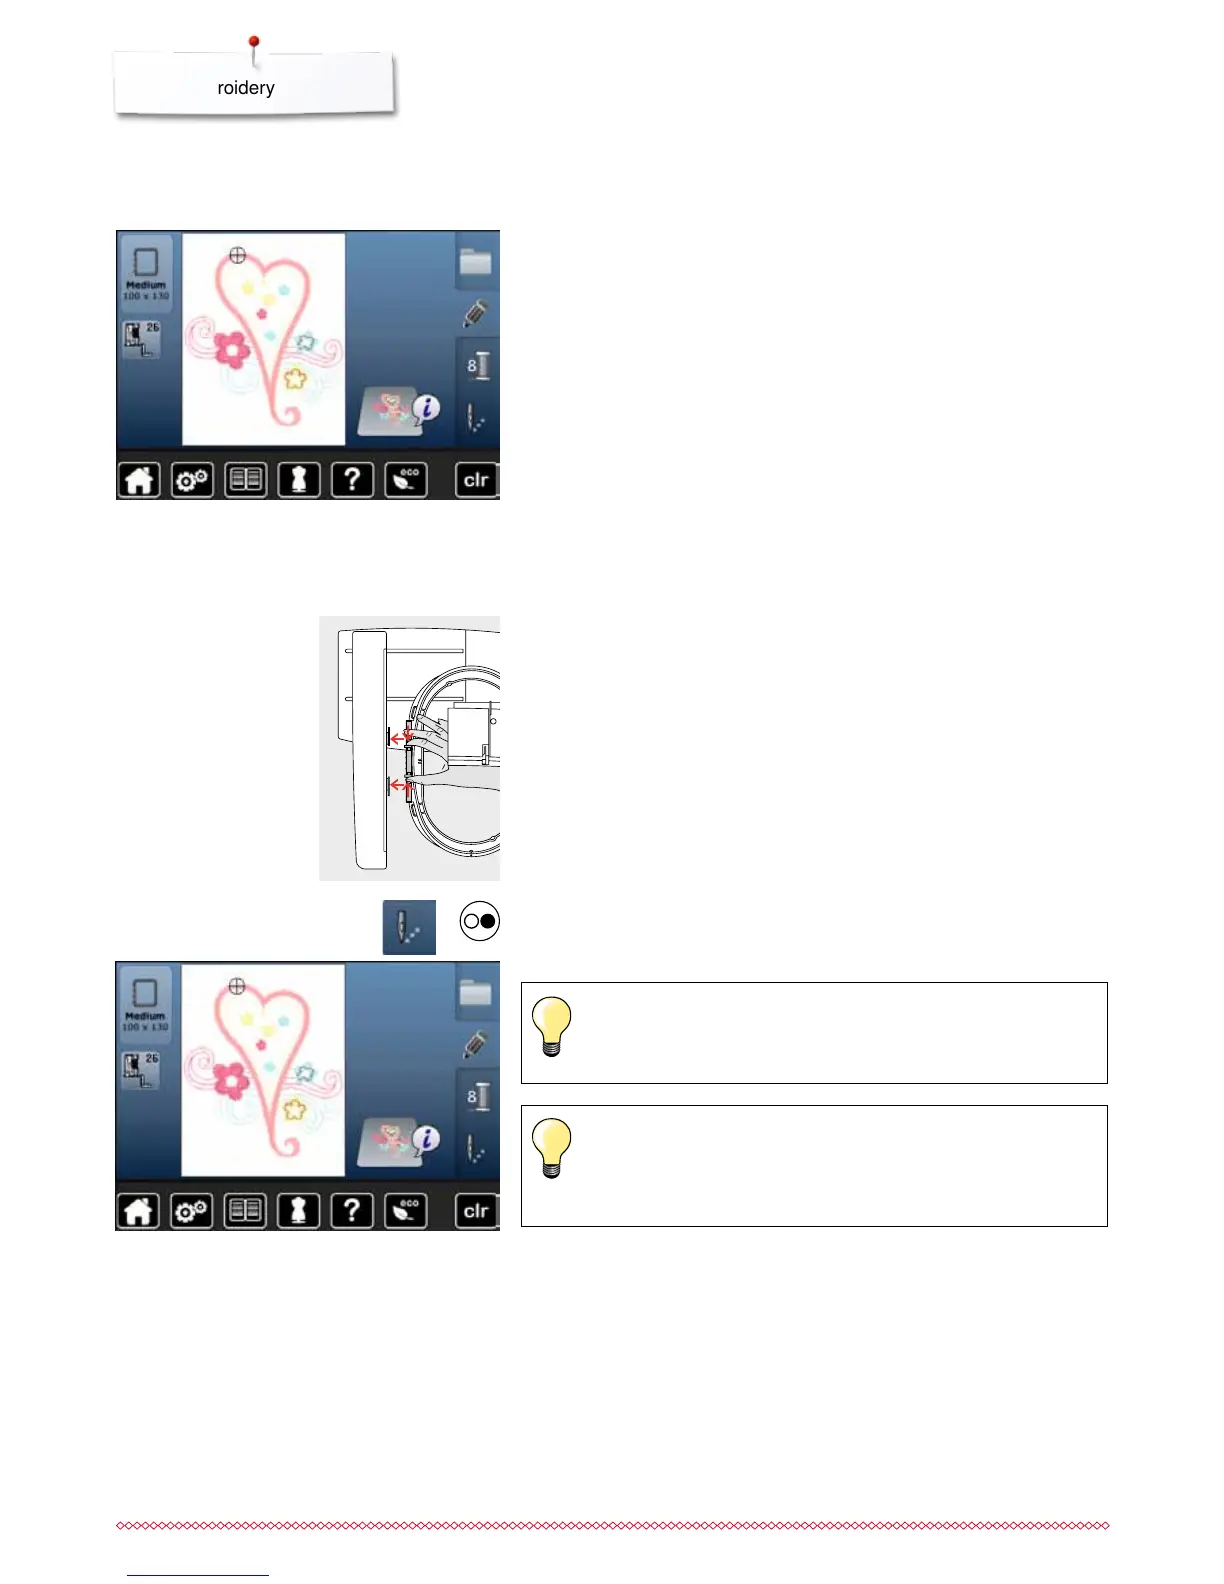
Select hoop
⦁
select motif
►
the selected motif is displayed in the optimal (the smallest) hoop
►
the «Select hoop»-icon displays the recommended hoop
⦁
attach the recommended hoop
Attaching the embroidery hoop
⦁
raise needle and embroidery foot
⦁
hold the hoop with the right side of the fabric up and the attaching
mechanism to the left
Attach the hoop to the embroidery arm
⦁
guide the hoop underneath the embroidery foot
⦁
press the attaching mechanisms of the hoop toward each other
⦁
position the center points of the hoop (small attachment clamps) over the
bracket of the embroidery arm
⦁
press down until it clicks in position
⦁
release the attaching mechanism of the hoop
Removing the hoop
⦁
press both of the attaching mechanisms of the hoop toward each other
⦁
lift the hoop up to remove
⦁
press «Embroidery menu»-button or «Start/Stop»-button on the headframe
►
the hoop moves
►
the hoop is read
As soon the «Embroidery menu»-button has been pressed, made
alterationen will not be visible anymore when going back to the
«Edit»-display. The «Information»-icon turns blue again, the function
icons are no longer yellow-framed and the setting is at 100%.
Calibrating the embroidery hoop see page 47.


 To Next Page