CRANKSHAFT
EAS22B1017
REMOVING THE CRANKSHAFT
1. Remove:
• Crankshaft “1”
IP
• Remove the crankshaft with the crankcase
separating tool “2”.
• Make sure the crankcase separating tool is
centered over the crankshaft.
NOTICE
ECA22B1006
• To protect the end of the crankshaft, place
an appropriate sized socket between the
crankcase separating tool bolt and the
crankshaft.
• Do not tap on the crankshaft.
EAS22B1018
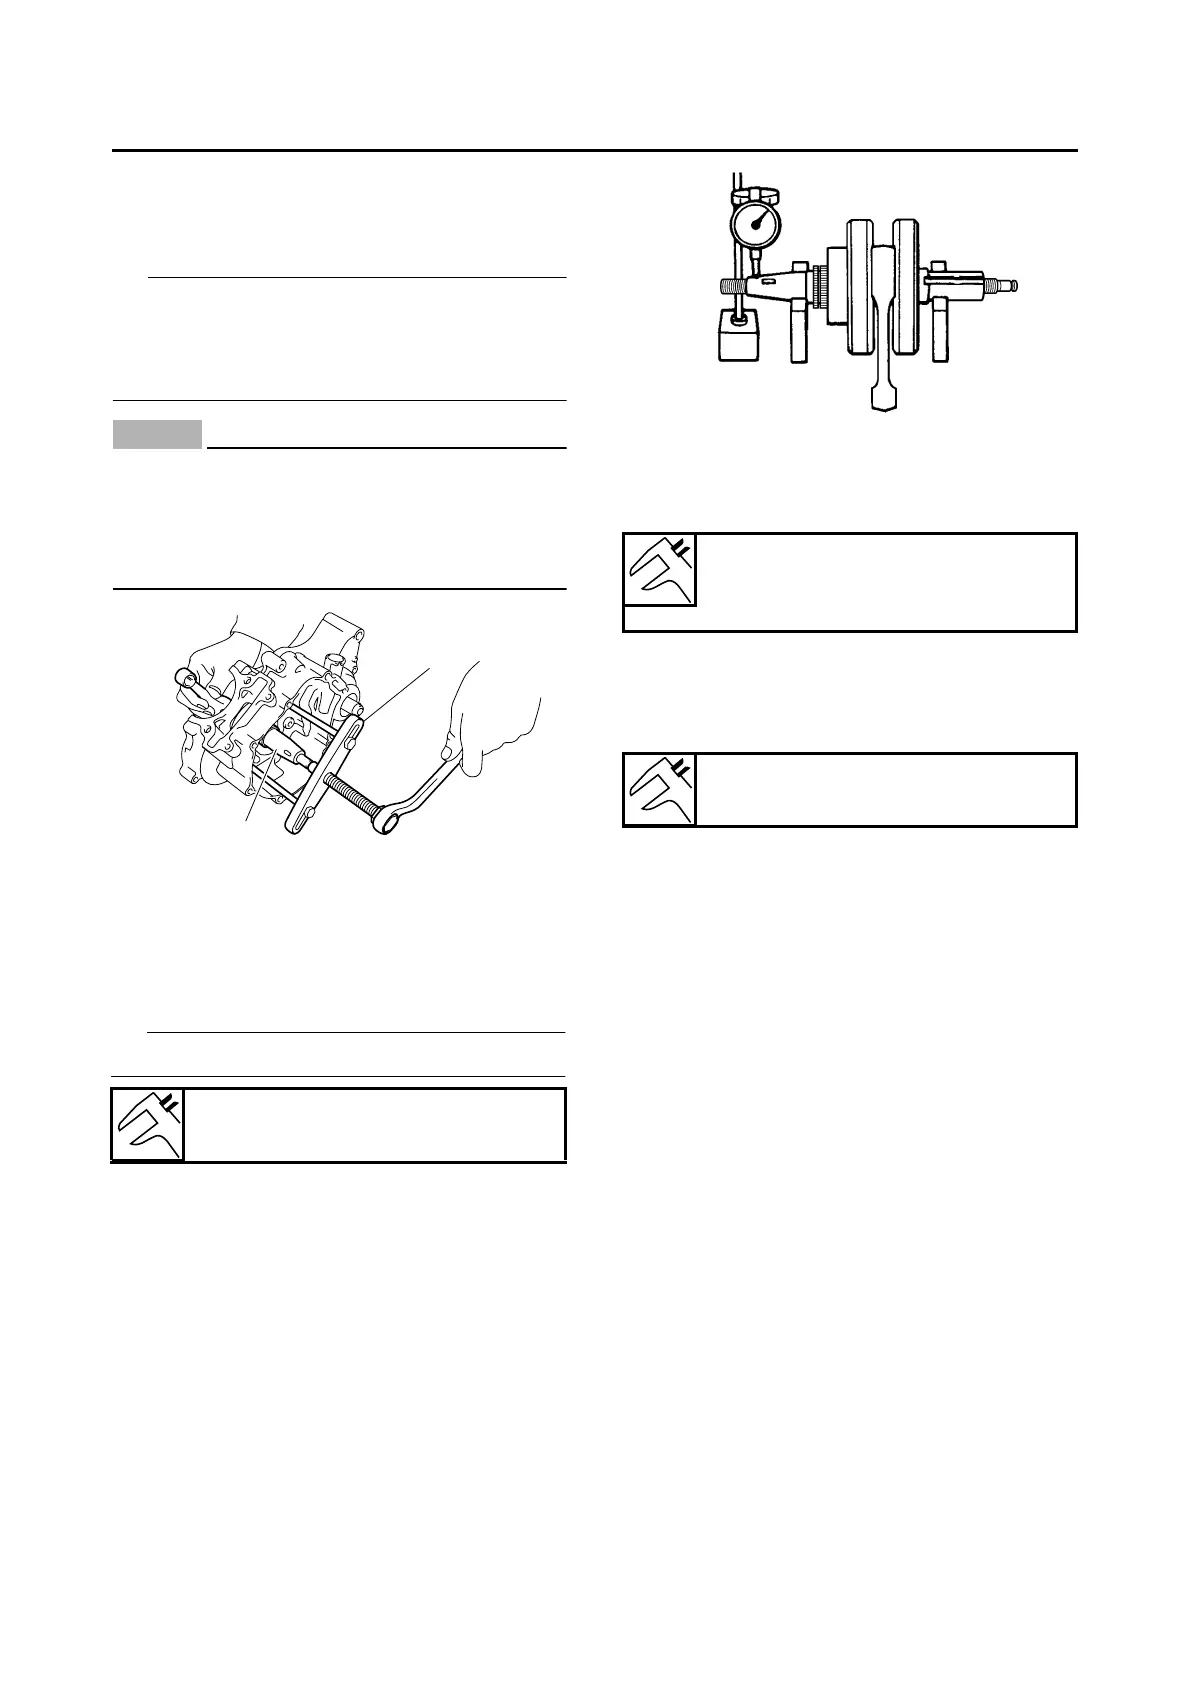
CHECKING THE CRANKSHAFT
1. Measure:
• Crankshaft runout
Out of specification → Replace the crank-
shaft, bearing or both.
TIP
Turn the crankshaft slowly.
2.
Measure:
• Big end side clearance
Out of specification → Replace the crank-
shaft.
3. Measure:
• Crankshaft width
Out of specification → Replace the crank-
shaft.
4. Check:
• Crankshaft sprocket
Damage/wear → Replace the crankshaft.
• Bearing
Cracks/damage/wear → Replace the crank-
shaft.
5. Check:
• Crankshaft journal
Scratches/wear → Replace the crankshaft.
• Crankshaft journal oil passage
Obstruction → Blow out with compressed air.
EAS22B1019
INSTALLING THE CRANKSHAFT
1. Install:
• Crankshaft “1”
Runout limit C
0.030 mm (0.0012 in)
1
2
Big end side clearance D
0.110–0.410 mm (0.0043–0.0161
in)
Width A
47.95–48.00 mm (1.888–1.890 in)