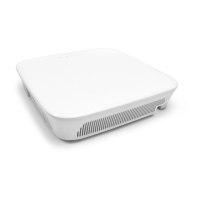
Putting be.IP swift into operation 11
6. Take the network cable included in the scope of delivery and use
it to connect your terminal device, such as notebook, media
receiver or NAS, with the be.IP swift.
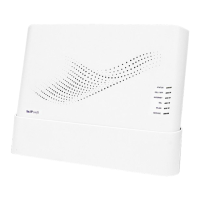
7. Connecting the power supply
Insert the plug of the supplied power supply unit into the socket
labeled Power on the be.IP swift and the power supply unit into
a 230 V mains socket. The STATUS LED initially lights up red for
25 seconds and then starts flashing green. A steady green
indicates completion of the startup process.
3.1 Connecting devices to the WLAN
The WLAN function of the be.IP swift must be switched on. Check
the WLAN LED on the front panel. It must light up green
continuously. If it is not lit, briefly press the WLAN button on the
be.IP swift. The WLAN LED starts to flash green and lights up
permanently after approx. 15 seconds.
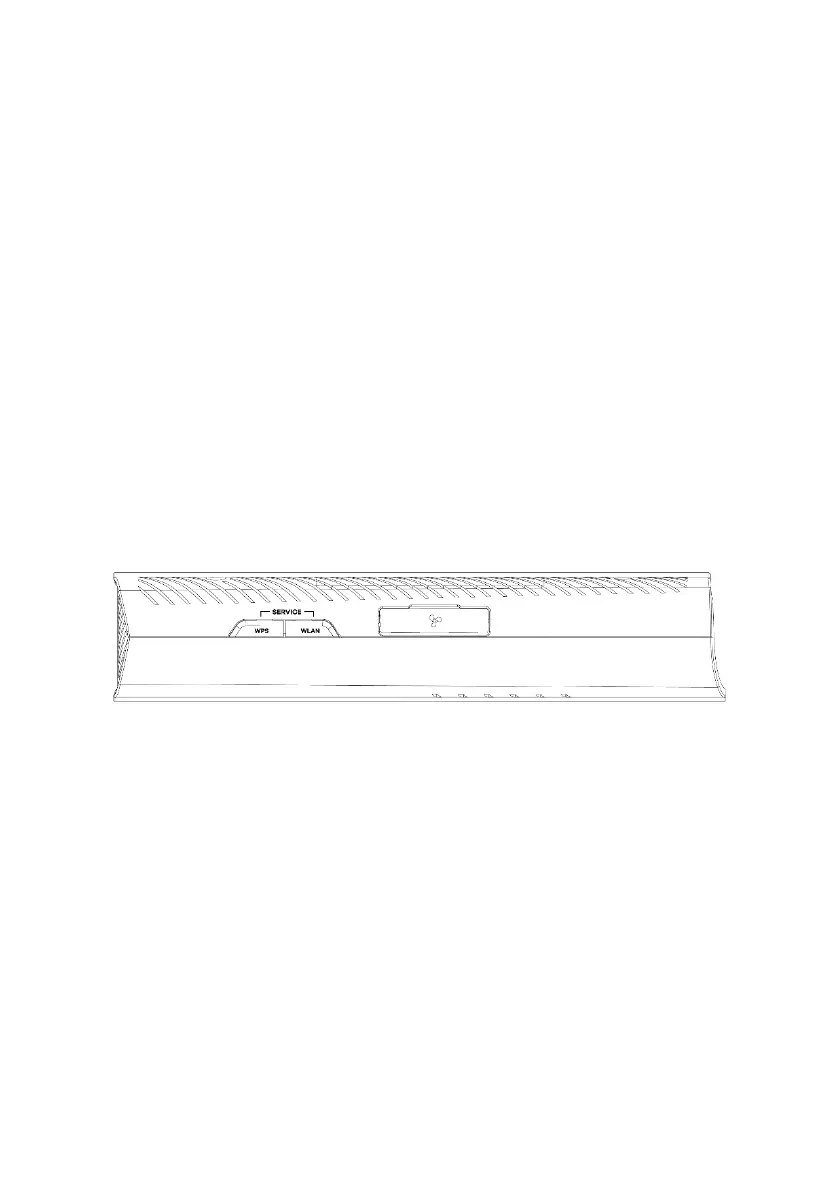
Position of the WLAN and WPS buttons on the side of the router
Activating the WPS button
For security reasons, the WPS button, which facilitates quick
connection of WLAN devices, is disabled when the device is
delivered. To enable it, go to the WLAN > Show more > Advanced
WLAN settings > WLAN > 2.4 GHZ / 5 GHz menu in the configuration
interface and confirm the Enable WPS Push Button option. You have
to make a setting for each frequency band.
 Loading...