Absorbance Plate Test | 101
6. If the wavelength values in the top row of the grid are appropriate for your
tests, enter the OD values from the data sheet into the grid. Make sure you
enter the correct value for each well/wavelength combination.
• If you need to change the wavelength values, click
Wavelength List. Click
the Gen5
Help button for assistance.
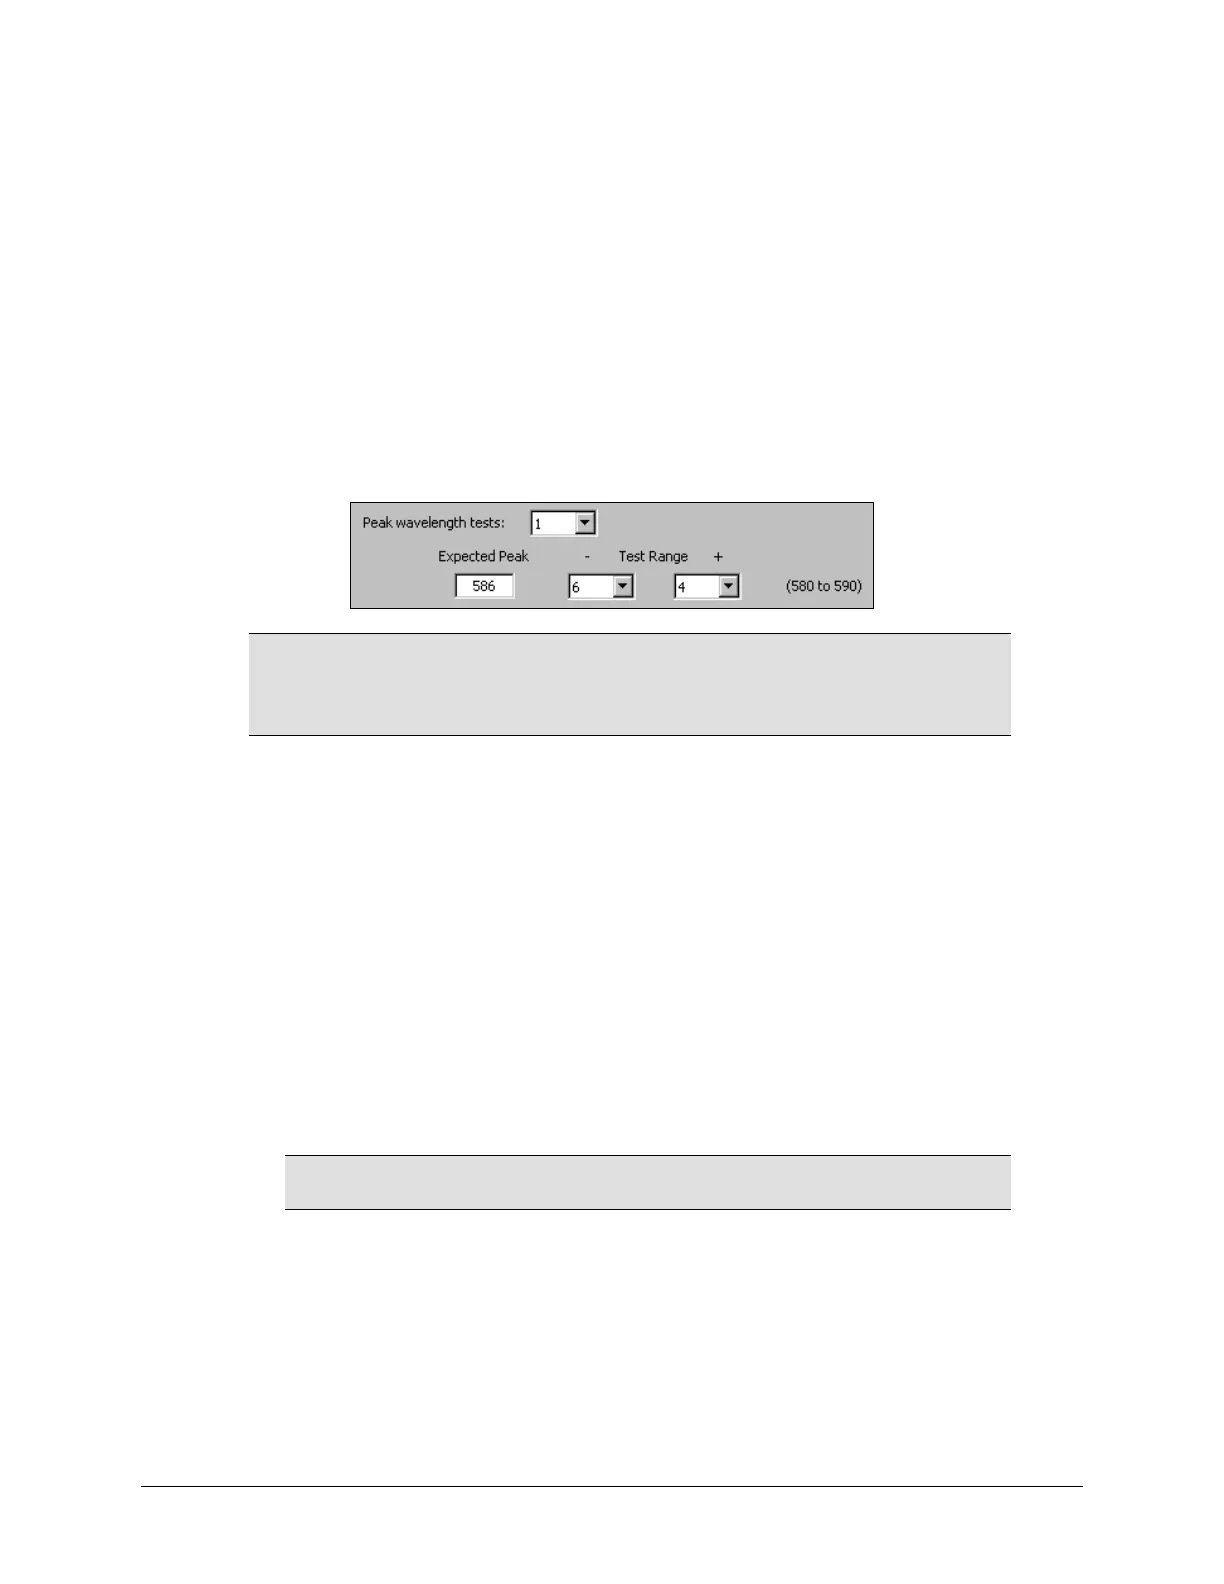
7. Select the number of Peak Wavelength tests to run (1 to 4), based on the
number of peak wavelength values provided on the data sheet.
8. Enter the Expected Peak value(s) from the data sheet. (If multiple values are
given for a wavelength, use those in the 2.4 nm Spectral Bandpass table.) For
each value, define the expected Test Range by selecting the minus/plus
tolerance values. The range must span at least 8 nm.
For certificates that have only one peak wavelength and a fixed
wavelength range of 580 to 590 nm, enter the Expected Peak
wavelength value and adjust the Test Range values so the range
displayed in parentheses is 580 to 590 (as demonstrated above).
9. Review all of the values you entered, and then click OK to save the data.
The information you just entered will be available in Gen5 each time the
Absorbance Plate Test is performed. It may need to be modified after the annual
recertification of your test plate.
Run the Absorbance Plate Test
1. In Gen5, select System > Diagnostics > Test Plates > Run.
2. If prompted, select the desired Test Plate and click OK.
3. When the Absorbance Test Plate Options dialog appears, check Perform Peak
Wavelength Test
if it is not already checked.
4.
Highlight the wavelength(s) to be included in this test.
You need to select only those wavelengths most appropriate for
your use of the reader.
5. (Optional) Enter any Comments.
6. Click Start Test.
7. Place the Test Plate in the microplate carrier so that well A1 is in the left rear
corner of the carrier (as you are facing the carrier).
8. Click OK to run the test.
Synergy HTX Operator's Manual

 Loading...