Understanding the LCD Menus
62
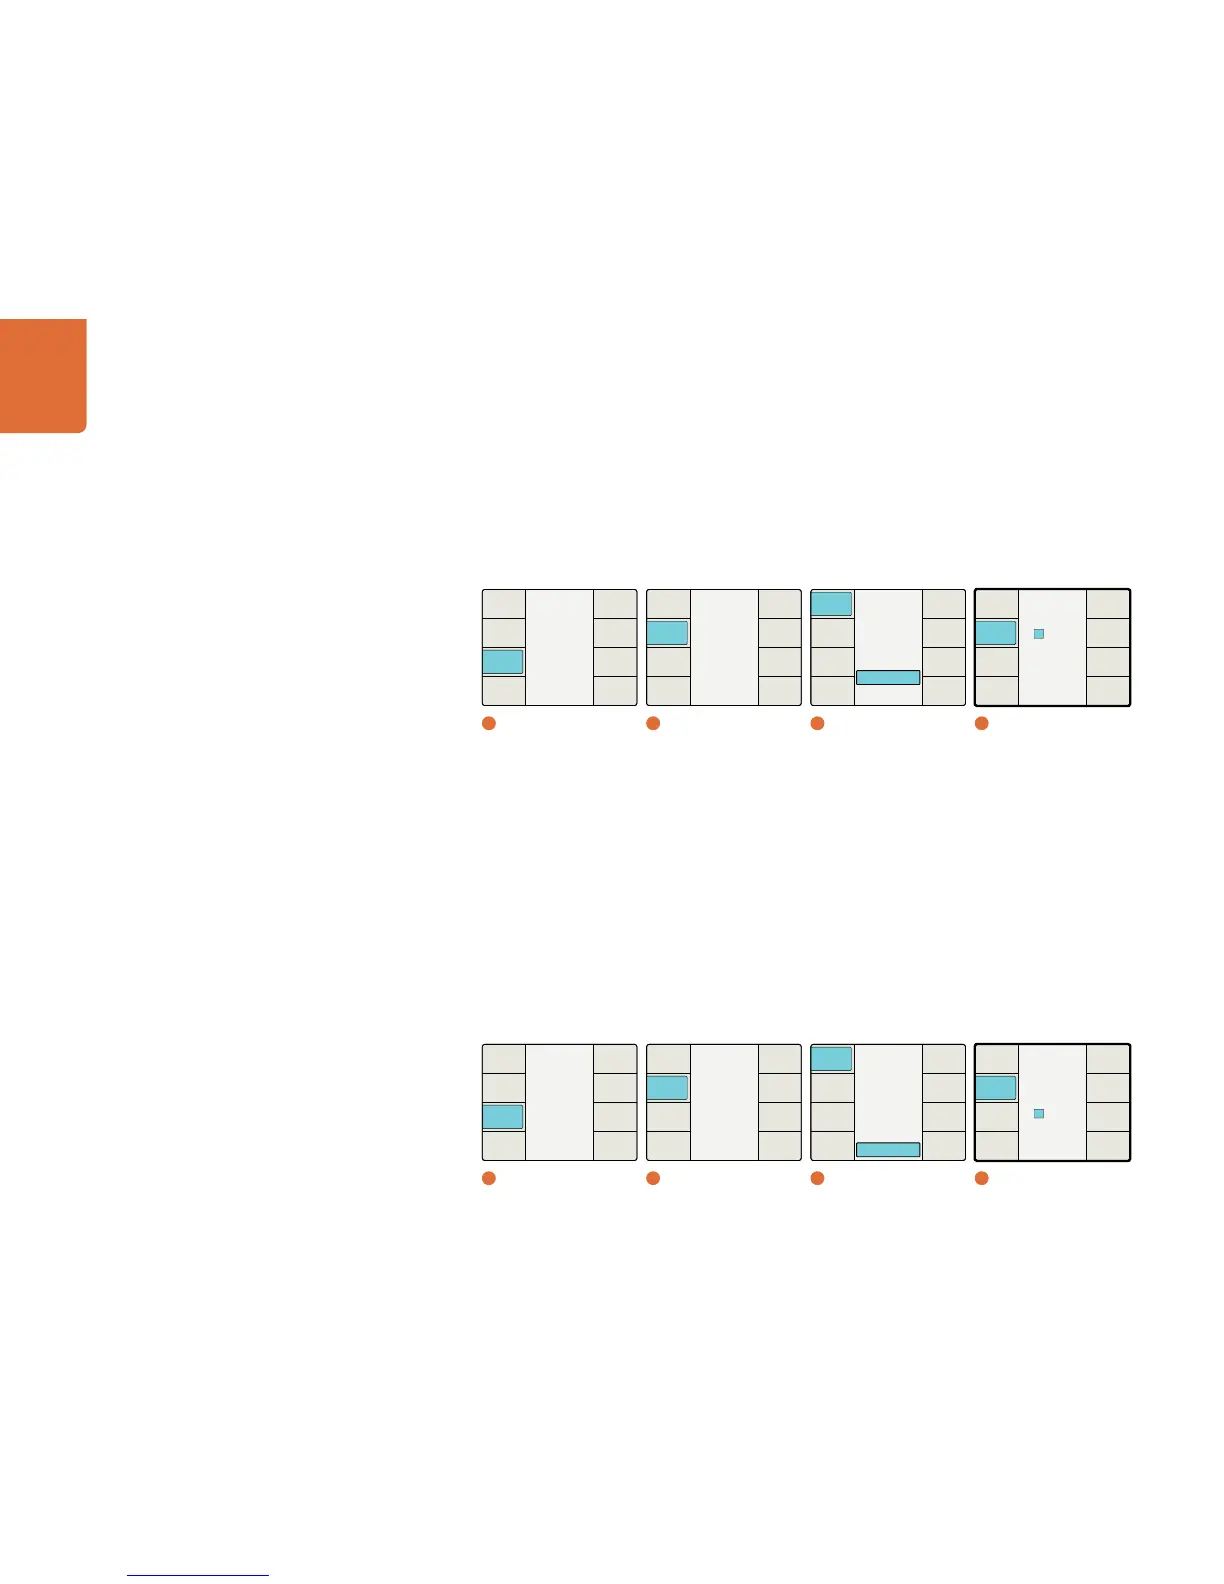
If the Start Source menu is set to “Start Value,” the Set Timecode menu will display an eight-character
register that will permit you to enter a specific timecode generator Start Value. Turn the rotary encoder
to adjust the timecode generator values. Use the Previous and Next buttons to move the cursor left
or right. When you press the “Start” button to start the Generator, the timecode generator will begin
outputting timecode based on your Start Value choice.
Menu number 4 above will be seen when the Set Timecode button is pressed and the Start Source menu is set to
Start Value.
Jam Sync Mode
The Jam Sync mode is similar to the Generate mode. However, when you press the “Start” button, Jam
Sync mode allows you to hold the output timecode generator until a pre-determined timecode point is
reached in your input video, called the Jam Sync value. The Jam Sync value must be entered via the Set
Timecode menus shown below. The Set Timecode menu seen is dependent on the choice you made
in the Start Source menu, “Input” or “Start Value.”
If the Start Source menu is set to “Input,” the Set Timecode menu will show “Input” as the Start Value
for the timecode generator. When you press the “Start” button, the generator will start looking for a
timecode match to the Jam Sync value you have entered. When the timecode in the input video signal
matches the Jam Sync value, the generator will use that “Input” timecode as the start value to generate
free running output timecode.
Menu number 4 above will be seen when the Set Timecode button is pressed and the Start Source menu is set to Input.
Main Menu
Back
Setup
Ancillary
Data
Noise
Reduction
Video
1
Main Menu
Ancillary Data
Back
Video
Index
Timecode
Closed
Caption
2
Ancillary Data