Understanding the LCD Menus
63
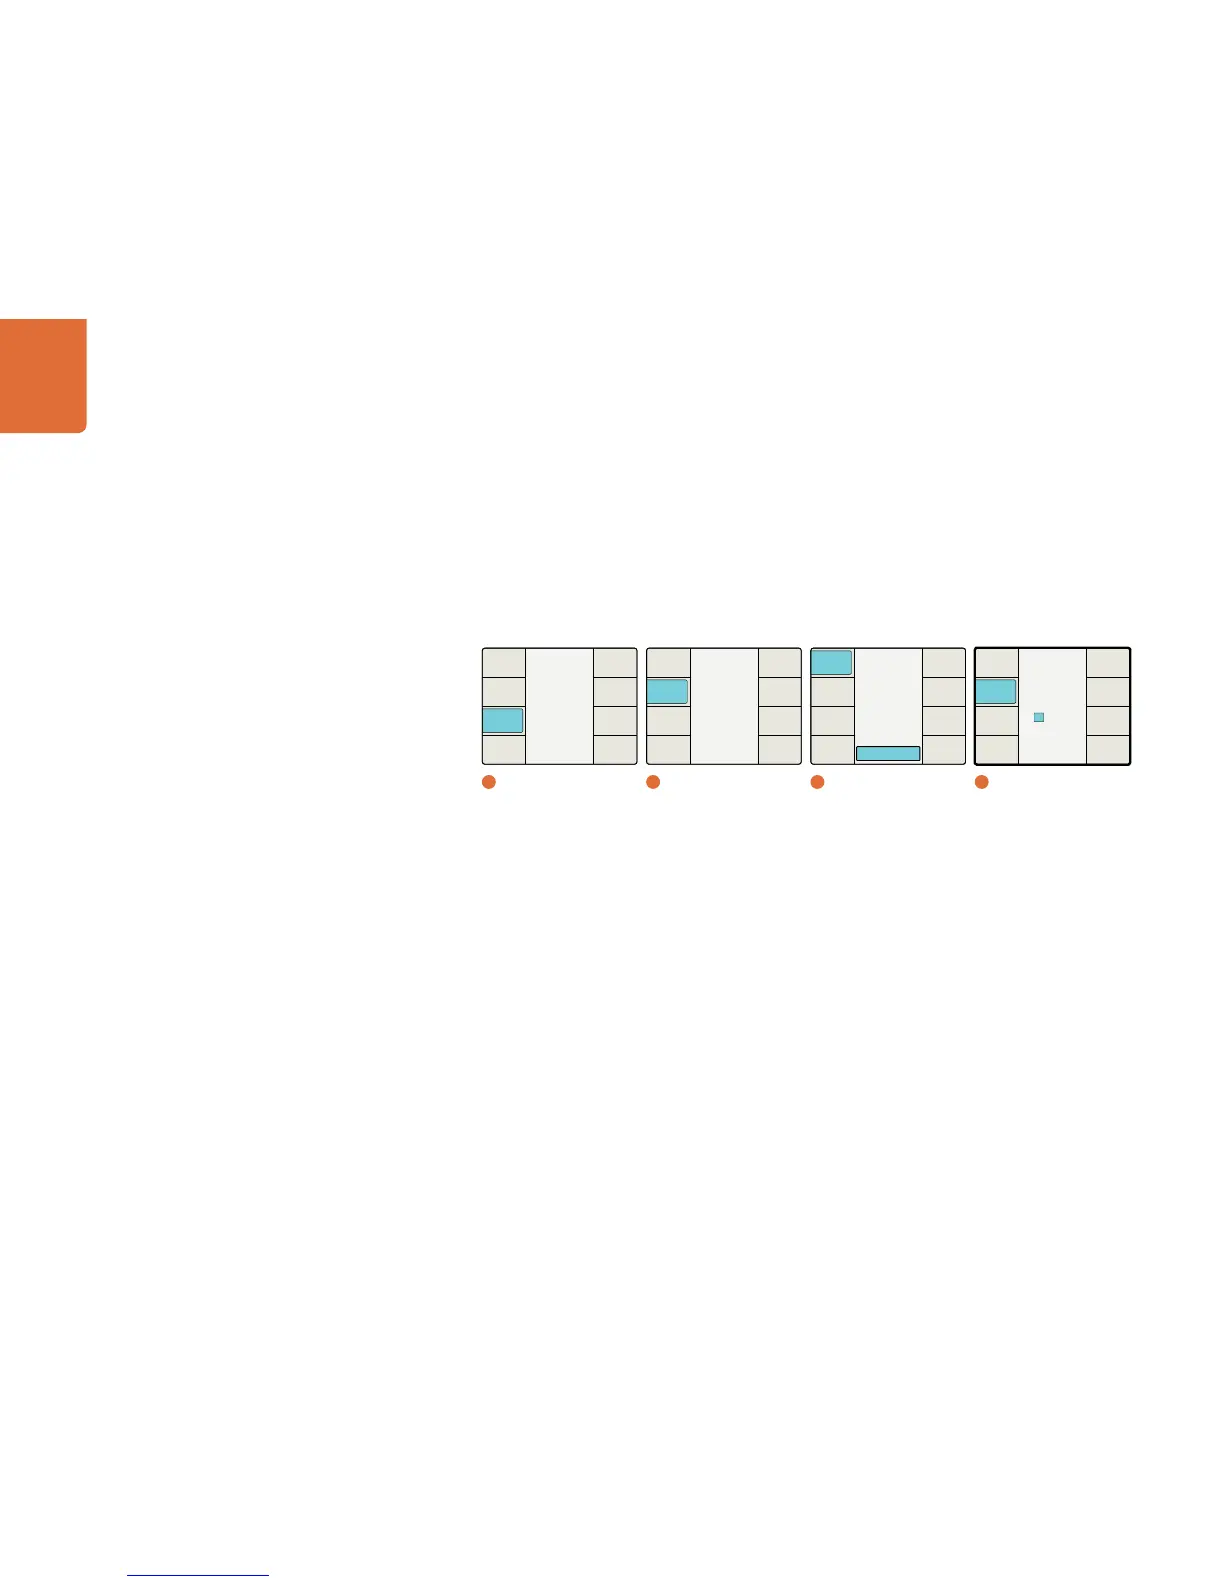
If the Start Source menu is set to “Start Value,” the Set Timecode menu will display an additional
eight character register that will permit you to set a specific Start Value for the timecode generator.
(As before, the Jam Sync register will be used to enter the Jam Sync value.) Turn the rotary encoder
to adjust the timecode values. Use the Previous and Next buttons to move the cursor left or right.
When you press the “Start” button, the generator will start looking for a timecode match to the
Jam Sync value you have entered. When the timecode in the input video signal matches the Jam Sync
value, the generator will use the Start Value you entered as the start value to generate free running
output timecode.
Menu number 4 above will be seen when the Set Timecode button is pressed and the Start Source menu is set to
Start Value.
Video Index Menu
The Video Index menu enables/disables reaction to video indexing signals that may be embedded in
your source video. The three video indexing modes that are supported are Active Format Description
(AFD), Wide Screen Signaling (WSS) and SMPTE RP186.
If the Video Index Mode is turned ON, the Teranex Processor will be set to react to incoming video
indexing signals. The processor will automatically scan for the presence of video index packets
and will react to them if found. AFD indexing takes precedence over the WSS, which takes precedence
over RP186.
The default setting is Off.
Please note that the Processor will not pass or insert WSS or RP186 codes. It will only react to them if
they are present on the input.
Main Menu
Back
Setup
Ancillary
Data
Noise
Reduction
Video
1
Main Menu
Ancillary Data
Back
Video
Index
Timecode
Closed
Caption
2
Ancillary Data