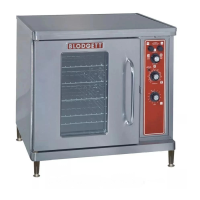
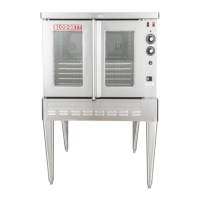
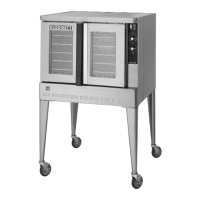
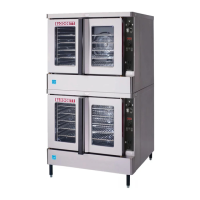
MARK V
3-1
DOORS
The Mark V ovens feature double side mounted
doors which operate simultaneously by means of
a chain and turnbuckle linkage assembly. Should
field adjustment be necessary, the two turnbuckles
are located immediately behind the combustion
compartment cover.
For units manufactured prior to August 1984.
1. Adjust one turnbuckle, then the other until the
doors are properly synchronized.
NOTE: The doors are properly adjusted if the
right door is fully closed when the left
door (the door with the handle) has
1/2"Ć1" of travel remaining.
Both turnbuckles must be adjusted to prevent
strain on the door operating mechanism.
2. Tighten the turnbuckle lock nuts.
Turnbuckle
Turnbuckle
(not shown)
FIGURE 1
To adjust the ball plunger catch:
1. Insert a spanner key in the notches on both
sides of the ball plunger. Loosen the lock nut
with a wrench.
2. Adjust the ball plunger by turning left or right
with the spanner key until the plunger engages
in the striker plate on the door.
3. With the spanner key still inserted in the ball
plunger notches, tighten the lock nut.
For units manufactured after August 1984
Be sure the doors are in line with each other when
viewed from the top and front. If the doors are misaĆ
ligned adjust as follows:
1. Remove the bottom trim.
2. Loosen the five (5) bolts in the UĆshaped lower
door hinge and sprocket assembly.
3. Slide the assembly until the doors are aligned.
4. Tighten the bolts.
5. Replace the bottom trim.
Turnbuckle
Door Hinge
Sprocket
Assembly
FIGURE 2
To adjust the doors for proper operation, open the
doors until the right hand door back flange is even
with the front line of the oven as viewed from above.
The left hand door should be positioned so the
door pressure lock touches the right hand door. If
the doors need adjustment proceed as follows:
1. Loosen the chain drive.
2. Adjust for proper location.
3. Tighten the chain drive.
Right Door
Left
Door
Front of Oven
Pressure Lock
FIGURE 3