60 en | How to Install the Access Easy Controller 2.1 Access Easy Controller 2.1
2018.11 | 1.0.6 | F.01U.122.796 Hardware Installation Manual Robert Bosch (SEA) Pte Ltd
11.3 Controller Installation
Installation and wiring must be done in accordance with all applicable electrical and safety
codes
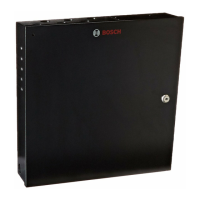
1. Mount the controller and strike/lock power supply.
– Remove any necessary knockouts from the top and/or back of the AEC2.1 enclosure
to provide access for wiring.
– Install conduits as needed to protect wiring.
– Connect the power cable (100~240 VAC) to the AEC2.1 power socket, but do not
switch on the power.
– Wire AC power to the strike/lock power supply.
– Pull all required wiring from the controller to field device location.
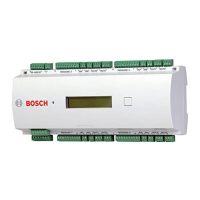
2. Inspect all circuit boards
– Check all circuit board mounting screws for snugness.
– Verify that socket mounted components are secure.
– Verify jumper and switch settings of all boards.
3. Insert Compact Flash onto the AEC2.1 CPU.
– Refer to “Inserting Compact Flash onto the AEC2.1 CPU” section below for the
instructions.
4. Install any needed expansion boards.
– Mount boards in enclosure.
– Install RS485 cables.
– Install power cables.
– Set jumpers and switches on boards.
5. Apply AC power to controller.
– The power LED on the panel should light up, indicating that the panel is powered.
– The CPU board should perform a power-up self-test.
Notice!
This test will take about 90 seconds to complete.
6. When booting up is completed, LEDs 10 and 11 on the interface boards will flicker. This
indicates that the interface boards are communicating with the CPU. Also, the sounder on
the CPU board will activate.
– Install and connect the backup battery. Use a 12V, 7.0AH battery to provide four
hours of standby power as required by UL.
– Use a rubber band or a piece of tape to temporarily close the enclosure tamper
switch. This should silence the sounder.
This completes the basic controller installation. Refer to How to Set Initial Controller
Configuration, page 83 for instructions on setting the controller's IP address.