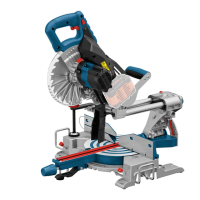
17
Assembly
To avoid possible injury,
disconnect plug from
power source before performing any assem-
bly, adjustments or repairs.
Installing 12" Blade
To avoid injury, do not
use a blade larger or
smaller than 12" diameter and 1" arbor. The
blade’s maximum plate thickness is 0.100".
To reduce risk of injury,
use saw blade rated
3800/min (RPM) or greater.
1.Follow all “Moving Guard Assembly” and “Re-
moving Blade” steps.
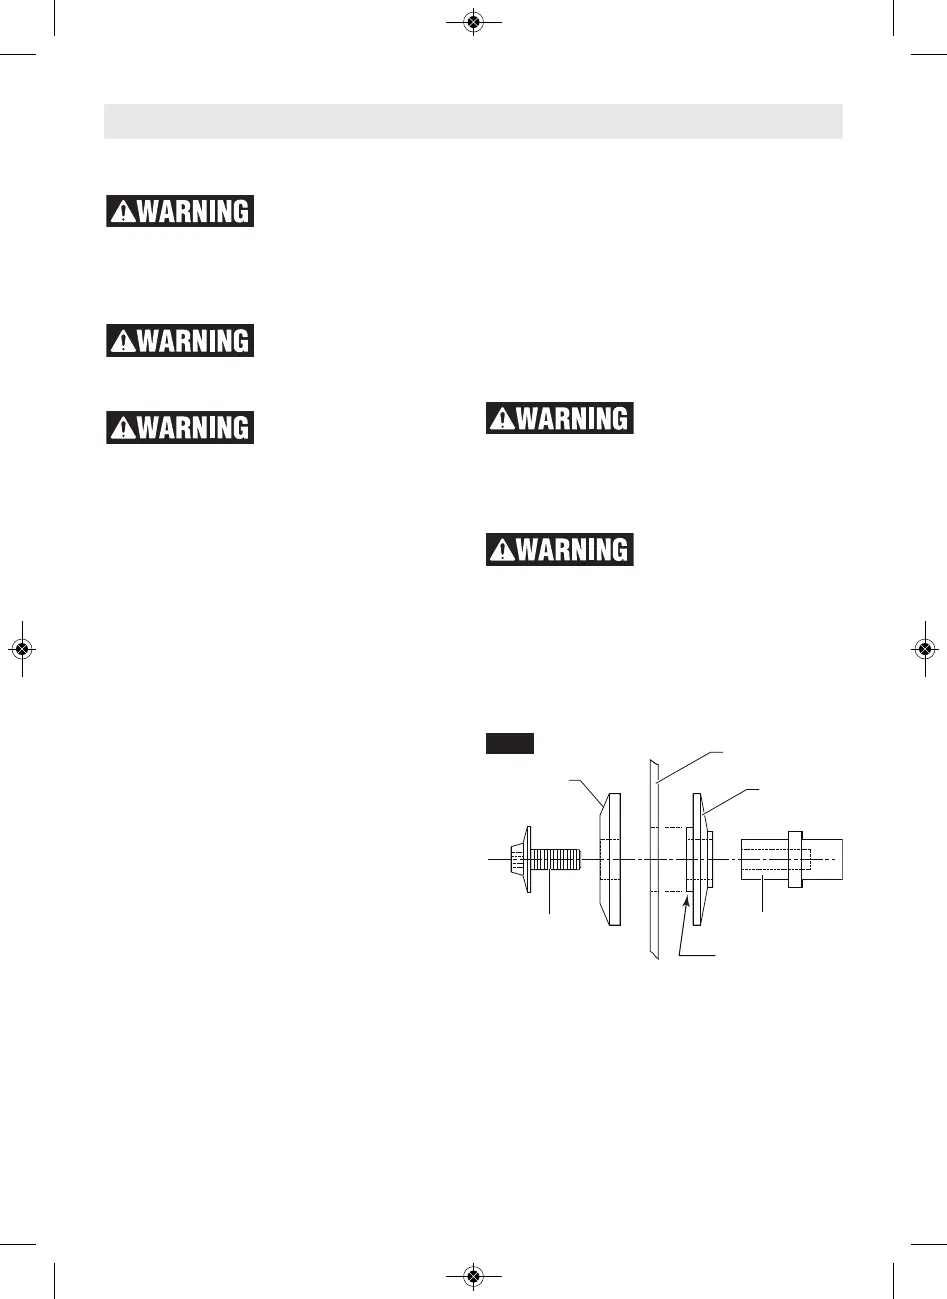
2.Carefully handle the new blade. Check that
the rotation arrow on the blade matches the
rotation arrow on the lower guard. Slide the
blade up and between the sides of the chip
deflector and over the arbor shaft. Move the
blade so its arbor hole goes around the sup-
port ring of the inner washer (see Figures 4
and 5).
3.Place the outer washer over the arbor shaft
and finger-tighten the blade bolt (counter-
clockwise). Check that the blade remained
on the inner washer’s support ring.
4.Rotate the blade slowly while pressing the
arbor lock until it fully seats into its lock po-
sition.
5.Using the 6/4mm hex key, firmly tighten the
blade bolt counterclockwise. NOTE: This
bolt has left-hand threads. Do not over
tighten. A 6mm hex key may be used as an al-
ternate.
6.Remove the lower guard link from the rear
cover plate screw. Rotate the lower guard
and cover plate around the front cover plate
screw until the cover plate’s slot slides under
the rear cover plate screw head. Fully tighten
both cover plate screws using the 6/4mm hex
key.
7.Place the lower guard link back to the origi-
nal position, then firmly finger-tighten the
link knob to the pivot post. It may be neces-
sary to retract the lower guard while tighten-
ing the link knob.
8.Be sure the arbor lock is released so the
blade turns freely.
9.Place the 6/4mm hex key back in storage
area.
Tighten the cover plate
screws. Loose cover plate
screws may interfere with and hang up lower
blade guard. Never use saw without cover
plate securely in place. Lower guard will not
function properly.
After installing a new
blade, make sure the
blade does not interfere with the table insert
at 0° and 45° bevel positions. Lower the blade
into the blade slot and check for any contact
with the base or turntable structure. If the
blade contacts base or table, seek authorized
service.
 Loading...