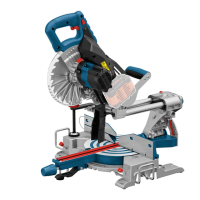
51
Saw Operations
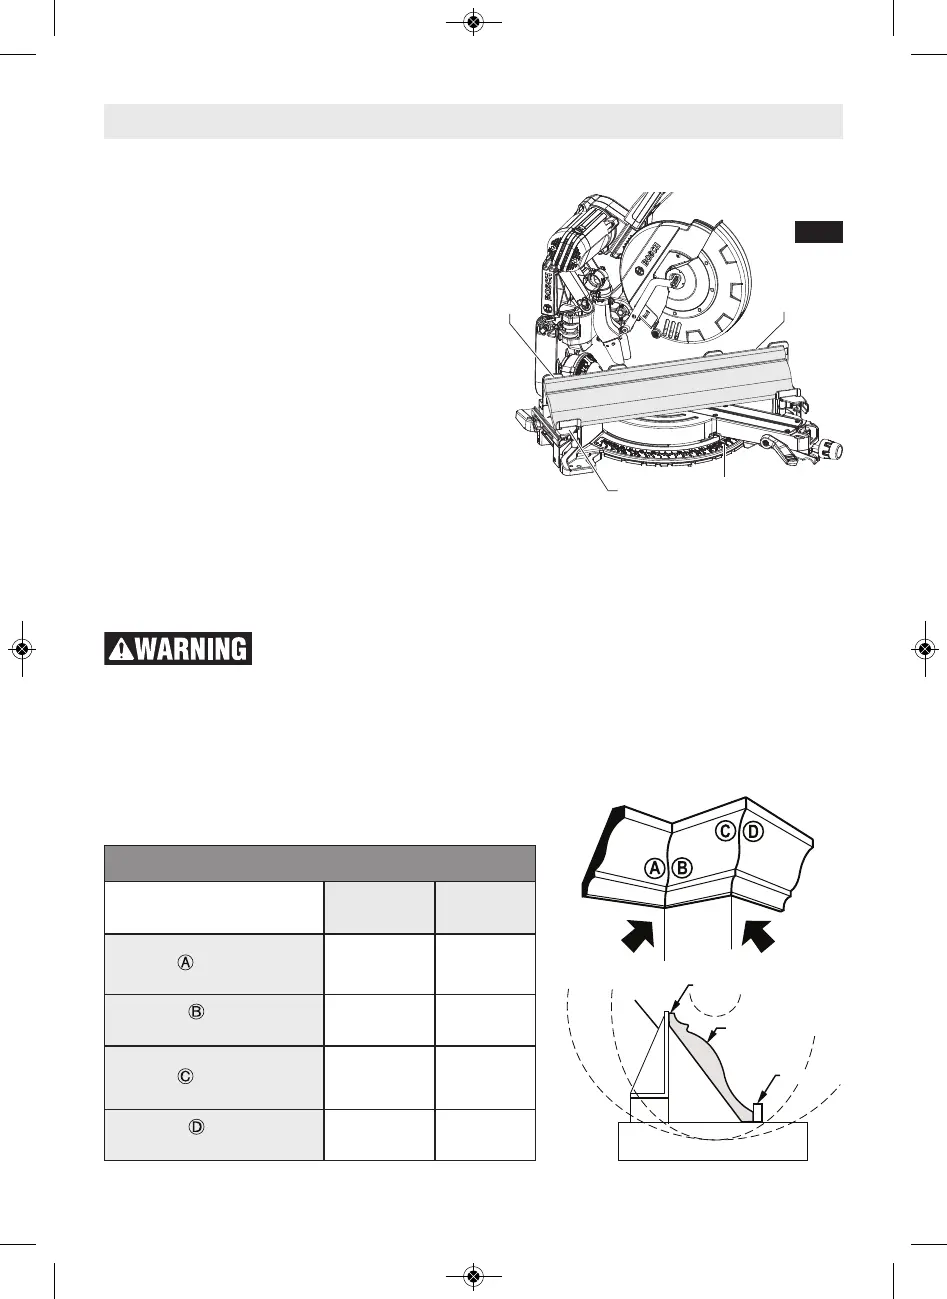
Crown Molding Angled to Table and Fence
The preferred method for cutting crown mold-
ing with this saw is with the molding lying flat
on the table.
The advantage to cutting molding angled
against fence is that no bevel setting is re-
quired. Only the miter angle is adjusted.
The maximum crown molding width that can be
cut and angled to table and fence is 6-1/2".
When cutting crown molding in this fashion it
is recommended to purchase and use the op-
tional Crown Stop Set (see page 61).
Follow these instructions for cutting
crown molding angled to table and fence.
1. Position the molding so the bottom (deco-
rative part, which is installed against the
wall) is against the fence.
2. For 90° corner, set the miter angle using
chart below. Tighten the miter lock knob.
3. Support crown molding against the fence
(see “Body and Hand Position” on page 32.)
Be aware of the path of
the saw blade. Make a dry
run with the saw Off by conducting a simu-
lated cutting cycle, and observe the projected
path of the saw blade. Keep hands at least six
(6) inches away from the projected path of
the saw blade.
4. Follow the procedures for chop or slide cut
(see pages 39-40).
5. Wait until blade comes to a complete stop
before returning head assembly to the
raised position and/or removing workpiece.
NOTE: Always take a test cut using scrap to con-
firm correct angles.
Any Crown Molding Up To 6”
Note: Always place bottom
edge against fence
Miter (Table)
Setting
Bevel (Tilt)
Setting
Inside Corner -
Left end
Use the left end of the cut
45º Right 0º Left
Right end
Use the right end of the cut
45º Left 0º Right
Outside Corner -
Left end
Use the left end of the cut
45º Left 0º Right
Right end
Use the right end of the cut
45º Right 0º Left
Inside
Corner
Outside
Corner
Assumptions: Molding is milled consistently.Corner is 90°.
For other corner angles, divide actual measurement by 2.