Service Manual 04/2010 Rev.B
96
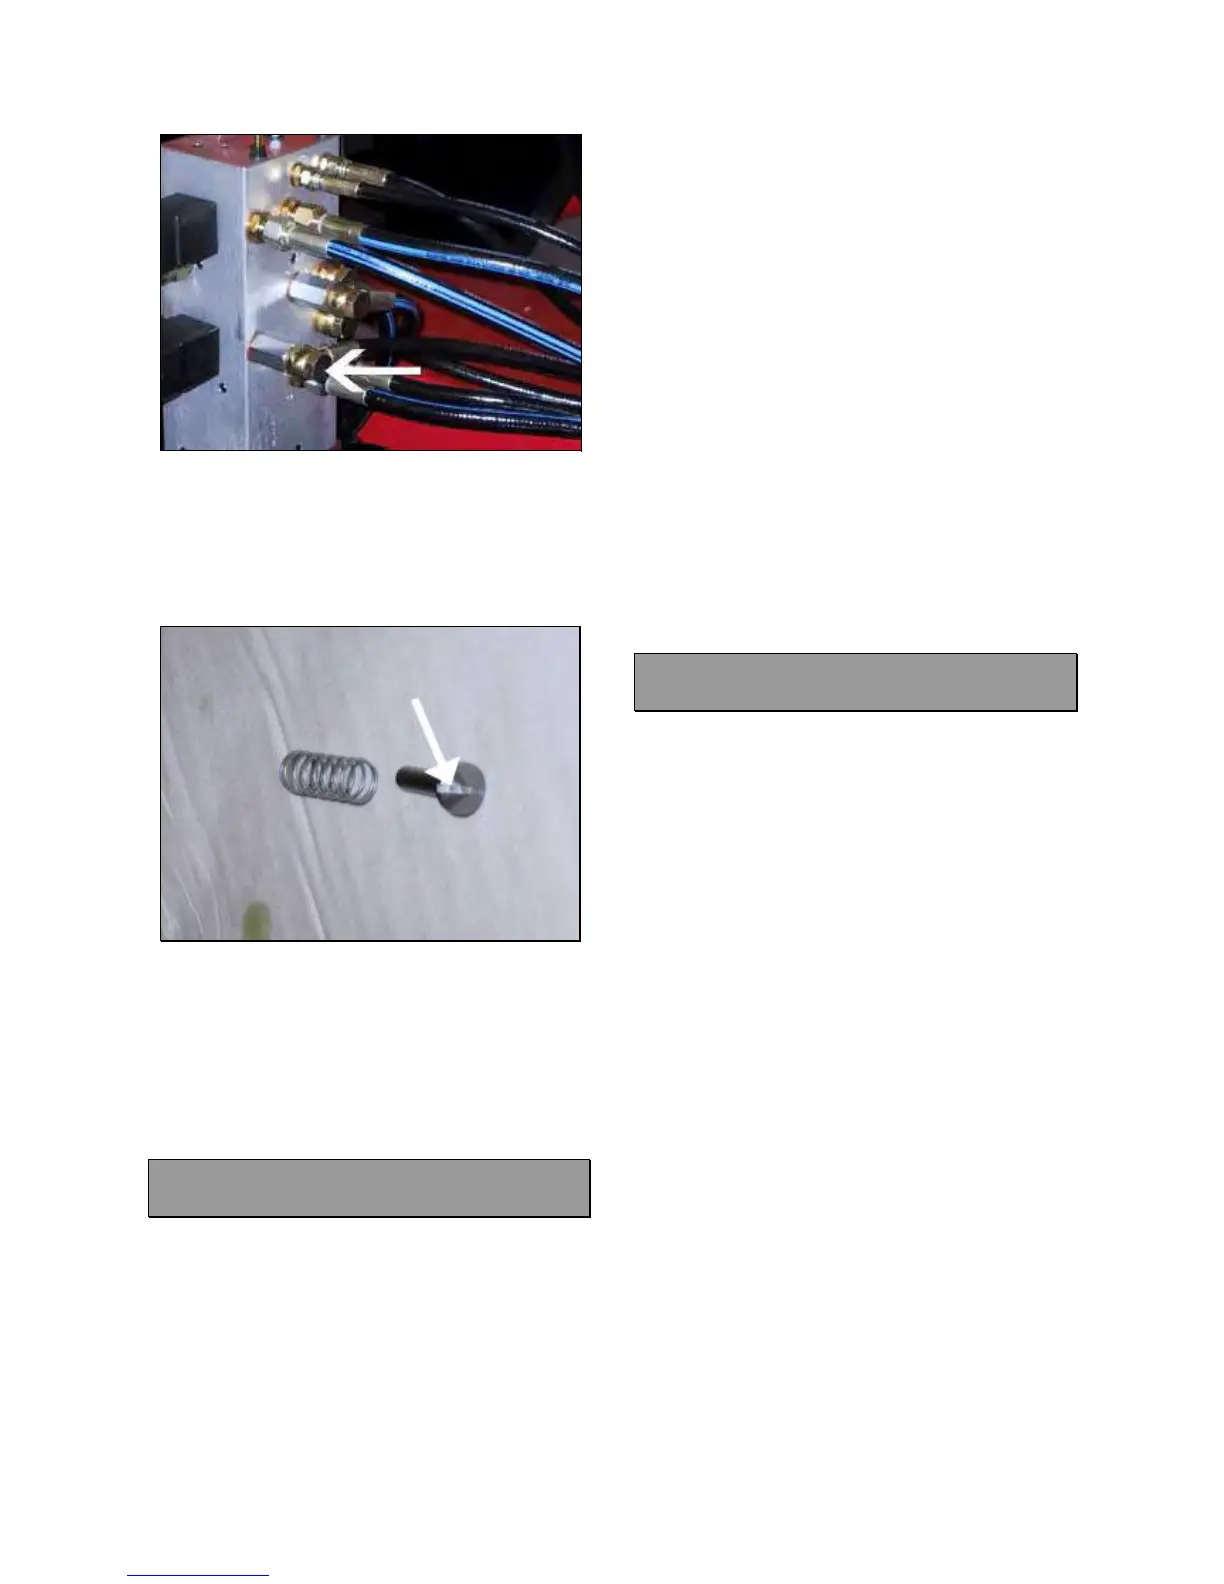
Fig.202
Remove the valve with the spring.
Dry the valve from the oil and lock it on a vice.
Take the hack-saw and make a little bigger
unloading channel shown by the arrow
(Fig.203).
Fig.203
Clean the valve accurately by using air
pressure.
Mount the valve into the spacer.
Mount the hose.
Switch the machine on and verify if there are
oil leaking.
Mount the top cover.
6.15 CHUCK ARM CYLINDER SEALS:
CHECK AND REPLACEMENT
: 3h
: End wrench 19mm, steel hammer, rubber
hammer, calliper wrench, piece of wood,
hydraulic oil container.
L : The defective seals may cause the following
malfunctions:
1. Oil leaking from the piston rod.
2. Oil leaking from the ring screw.
3. The chuck arm lowers itself.
TO CHECK RING NUT “O” RING AND THE
PISTON ROD LIP SEAL:
Check oil leaking following 6.10.
TO CHECK THE PISTON SEALS:
Take a wheel and lock it on the chuck.
Lift the wheel ‘till end of stroke.
Leave the wheel quite lifted for 5’.
If 5’ later the wheel will considerably lower,
the seals needs to be replaced.
IMPORTANT!
ON MACHINE NON CE PROVED, THE
LOWERING OF THE CHUCK ARM MAY BE
CAUSED BY A DEFECTIVE COIL VALVE 6.8.
TO REPLACE THE “O” RINGS AND THE
SEALS:
Remove the cylinder from machine 6.13.
Replace the cylinder seals 6.11.
6.16 CHUCK CYLINDER: CHECK AND
REPAIRING
: 2h to replace the piston and cylinder seals.
30’ to replace the flange O rings.
: End wrenches 19,22mm, 40mm socket
wrench, 4, 5 and 8mm Allen wrenches, 8mm
tube type wrench, calliper wrench, rubber
hammers, manometer, dynamometric wrench,
green loctite, hydraulic containers oil.
L : Defective chuck cylinder may cause the
following malfunctions:
1. Low clamping power.
2. Oil leaking from chuck bell.
3. Oil leaking from cylinder rear flange.
TO CHECK THE REAR FLANGE LARGE “O”
RING:
Switch on the machine.
Close the jaws.
Install the manometer on the chuck cylinder
(6.3 Fig.143).
Open the chuck arms and keep the cylinder
under pressure 6.3.
If there is an oil leaking between the flange
and the chuck arm and the hydraulic pressure
drops quickly, the large “O” ring #1 (Fig.204)
is damaged and it must be replaced.
TO CHECK THE REAR FLANGE SMALL “O”
RING
Switch on the machine.
Close the jaws and keep the cylinder under
pressure.