Service Manual 04/2010 Rev.B
97
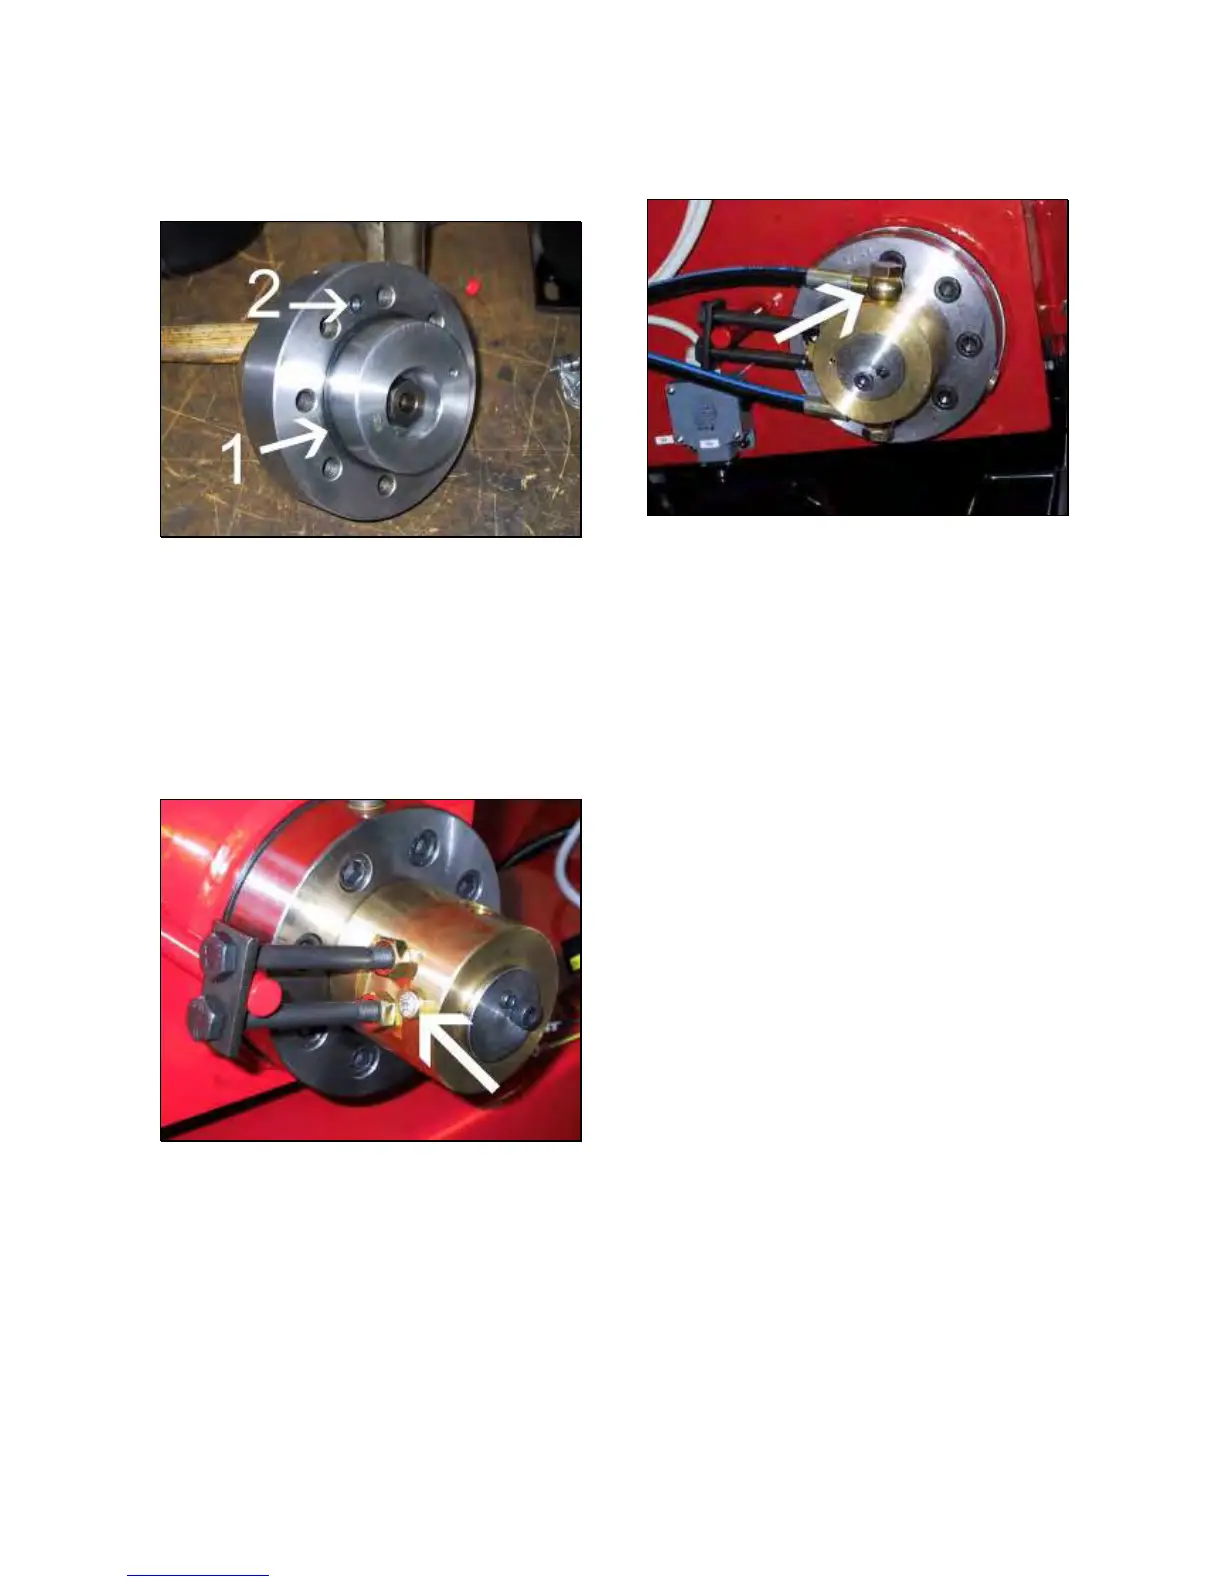
If there is an oil leaking between the flange
and the chuck arm, the small “O” ring #2
(Fig.204) is damaged and it must be replaced.
Fig.204
TO CHECK THE MANIFOLD REVOLVING “O”
RINGS:
Switch on the machine.
Open and close the chuck arms and keep the
cylinder under pressure in both positions.
If there is an oil leaking from the manifold
nuzzle shown in Fig.205, the inner O rings are
defective and they must be replaced.
Fig.205
TO CHECK THE FRONT FLANGE SEALS:
Switch on the machine.
Close the chuck arms and keep the cylinder
under pressure.
If there is an oil leaking chuck piston rod, the
flange seals are defective and they must be
replaced.
TO CHECK THE PISTON SEALS:
Switch on the machine.
Open the chuck arms.
Remove the upper oil hose from the manifold
revolving (Fig.206).
Fig.206
Press the command “Open” on portable
control to keep under pressure the chuck
cylinder.
If the manifold will show a considerable oil
leaking, the piston seals are defective and
they must be replaced.
TO REPLACE THE REAR FLANGE LARGE
AND SMALL “O” RINGS:
Remove the rear flange from the chuck
cylinder 6.5.
Replace the O rings.
Install the rear flange on the chuck cylinder
6.5.
Check if the machine works fine.
TO REPLACE THE MANIFOLD REVOLVING
“O” RINGS:
Remove the manifold revolving following 6.5
without dismount the whole rear flange from
chuck cylinder.
Replace the defective O rings (Fig.160).
Install the manifold revolving on the cylinder
flange 6.5.
Check if the machine works fine.
TO REPLACE THE PISTON SEALS:
Turn on the machine and open the chuck
arms completely.
Position the chuck in cross way (Fig.207).
Turn the machine off.
Remove the protection #1 (Fig.207).
Remove the nut #2 (Fig.207).
Remove the cross #3 (Fig.207).
Remove the spacer between the crosses.
Lock FIRMLY the bolt #A (Fig.208) of all 4
arms to keep them opened without the
crosses.