Service Manual 04/2010 Rev.B
98
Fig.207
Fig.208
Remove the cross #4 (Fig.207).
Turn the machine on and close the chuck
piston completely.
Turn the machine off.
Remove the rear flange from the chuck
cylinder 6.5.
Turn the chuck cylinder ‘till to have the small
hole at 6 o’clock (Fig.209).
Fig.209
Push out the piston by using rubber hammer.
When the piston seal is just out of the cylinder
hold ‘till to have the opposite liner completely
empty from the hydraulic oil.
Remove the piston from the cylinder.
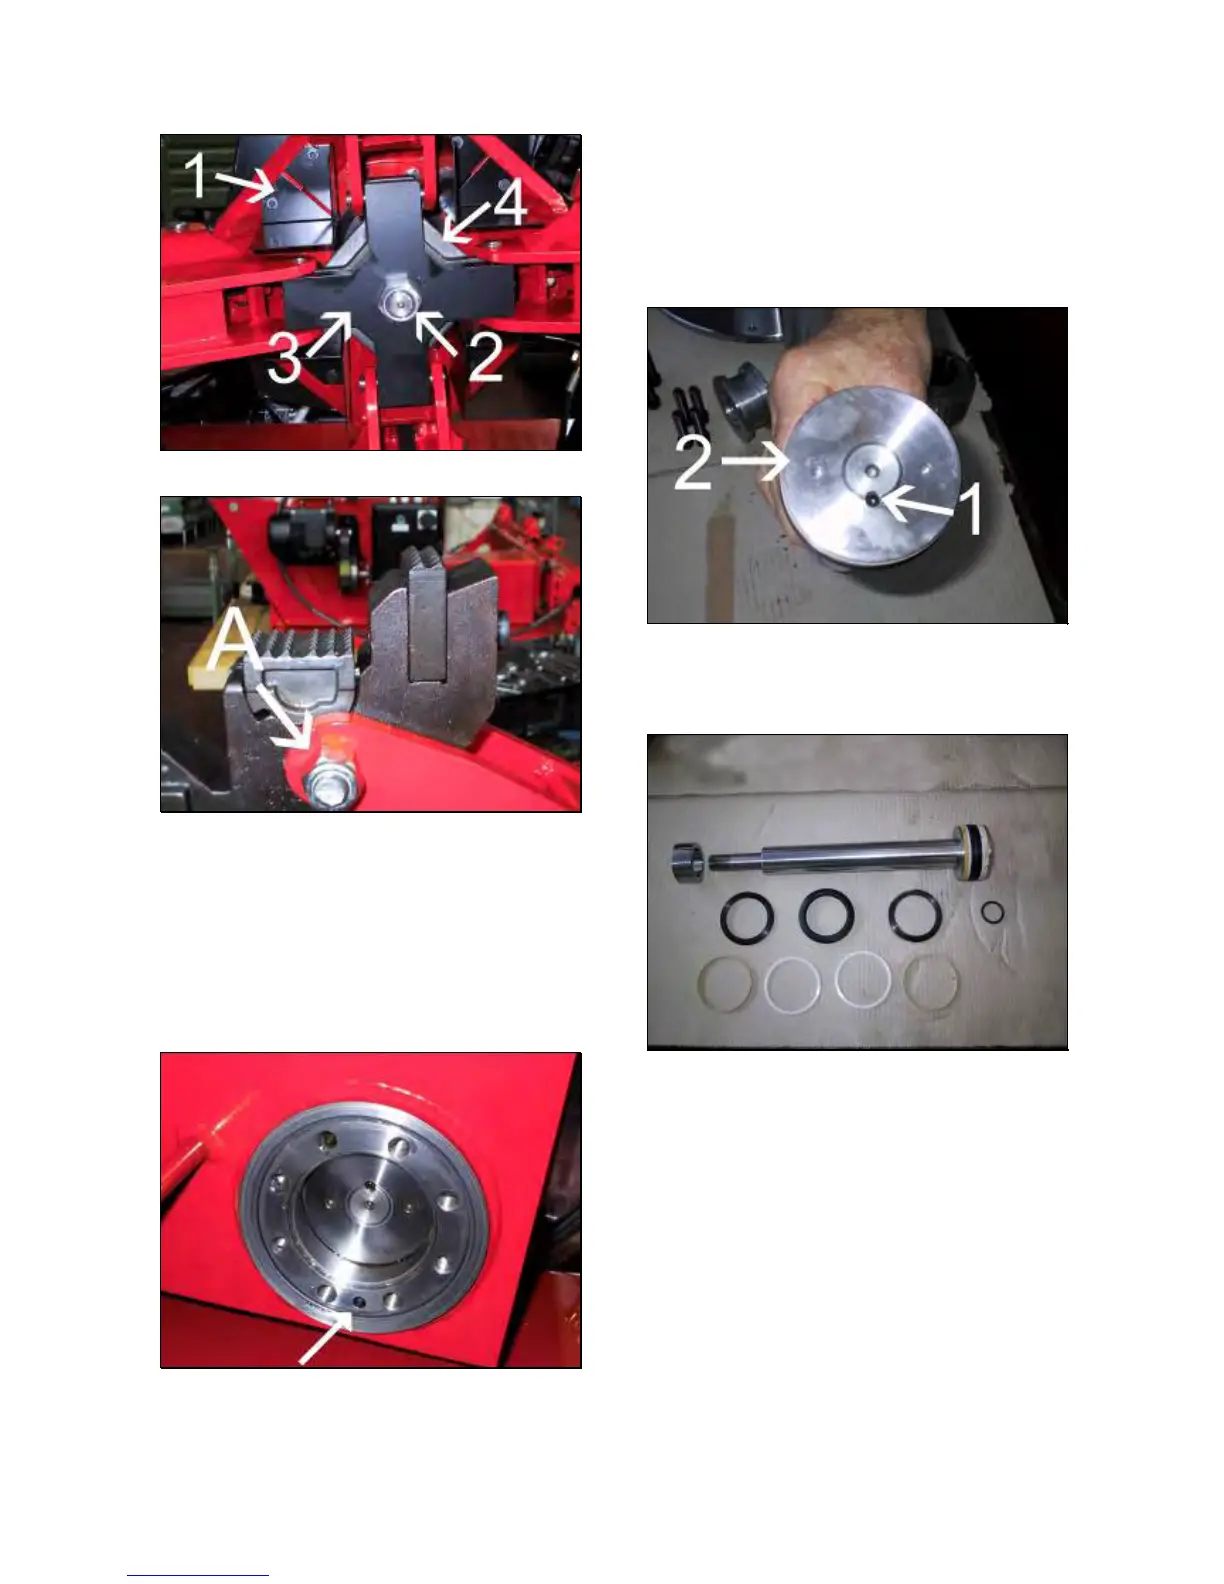
Remove the screw #1 (Fig.210).
Remove the piston #2 by using the calliper
wrench.
Fig.210
Replace the piston seals (Fig.211) following
6.11.
Fig.211
IMPORTANT!
WHEN THE CYLINDER NEEDS TO BE OPENED
THE REPLACEMENT OF WHOLE SET OF
SEALS IS HARDLY SUGGESTED.
Remove the front flange seals and ring.
Mount the rear ring by using hands only
(Fig.212).