Unit Elements
4
Perfusor® compact, 3.0 gb 4- 13
this straight pin lock is already fitted. Please read instructions
provided.
5. Insert syringe size board.
6. Mount scraper ring and axial positioner and screw down
drive.
7. Snap in syringe size board on both sides.
Note
Always fasten syringe size board with screws to centering bearing.
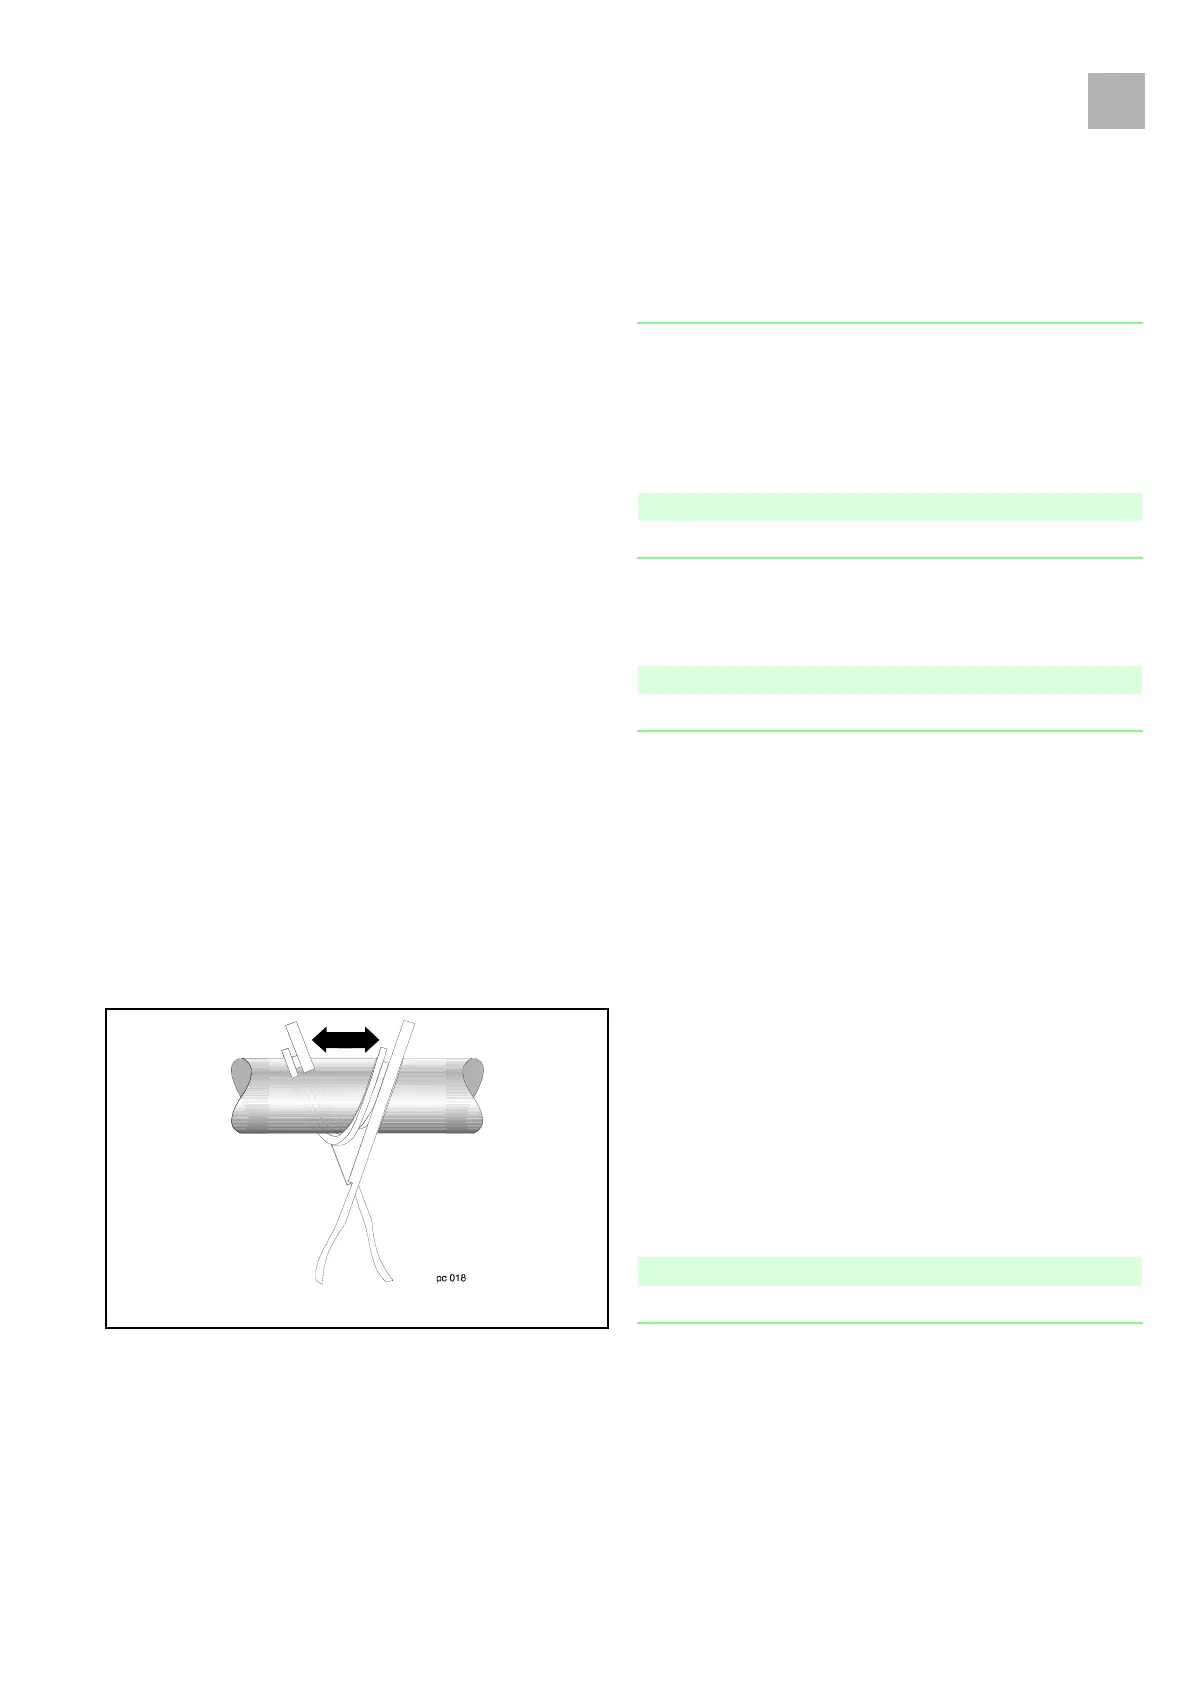
8. Pay attention to cable laying (please see Fig.: 4 - 14).
9. Close unit (see "Close Unit" ➨ p. 4 - 4).
Note
Do not squeeze cable.
10. Calibrate in Service Program (see "Unit Calibration"
➨ p. 3 - 16).
4.14 Axial Positioner
Designation Ord. No.
Axial positioner . . . . . . . . . . . . . . . . . . . . . . . . . . . . . . . 3450 6659
Exchange
1. Open unit (see "Open unit" ➨ p. 4 - 3).
2. Move drive arm to middle position and lock.
3. Loosen both screws on drive.
4. Lift drive until the axial positioner is free.
5. Remove axial positioner by forcing apart. Replace new axial
positioner and make sure that the scraper ring is correctly
fitted.
6. Assembly is performed in reverse order.
Note
Do not squeeze the cable (see "Close Unit" ➨ p. 4 - 4).
7. Calibration is required in Service Program (see "Unit
Calibration" ➨ p. 3 - 16), as the drive was dismounted.
Fig.: 4 - 15
3.0