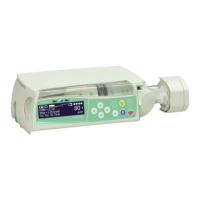
Perfusor® compact, 2.1 gb 5- 1
5
5-Checks after Repair
General
Carry out the respective check blocks depending on the activity
performed. The individual steps are described hereafter in more
detail.
Carry out an overload test if the unit has been dropped (see
“Overload Check” ➨ p. 3 - 17).
Check List for Checks after Repair
Visual Inspection Electrical Safety
according to IEC/EN 60601-1
or VDE 0750 and VDE 0751
Functional Inspection
❒ Cleanliness
❒ Completeness
❒ Damage and faults affecting safety
❒ Damage to and readability of the label
❒ Syringe holder, axial positioner, drive
head
❒ Syringe table, quick reference guide
❒ Membrane keyboard
❒ Battery compartment cover, battery
compartment and -contacts
❒ Unit feet
❒ MFC connector
❒ Holder for pole fixation, side snap-in
mechanism
❒ Mains power lead
❒ Line voltage
acc. to TSC ______ V
❒ Protective Conductor Resistance
acc. to TSC ______ Ω
❒ Patient leakage current
acc. to TSC _____ µA
Mechanical Inspection
❒ Holder for pole fixation
❒ Stacking function
❒ Syringe holder
❒ Drive head lock
Switch on unit.
❒ LC display
❒ Self-test
❒ Audible alarm
Operation
❒ Infusion
❒ Staff call
❒ Bolus
Pressure cut-off
with calibration gauge
❒ Pressure stage 1 (15 - 35 N)______ N
❒ Pressure stage 2 (30 - 55 N)______ N
❒ Pressure stage 3 (45 - 70 N)______ N
❒ Bolus (45 - 70 N) _________ N
Syringe recognition
❒ 20 ml
❒ 50 ml
Pre- and end alarm
❒ Pre-alarm
❒ End alarm
5 - 6
2.1