Home > Scan > Scan Using the Scan Functions on Your Brother Machine > Save Scanned Documents to a
USB Flash Drive
Save Scanned Documents to a USB Flash Drive
To avoid damaging the USB flash drive or the data stored on it, DO NOT remove it while the machine is
scanning.
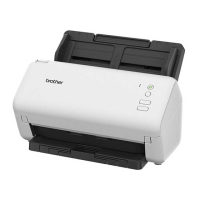
>> ADS-1300/ADS-1350W
>> ADS-1800W
ADS-1300/ADS-1350W
1. Insert a USB flash drive into the machine.
Confirm that the USB LED turns on. If not, check your Scan Destination settings. For more information, see
Related Information.
2. Load your document.
3. Press
.
The machine starts scanning and the scanned data is saved to the USB flash drive.
• To change the scan settings, go to Remote Setup and select Scan to USB in the navigation pane.
• (ADS-1350W) If your machine is connected via a network, we recommend using Web Based
Management to configure the scan settings.
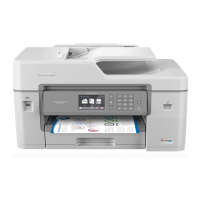
ADS-1800W
1. Load your document.
2. Insert a USB flash drive into the machine.
The Scan to USB screen appears automatically. If the Scan to USB screen does not appear, press [to
USB] in the Home screen.
3. To change the scan settings, press [Options]. Configure the following settings:
Option
Description
2-sided Scan
When using 2-sided scanning, select 2-sided Scan:
Long Edge so the layout of the data file pages
matches your original scanned document.
Colour Setting
Select the colour format for your document.
Resolution
Select the scan resolution for your document.
File Type
Select the file format for your document.
Document Size
Select your document size.
File Name
Rename the file.
File Name Style
Select the order in which the date, counter number, and
other items appear in the file names.
File Size
Select the file size for your document.
Edge Fill For Plastic Card
When On is selected, the four edges of the scanned
plastic card image are filled with white space.
Edge Fill For Plastic Card is available
only for scanning from the Card Slot.
Skip Blank Page
When On is selected, blank pages are skipped.
Document Separation
Split a scanned image.
48
 Loading...