CHAPTER 7 SERVICE SUPPORT SOFTWARE
Confidential
7-6
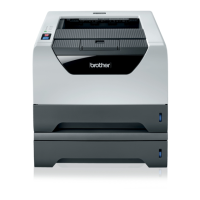
1
st
step 2
nd
step
Each mode starts after 2 seconds.
Once (1) Factory Inspection Mode
Twice (2) Continuous Grid Pattern Print Mode
Three times (3) Fuser Unit Test Print
Four times (4) NV-RAM Value Dump Mode
Five times (5) RAM Check
Six times (6) QA process inspection printing
Press the Go button
once.
Seven times (7) DX (ShortBind) ON/OFF switching
Once (8) Printing for Maintenance
* The machine starts printing after closing
the front cover.
Twice (9) Print Settings
* The machine starts printing after closing
the front cover.
Three times (10) Sleep Mode Indication
(OFF/Dimmed)
Four times (11) Sleep Mode Setting (ON/OFF)
* All LEDs are lit for 1 second and the
printer returns to the ready status.
Five times (12) Developer Roller Counter Reset 1
(For the standard toner)
* All LEDs are lit for 1 second and the
printer returns to the ready status.
Six times (13) Developer Roller Counter Reset 2
(For the high capacity toner)
* All LEDs are lit for 1 second and the
printer returns to the ready status.
Seven times (14) Fixed USB Speed
* All LEDs are lit for 1 second and the
printer returns to the ready status.
Press the Go button
twice.
Eight times (15) USB Speed Indication (ON/OFF)
* All LEDs are lit for 1 second and the
printer returns to the ready status.
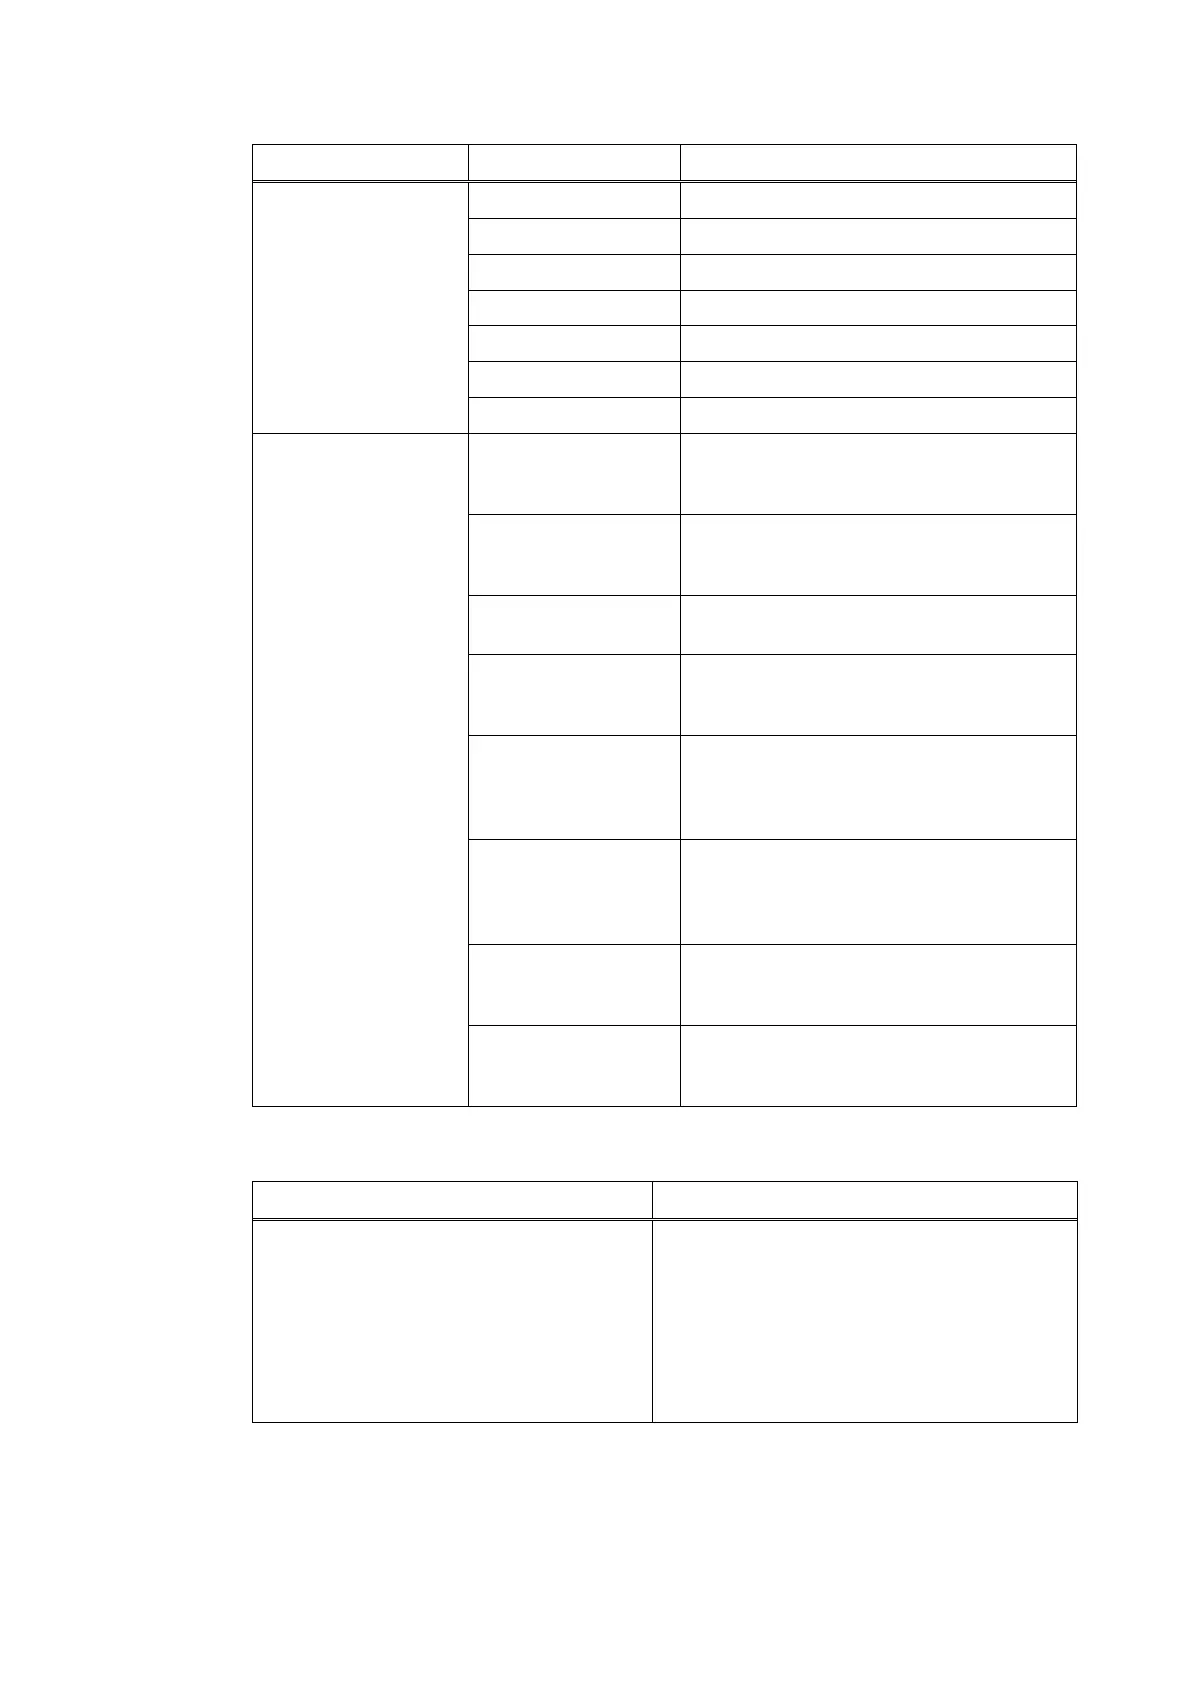
The procedure from 1 to 4 is the same as the above.
Number of times of pressing the Go button
Press the Go button for 2 seconds
(long push).
(HL-5240/5250DN)
Check that Paper LED is lighted.
(HL-5270DN/5280DW)
Check that the “PIT3 MODE” message is
shown.
PIT3 Inspection Mode
* Factory use.
NOTE:
* Each mode starts 2 seconds after pressing the Go button.
 Loading...