Setup
24 ©2021 CAE 905K351052 v1.1
CAEApollo
Setup Procedure
After reviewing the guidelines for unpacking the manikin and setup preparation, proceed to the setup
procedure steps.
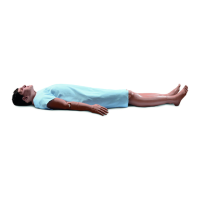
Step 1: Place the Manikin in the Work Area
Select a work area with enough room for all equipment, providing ample space for easy access to the
simulator. At a least 10’ x 12’ (3 meter x 4 meter) work area is recommended for movement and
positioning of components around the simulator.
Apollo and the Instructor laptop can be operated from their batteries, allowing for wireless use.
In a lab environment, make sure a multi-plug AC power outlet exists within the workspace to
recharge the simulator’s battery and its powered components.
Before placing the simulator on a surface, be certain the surface can easily support 200 pounds.
NEVER lift the simulator by the LIMBS. When lifting, be sure to support the torso and head of the
simulator while lifting.
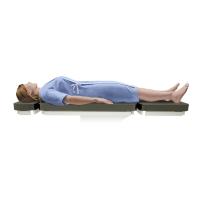
Prior to using the stretcher packed with the shipping container, the manikin must be wrapped in a
sheet. Failure to wrap the manikin in a sheet may result in permanent damage to the manikin skin.
CAE is not responsible for damage to the manikin skin if the manikin is not wrapped in a sheet while
using the stretcher.
Setup Procedure
1 Place the Manikin in the Work Area
2 Power on the Manikin
3 Power on the Laptop
4
Connect to the Wireless Network
5 Connect the SpO
2
Probe (Optional)
6
Start Maestro
7
Setup the TouchPro Patient Monitor (Optional)
8 Connect the External Air (Optional)
9 Insert the CO
2
Canister (Optional for Prehospital Only)
10 Detach the Arms (Optional)
11 Prepare the Bleeding System (Optional)