©2021 CAE 905K351052 v1.1 27
Setup
Step 3: Power on the Manikin
To power on the manikin:
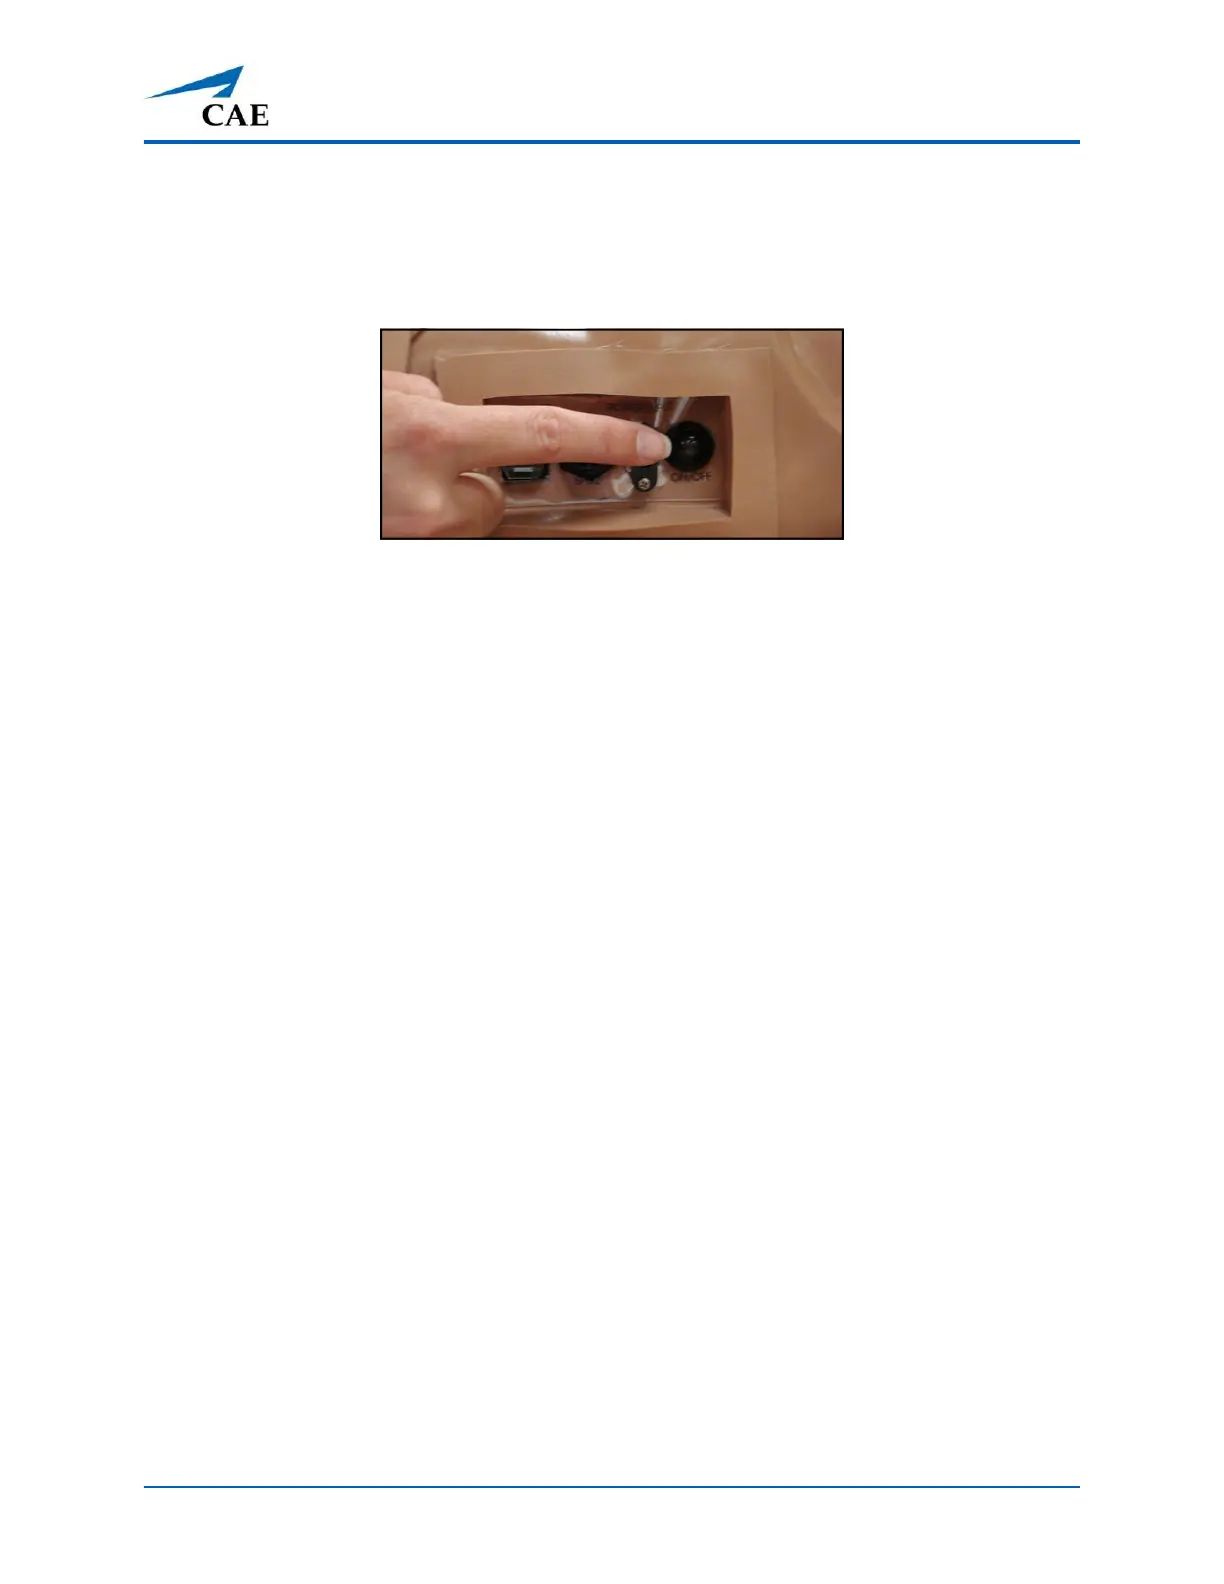
a. Locate the ON/OFF button beneath the skin covering Apollo’s left hip.
Apollo’s ON/OFF Button
b. Press and hold the ON/OFF button for one second. The power light blinks,
indicating the system is busy. In approximately one minute, the light stops
blinking and remains solid, indicating the simulator is now ready.
Note: Apollo can be operated continuously for approximately four hours without recharging the
battery.
Step 4: Power on the Instructor Laptop
To power on the instructor laptop:
a. Place the laptop near Apollo in a convenient location.
b. Ensure the laptop battery is fully charged, or connect the AC adapter to the
workstation and a surge-protected power outlet.
c. Power on the laptop.
Step 5: Connect to the Simulator’s Network
Once Apollo simulator and the Instructor laptop are both powered on, they automatically establish a
wireless connection and, when the Internet Explorer browser is opened, the Maestro software
launches. If the auto-connect does not occur, perform the following steps:
a. Tap on the Wireless Network icon located in the right corner of the
screen in the task bar.
a. Select the Apollo wireless network (e.g., APPXXX or APNXXX, where XXXX is
the serial number for the unit). The network password is caeadmin and the
password is case-sensitive.
b. Tap the Connect button.
The wireless connection is established. The Maestro software can now be launched using the CAE
Maestro app located on the Desktop.