8
Click Add to add the paper size of My Horizontal Banner.
9
Click OK to close the Paper Size Options dialog box.
10
Close the printer driver dialog box.
Note
• Although you can even set Custom Size for the paper size, the maximum settable size is 3.2 m. The setting of Cus-
tom Size is disabled when you exit the application software.
For more information, see "Printing on Non-Standard Paper Sizes ." ➔ P.104
Creating the banner in the application
Follow the steps below to create the banner in Microsoft Word using the Custom Paper Size you registered.
1
Start Microsoft Word.
2
Choose Page Setup from the File menu to display the Page Setup dialog box.
3
Under Paper Size, click the Custom Paper Size you registered—My Horizontal Banner in this example.
Important
• If My Horizontal Banner is not listed, make sure this printer is selected as the printer to use.
• In applications such as Microsoft PowerPoint that do not enable you to choose registered paper sizes, use
the custom paper size setting in Custom and specify 100×500 mm (3.9×19.7 in)
4
Set the printing orientation to horizontal.
5
Create the banner.
Printing the banner
Follow these steps to print the banner using the corresponding banner settings.
1
Choose Print in the Microsoft Word menu.
2
Select the printer in the dialog box, and then display the printer driver dialog box. (See "Accessing the Printer
Driver Dialog Box from Applications .") ➔ P.164
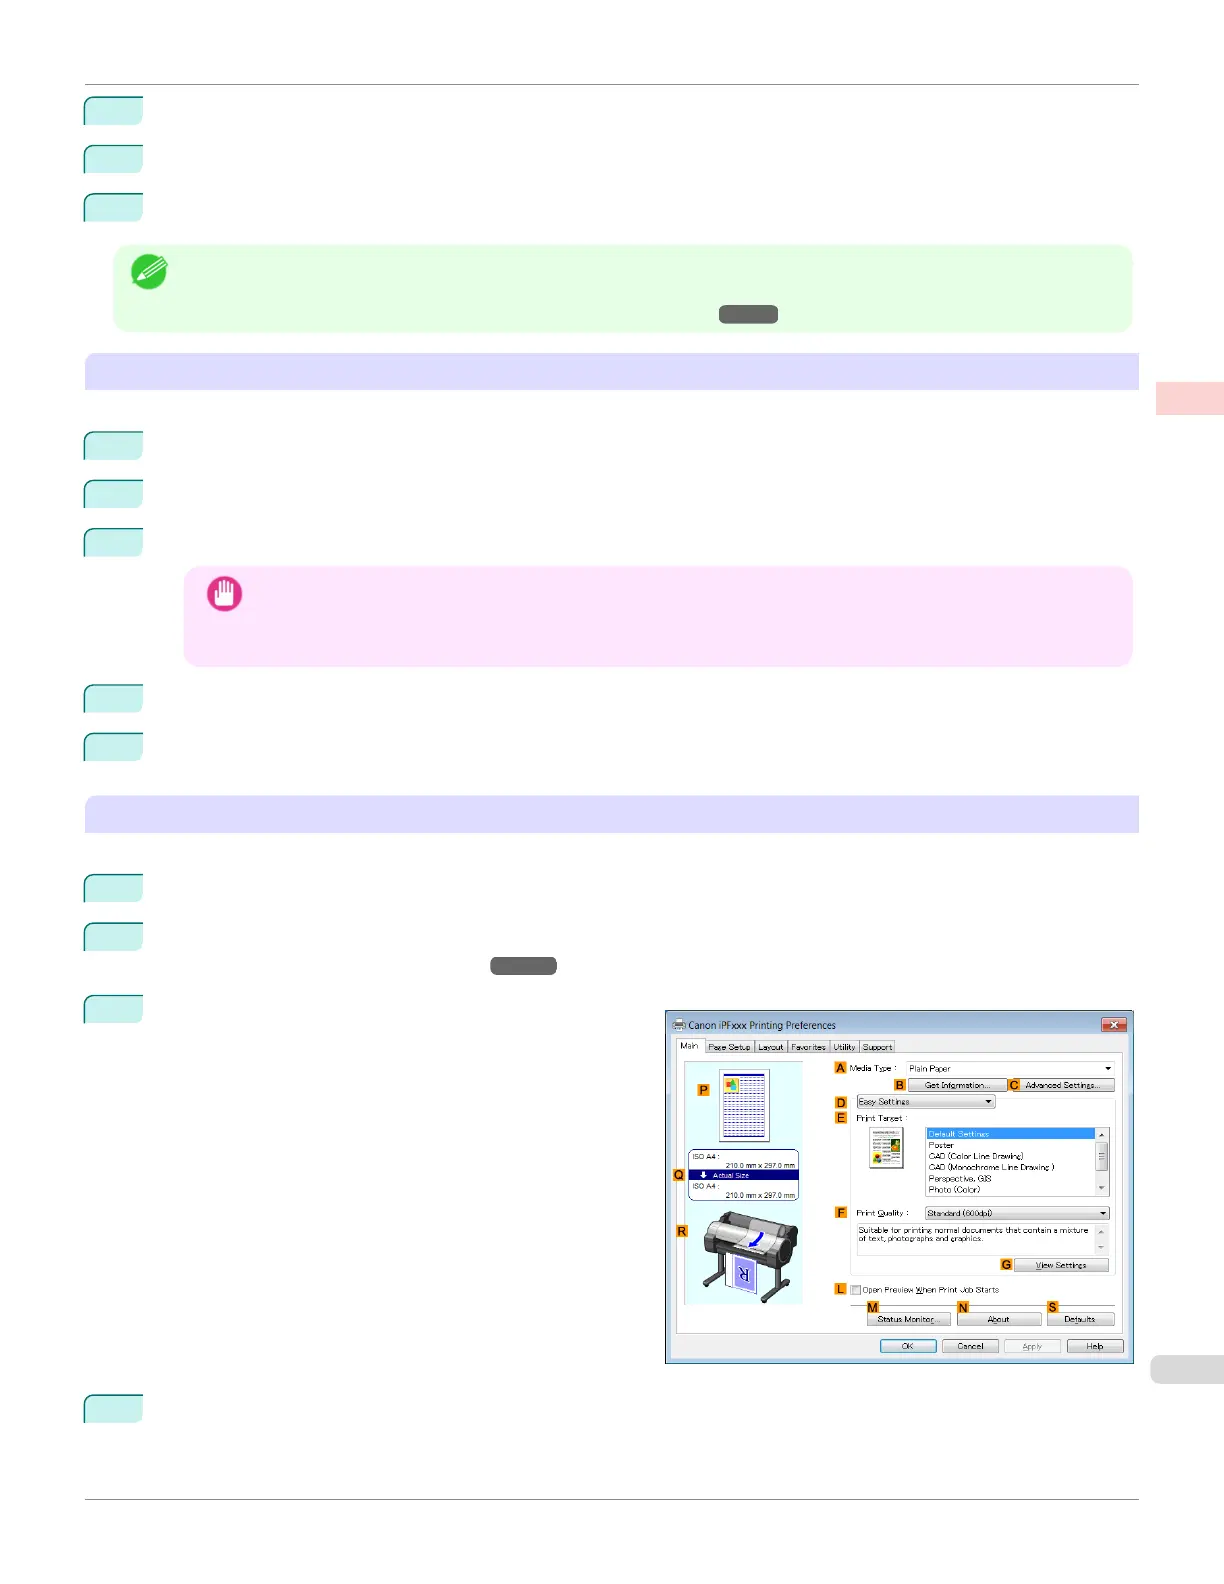
3
Make sure the Main sheet is displayed.
4
In the A Media Type list, select the type of paper that is loaded. In this case, click Plain Paper.
iPF680
Printing Vertical or Horizontal Banners (Large-Format Printing; Windows)
User's Guide
Enhanced Printing Options Printing banners or at other non-standard sizes
99
 Loading...