Chapter 4
4-18
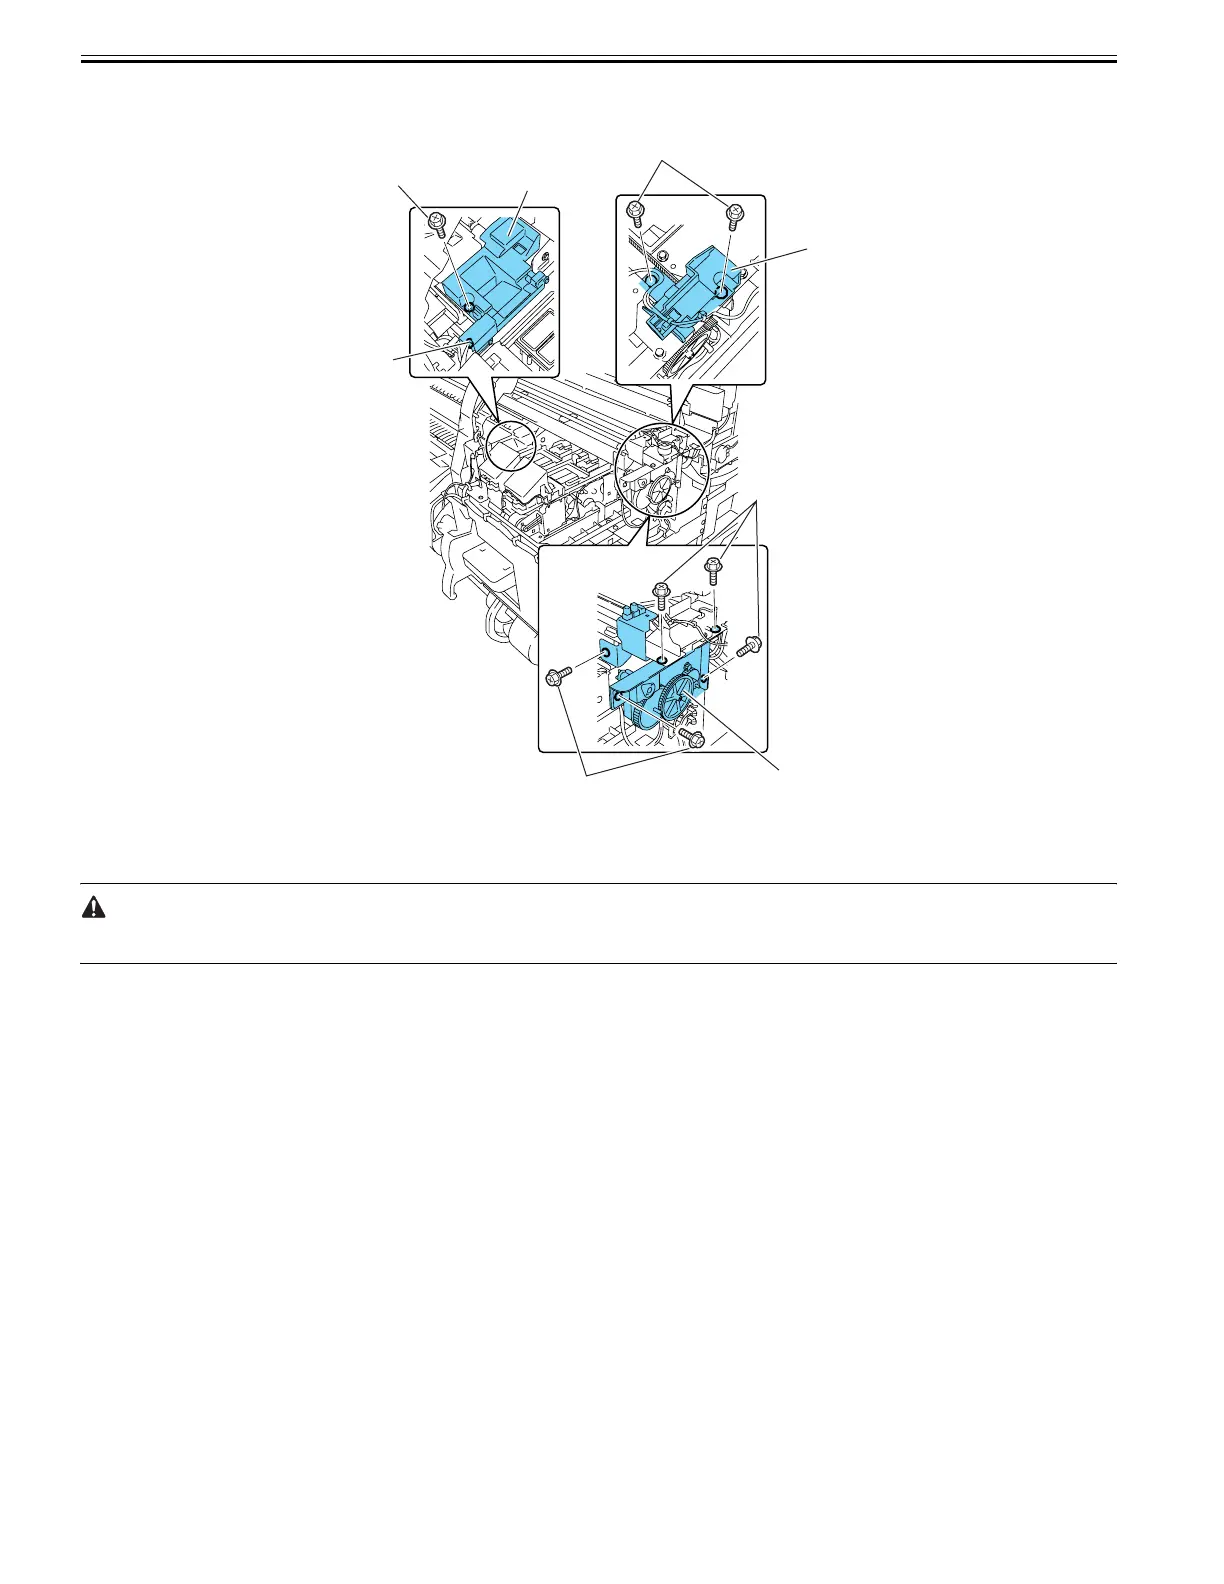
10) Remove two screws [1] and pulley base [2].
11) Remove screw [3] and the connector [4] to release head management sensor unit [5].
12) Remove five screws [6] and lift unit [7].
F-4-32
13) Remove the purge unit.
14) Remove the cutter unit, and lay the caterpillar of the ink tube unit on its side, and then remove the carriage from the right side of the printer.
To remove the carriage unit, pull it out of position keeping the carriage unit level with care not to harm the linear scale. Flaws on the linear scale could result in
malfunctioning.
[1]
[3]
[5]
[2]
[4]
[6]
[6]
[7]

 Loading...