Chapter 4
4-20
4.3.7 Carriage Unit
0017-5630
a) Removing the carriage unit
1) Drain the ink.
Refer to DISASSEMBLY/REASSEMBLY > Points to Note on Disassembly and Reassembly > Draining the Ink.
2) Turn off the power, and then move the carriage over the platen.
Refer to DISASSEMBLY/REASSEMBLY > Points to Note on Disassembly and Reassembly > Opening the Cap/Moving the Wiper Unit.
3) Remove the printhead.
4) Remove the joint of the ink tube unit. Wrap the removed joint with a plastic bag or other covering so that ink does not splashes, then close the plastic bag.
F-4-40
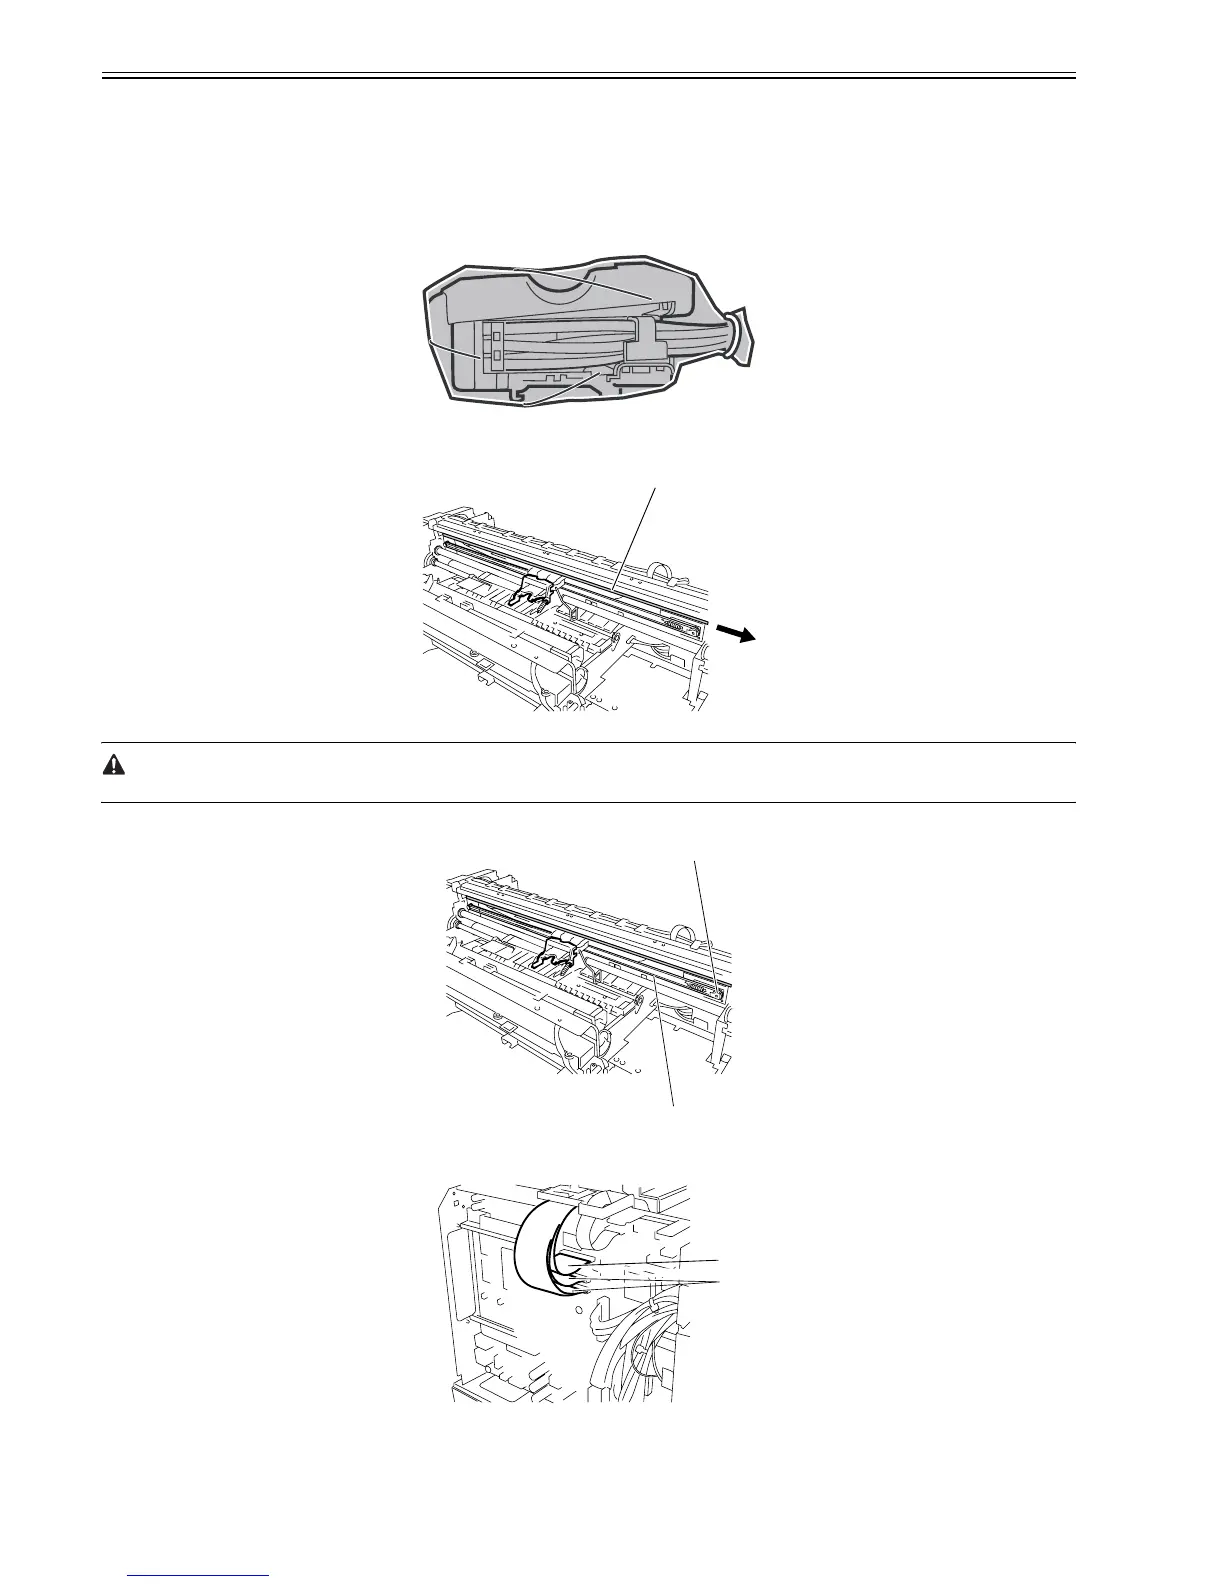
5) Remove the linear scale[1] from the right clamp plate's spring, and then remove it rightward.
F-4-41
When removing the linear scale, take care not to damage or stain it. The stained or damaged liner plate can cause malfunction.
6) While sliding the pulley[2] to the left, remove the carriage belt[1]. Tie the removed belt lightly on the unit.
F-4-42
7) Disconnect the connector[1] and two connectors[2] of the flexible cables on the main controller PCB.
F-4-43
[1]
[1]
[2]
[1]
[2]