Display the images to be printed and press the SET or SELECT
button.
elf
your camera has a
~1tV'
(Print/Share) or
~
(Direct print) button, printing starts
immediately after you press the
~1tV'
or
~
button (Step 5
is
not necessary).
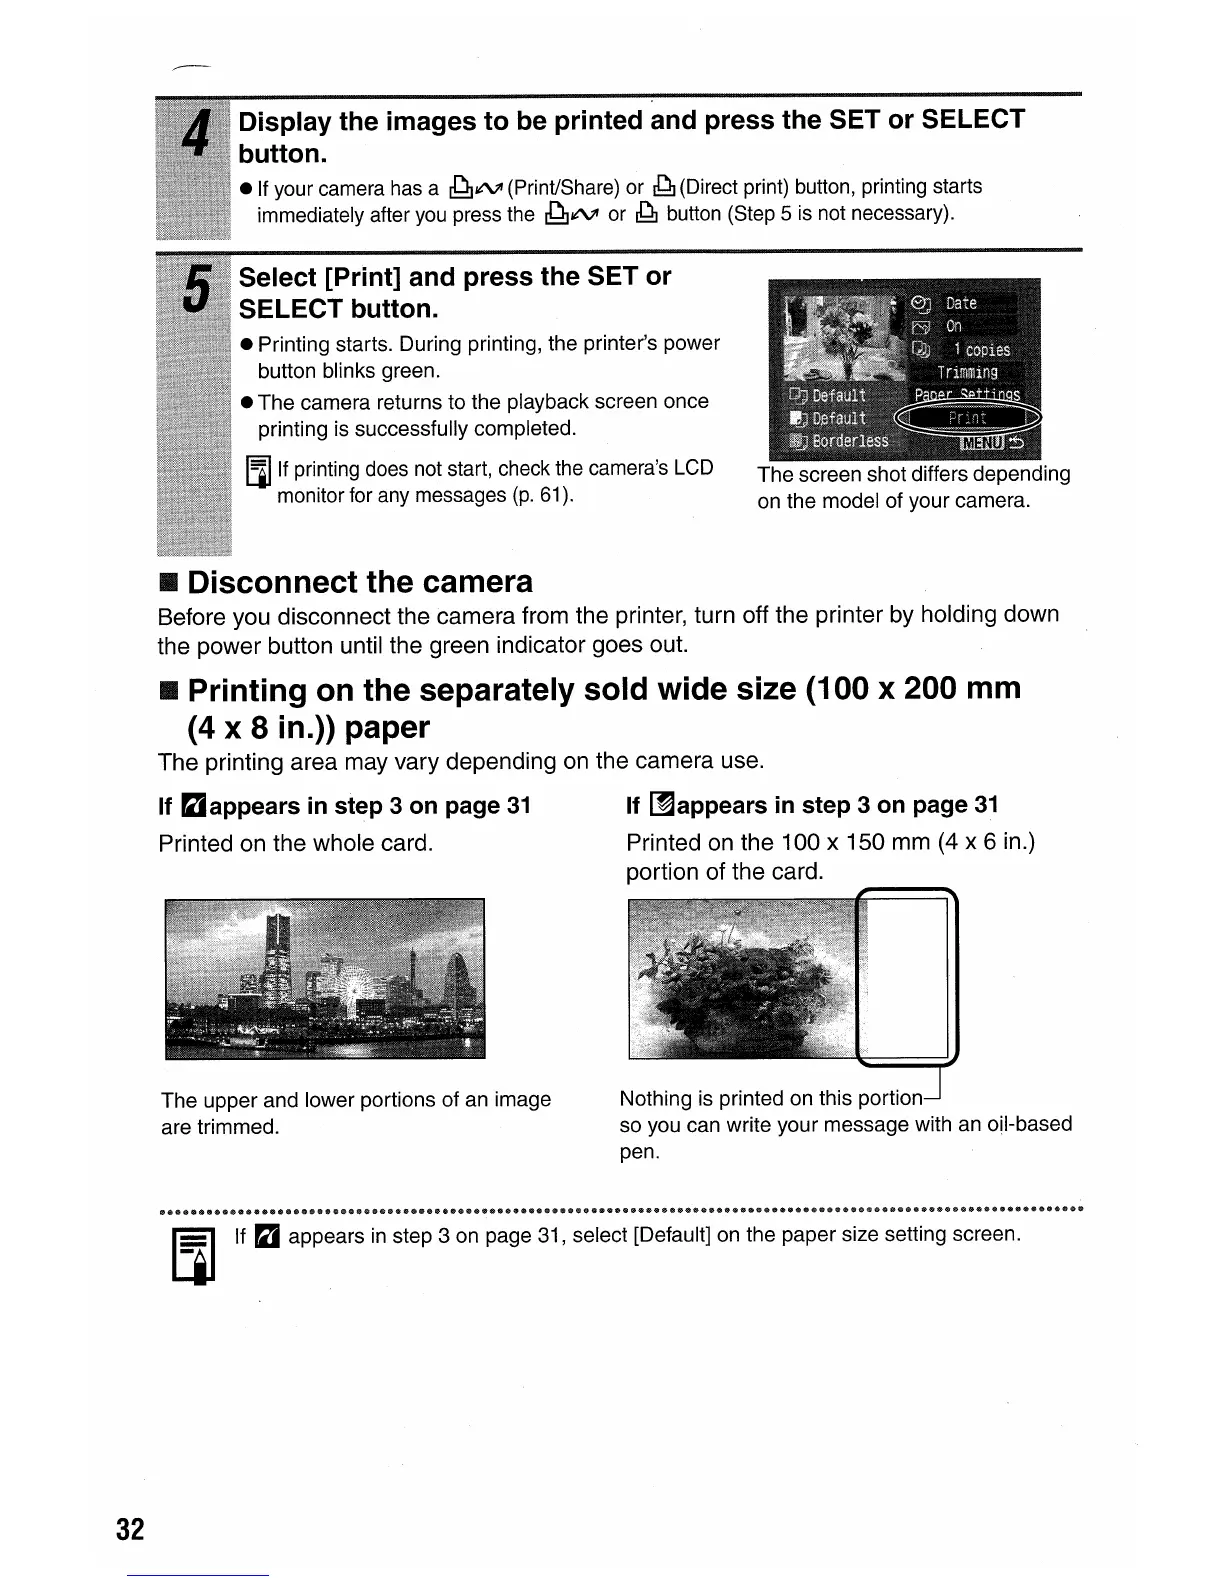
Select [Print] and press the SET or
SELECT button.
e Printing starts. During printing, the printer's power
button blinks green.
e The camera returns to the playback screen once
printing is successfully completed.
[l] If printing does not start, check the camera's LCD
monitor for any messages
(p.
61).
The screen shot differs depending
on the model of your camera.
• Disconnect the camera
Before you disconnect the camera from the printer, turn off the printer by holding down
the power button until the green indicator goes out.
• Printing
on
the separately sold wide size (100 x 200
mm
(4 x 8
in.»
paper
The printing area may vary depending
on
the camera use.
If
~appears
in
step 3 on page
31
If
~appears
in
step 3
on
page
31
Printed on the whole card. Printed
on
the 100 x 150
mm
(4
x 6 in.)
portion of the card.
The upper and lower portions of an image
are trimmed.
Nothing is printed on this portion
so you can write your message with an oil-based
pen.
32
[l] If
P2i
appears in step 3 on page 31, select [Default] on the paper size setting screen.