26 Chapter 7 Capturing Images on a Monitor and Transferring Images to a Computer
Preparing for Acquisition
Preparing the Camera
The protective sheath covers the camera and provides a sanitary shield for the patient. Use a new
protective sheath with each patient. Always discard the protective sheath after each use. For
additional protective sheaths, contact your dealer or the protective sheaths manufacturer.
To prepare the camera, follow these steps:
1 Make sure the window is clean by wiping it with a moist lint-free cloth or lens tissue.
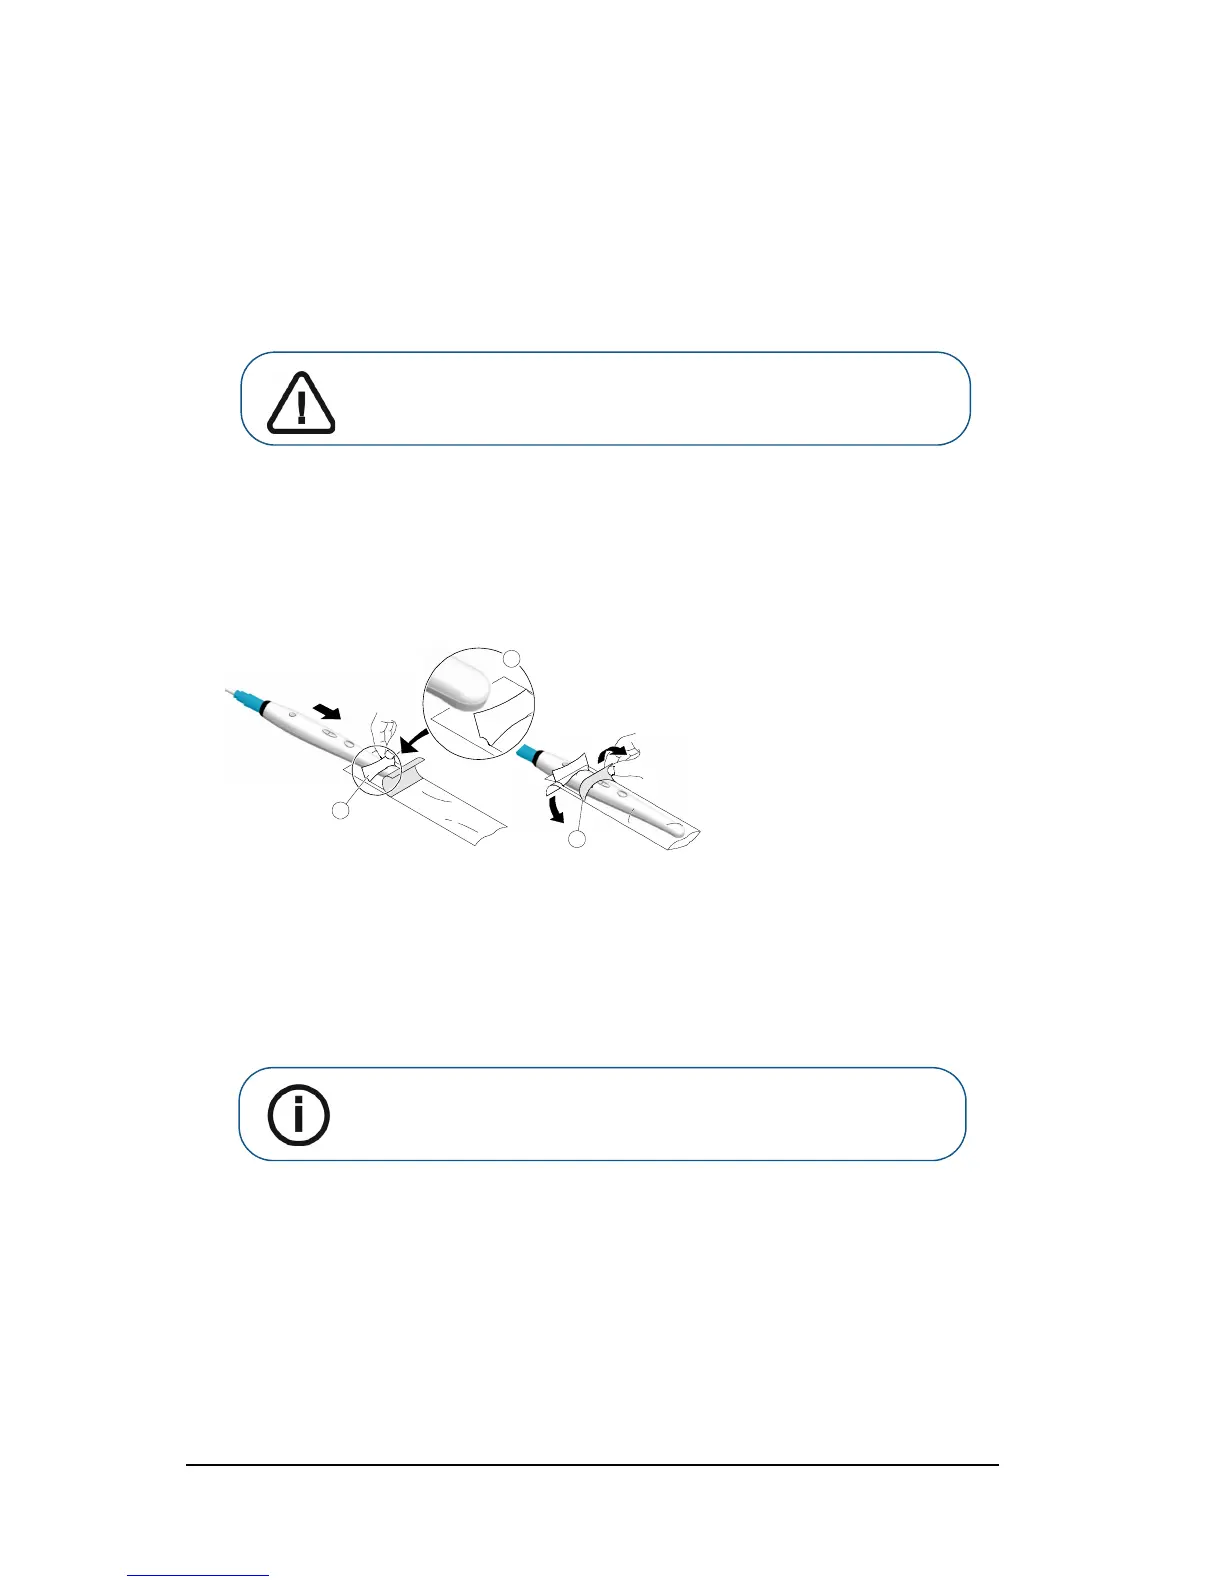
2 Place the protective sheath, paper side down, on a flat surface.
3 With the camera window facing down (A), insert the camera all the way into the protective sheath
between the protective sheath’s white tab and paper backing (
B).
4 Hold the protective sheath in place on the camera by gently pressing the white tab against the
camera with your thumb or finger.
5 Pull the blue tab on the front of the protective sheath straight down away from the camera (C) until
the paper backing is pulled away. Discard the paper backing, leaving the clear plastic protective
sheath on the camera.
6 Adjust the protective sheath if necessary. The end should be tight to prevent fogging or blurring of
the image.