5
6
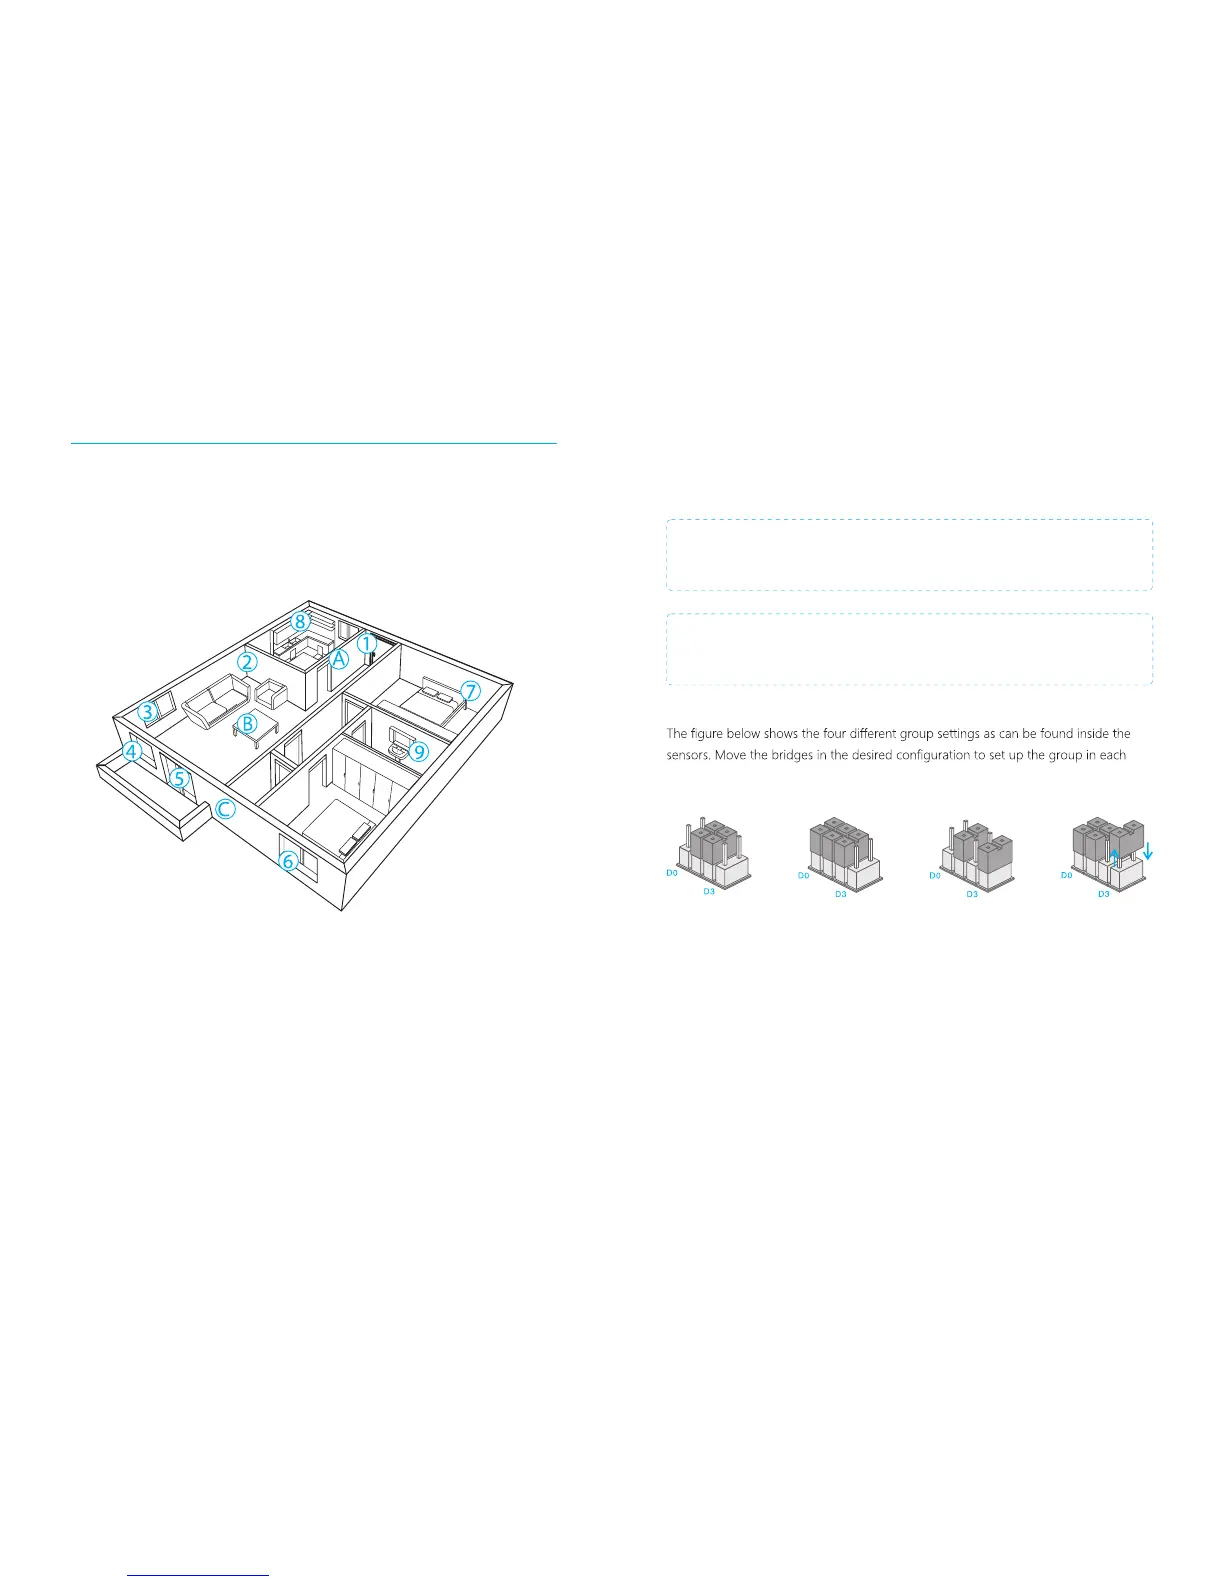
Sensor placement
The alarm system is more effective with well-placed and set sensors. Determine which
areas you want to monitor and with which sensor. In the picture below are potential
places shown for different types of sensors from which you can determine what the
best placing is for your space.
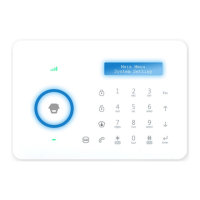
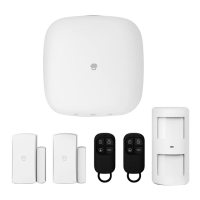
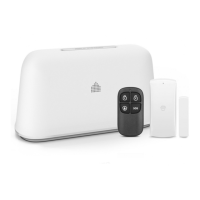
A. Alarm panel B. Remote control C. Siren
Front door : Door/window contact
Living area : PIR motion detector
Window: living area : Door/window contact
Window: living area : Door/window contact
Terrace door : Door/window contact
Window : Door/window contact
Bedroom : PIR motion detector
Kitchen : Gas detector
Wash room : Water flood detector
1.
2.
3.
4.
5.
6.
7.
8.
9.
Sensors
Grouping sensors
Each sensor can be placed in a group. Four different groups can be selected. The
home group, normal group, 24-hour group or a single zone group.
IMPORTANT: Determine before setting the alarm system which group a sensor
should be placed.
IMPORTANT: If sensor group have to be changed, the sensor must reconnect to
the control panel.
sensor.
Single delay group
(delay time)
Normal group: The supplied door/window contact is by default set on the normal
group with bridges set on ‘D0, D1 and D2’. In the normal group setting, a sensor is
always activated when the alarm is armed.
Home group: The supplied PIR motion detector is by default set on the home-group
(‘D1 and D2’). When the home group is activated, the sensors will send a signal to the
alarm system when triggered but does not respond to the signal. Sensors in the
normal group will send a signal when triggerd and the alarm system will respond. With
the home group it is possible to partially arm the house with the advantage of being
able to walk in the house.
Home group Normal group
24-hour group
PIR-900 Wireless PIR Motion Detector
1.
2.
3.
1.
2.
3.
IMPORTANT: When single zone group is selected, the sensor will always be in
the normal group. It is not possible to place it in the home group.
3 Years
Warranty