7
8
1.
2.
3.
4.
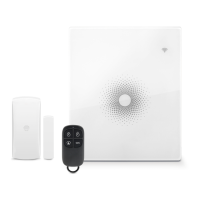
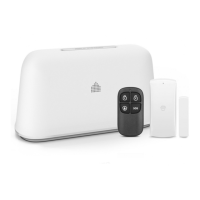
Getting Started
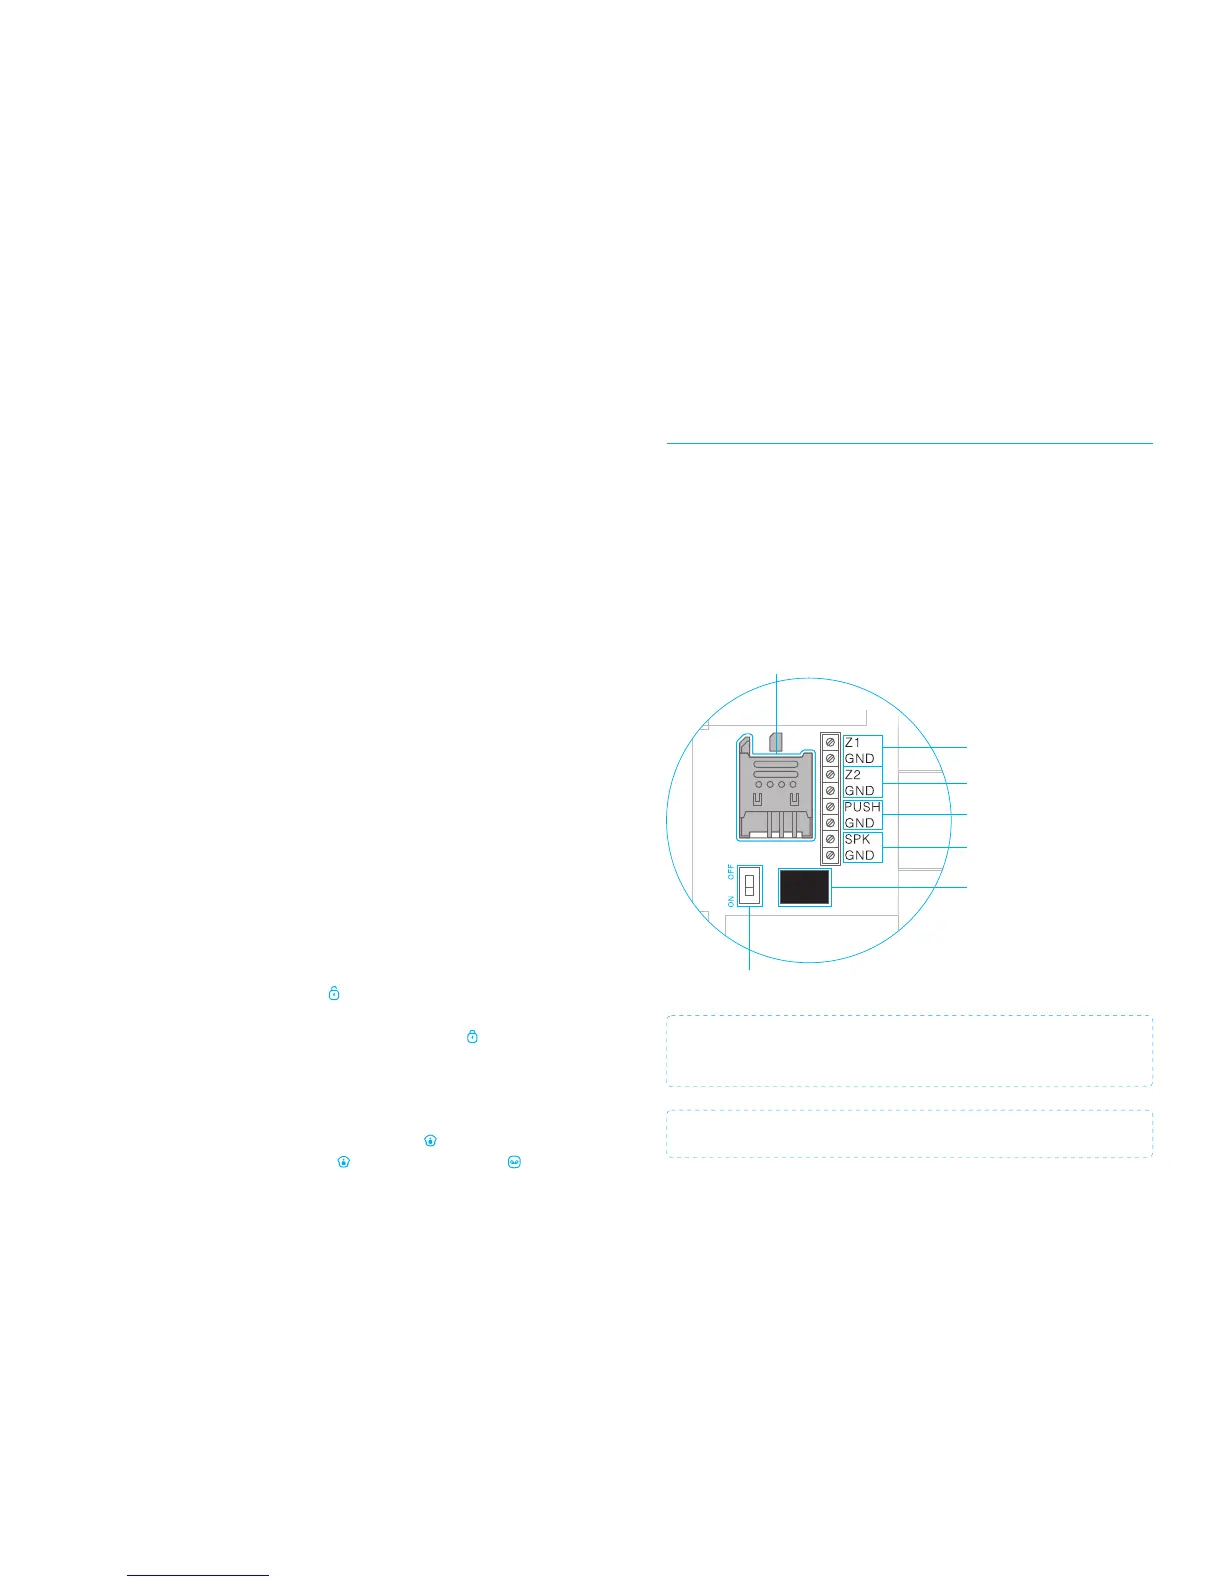
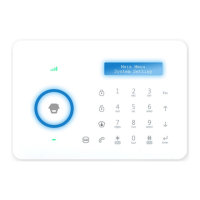
Inserting SIM card
Before inserting the SIM card, please perform the following steps:
Make sure the alarm system is power off.
IMPORTANT: Remove the (default) code permanently from the SIM card.
Turn off the voice mail function if it is enabled.
Insert the SIM card into the SIM card holder from the alarm system as shown in the
illustration below. Slide the SIM card holder open before putting the SIM card in.
GSM SIM-card holder
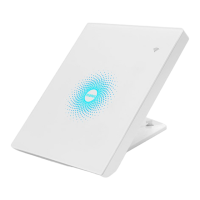
Power On/Off
Input for wired sensors
24-hour group
Output for electronic lock
Adapter interface
Wired connection
Siren 12V≤ 500mA
Input for wired sensors
(Normal group)
IMPORTANT: In order to use and set up the alarm system, SMS texting will be
used. The use of SMS texting cost money. Consult your carrier for the costs.
IMPORTANT: The Android and/or Apple App both make use of SMS.
Single delay group: One or more detectors can be set in single delay group that will
alarm at the specified time after being triggered. The state is usually used for
door/window contact on the entrance. For example, if the user does not want to carry
the remote control, he/she can set the door/window contact in single delay group and
set the time to 30 seconds. When the user comes home, the control panel will alarm
after 30 seconds, so it leaves certain time for the user to disarm the system.
24-hour group: The group (‘D0, D1 and D3’) is recommended as default 24-hour
setting for sensors which can detect smoke or gas for instance. When set to this group
the sensor is always active and will always send a signal to the control panel when
triggerd, regardless whether the system is armed or disarmed without delay.
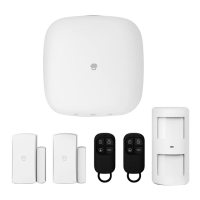
Changing sensors name
The supplied motion detector and door/window contact are by default paired with the
alarm system. Every sensor is called a zone and every sensor will get it’s own zone
number assigned. The door/window contact is by default assigned to zone 1. The
motion detector is by default assigned to zone 2. Each sensor that will be assigned
afterwards will become zone 3, zone 4.. in that particular order. Names can be set up
to 9 zones.
Test mode alarm system
The alarm system can be put in a testing mode. This will cause the alarm to beep three
times when it getting a signal from a sensor which is triggered, instead of ringing the
siren.
The test mode can be started by pressing the button three times in a row on the
panel until the system beeps once. After 10 minutes the system will automatically stop
the test mode. It is also possible to stop the test mode by pressing the button.
Record alarm message
When the alarm is activated the control panel will call the set emergency numbers and
play a message. This message can be changed by pressing the button, then type
the disarm code (default 1234), press again the button and finally press the
button. From that point you have 10 seconds to leave a message.
PIR-900 Wireless PIR Motion Detector
1.
2.
3.
1.
2.
3.
IMPORTANT: When single zone group is selected, the sensor will always be in
the normal group. It is not possible to place it in the home group.
3 Years
Warranty