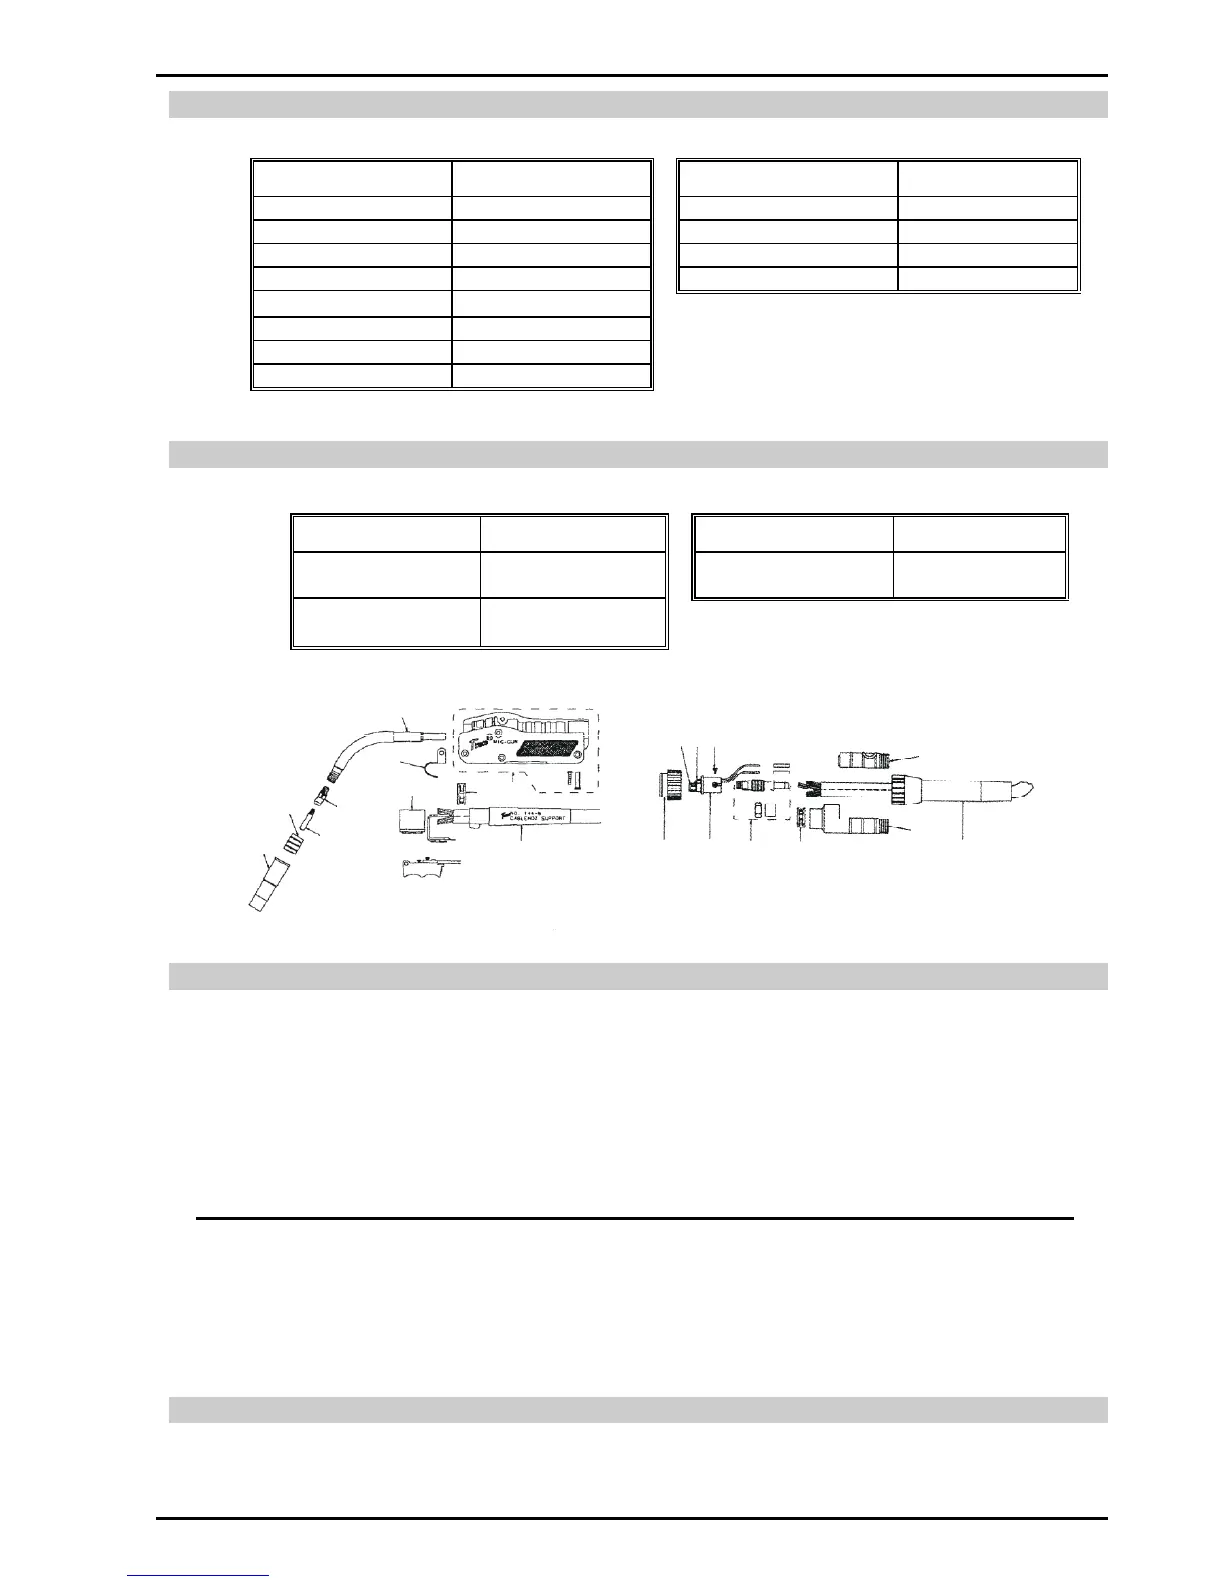
Table 9 – MIG Torch Conduits
11.04 Installing a new Wire Conduit
a) Be sure the MIG Torch cable is arranged in a straight line, free from twists, when installing or removing a wire conduit.
Remove the old conduit by first removing the conduit retaining nut, MIG Torches nozzle, contact tip and gas diffuser. Pull the
old wire conduit out of the cable assembly from the connector plug end.
b) To install a new wire conduit, first inspect the o-ring gas seal on the conduit for cuts or damage. Start from the connector plug
end of the assembly and begin pushing the conduit through the connector plug, cable assembly and into the torch. If the
conduit should lodge along the way, gently whip or work the cable assembly to aid forward movement.
c) When the wire conduit stop meets the end of the connector plug and the new raw end extends through the end of the
conductor tube, secure the conduit retaining nut at the plug to prevent its backward movement.
NOTE 4
When the conduit is fully inserted into the cable assembly and the conduit stop is firmly against the Connector Plug, the "raw
end" of the conduit will protrude out of the open end of the torch conductor tube. Trim the conduit to 34mm. The trimmed end
which seats in the Gas Diffuser must be filed and reamed smooth on the inside and outside radii so wire feed will not be
obstructed.
d) Replace Gas Diffuser, Contact Tip, and Nozzle.
e) Tighten the Allen screw in the conductor tube.
11.05 MIG Torch Maintenance
Remove dust and metallic particles from the torch conduit by forcing clean, dry compressed air into the conduit once a week.
This will minimise wire feeding problems.