2-4
Cisco CGS 2520 Hardware Installation Guide
OL-31444-01
Chapter 2 Switch Installation
Installing the Switch
Installing the Switch
The following installation information is covered in this section:
• Mounting into a Rack, page 2-4
• Wall-Mounting, page 2-16
Note After the switch is mounted onto the rack, connect the power source to the switch. For more information,
see the “Power Supply Installation” chapter.
Mounting into a Rack
The following mounting procedures are explained in this section:
• Mounting Brackets, page 2-4
• Attaching Brackets for 19-Inch Racks, page 2-5
• Attaching Brackets for 19-Inch Racks (IP-30 Compliance), page 2-7
• Attaching Brackets for 23-Inch Racks, page 2-12
• Attaching Brackets for ETSI Racks, page 2-13
• Mounting the Switch into a Rack, page 2-15
Warning
To prevent bodily injury when mounting or servicing this unit in a rack, you must take special
precautions to ensure that the system remains stable. The following guidelines are provided to ensure
your safety:
• This unit should be mounted at the bottom of the rack if it the only rack in the rack
• When mounting this unit in a partially filled rack, load the rack from the bottom to the top with the
heaviest component at the bottom of the rack
• If the rack is provided with stabilizing devices, install the stabilizers before mounting or servicing
the unit in the rack.
Statement 1008
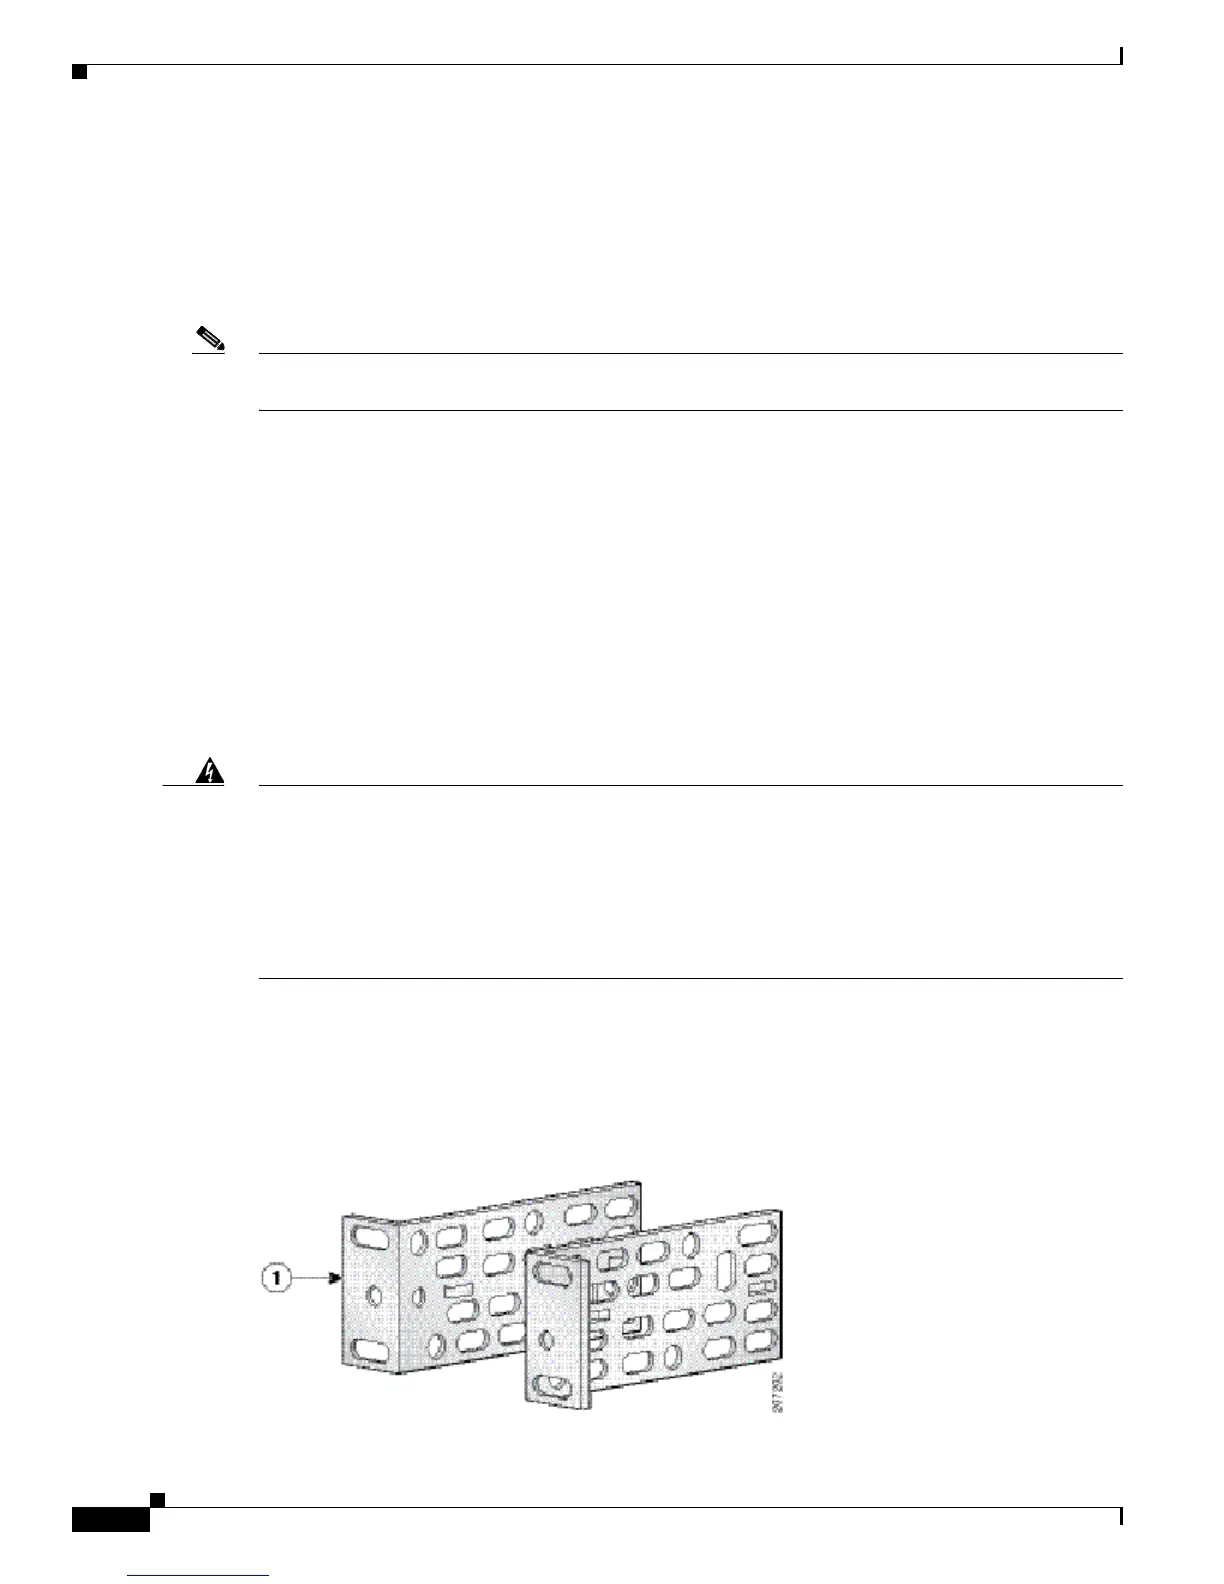
Mounting Brackets
Figure 2-1 shows the 19-inch rack mounting brackets.
Figure 2-1 19-inch Mounting Brackets