c) Push the tray into the slot until it touches the backplane, and then close the ejector lever to lock the drive in place.
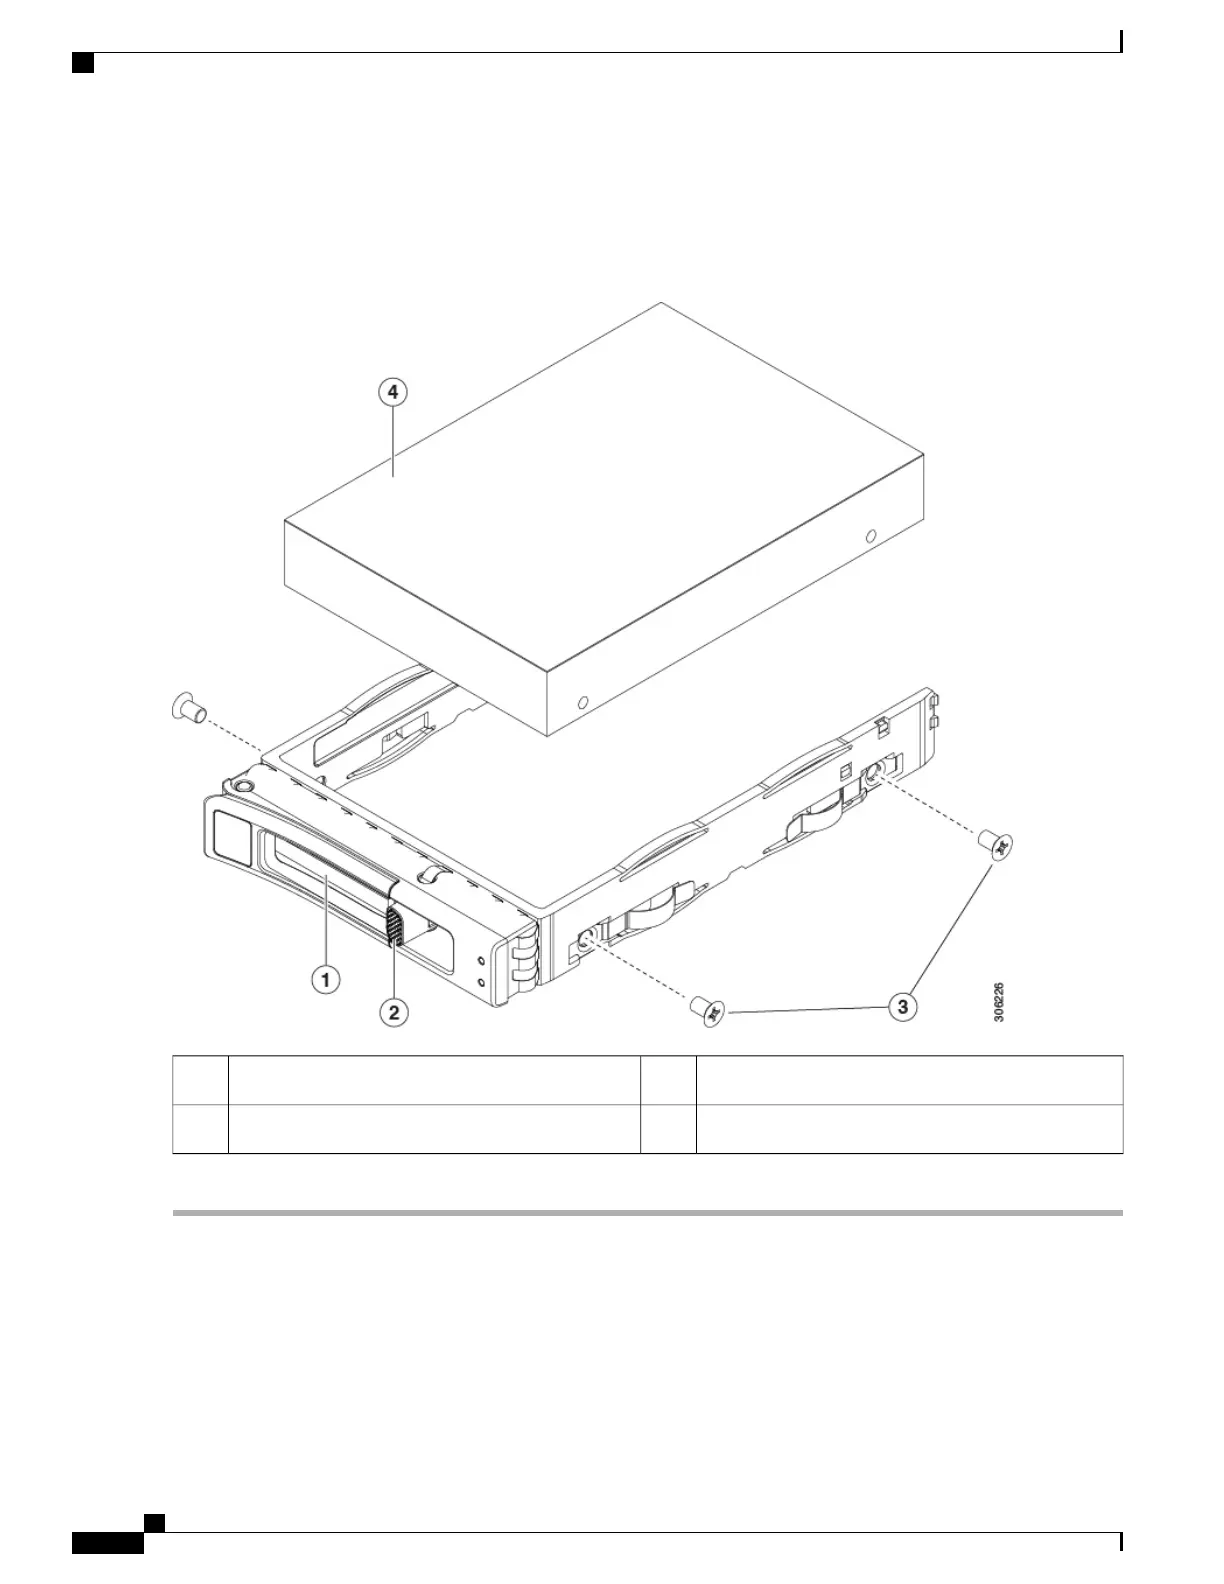
Figure 19: Replacing a Drive in a Drive Tray
Drive tray screws (two on each side)3Ejector lever1
Drive removed from drive tray4Release button2
Cisco UCS C240 M5 Server Installation and Service Guide
50
Maintaining the Server
Replacing Front-Loading SAS/SATA Drives

 Loading...