750-96 (revised 2010)
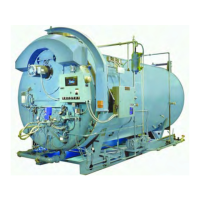
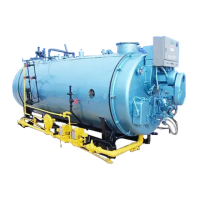
Model CB Packaged Boiler Manual
7-9
7.8 — Gas Burner Maintenance
grounding of the ignition voltage. Carbon is an electrical conductor, so it is necessary to keep the insulating por-
tion of the electrode wiped clean. Ammonia will aid in removing carbon or soot.
Check ignition cables for cracks in the insulation. Also see that all connections between the transformer and elec-
trodes are tight.
Periodically remove the access plug from the gas pilot aspirator and clean out any accumulated lint or other for-
eign material.
7.8 — Gas Burner Maintenance
There is little maintenance required on the gas burner itself beyond checking the burner components for evidence
of damage due to improperly adjusted combustion.
Check periodically for a proper seal between the end of the burner and oven refractory. Also check to see that the
diffuser is not covering the gas exit holes in the burner housing.
Check the electrode setting and for any cracks that might be present on the porcelain insulator. If there are,
replace the electrode since it can cause grounding of the ignition voltage. Inspect the tip of the electrode for signs
of pitting or combustion deposits and dress as required with a fine file. See Chapter 5, Section 5.13 for correct
electrode settings.
Periodically remove the access plug from the gas pilot aspirator and clean out any accumulated lint or other for-
eign material.
Check the ignition cables for cracks in the insulation. Also see that all connections between the transformer and
electrodes are tight.
7.9 — Motorized Gas Valve
Should the valve fail to operate, check its operation by applying test leads of the proper voltage to terminals 1 and
2 of the actuator. Make certain that the main shutoff cock is closed prior to testing. If the actuator fails to operate,
it must be replaced, The actuator is not field repairable nor should it be disassembled.
To remove the actuator, loosen the two 5/32” allen setscrews that hold the actuator collar to the valve bonnet.
After replacement, cycle the valve with the fuel shut off to determine that it opens and closes. If the valve has a
visual indicator, observe the colored indicator:
• Yellow = shut
• Red = open
The auxiliary switch normally used as a valve closed indication switch is replaceable as a component.
Courtesy of: C3 Surplus LLC
Surplus Industrial Superstore
305-428-2777
https://www.c3surplus.com