Chapter 2: To get started
98-148232-E Installation process 16
5. When installation is completed successfully, the LED turns steady green and then, after a
few minutes, the light goes off. If you have enabled Automatic Context Activation, the
data connection is established automatically.
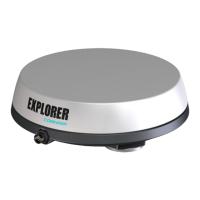
6. The EXPLORER 540 is now ready for use. For details on how to access the EXPLORER 540
from a remote location, see To access the terminal from a remote location on page 25.
After successful installation, the EXPLORER 540 will automatically register on the BGAN
network at every power-up and, if Automatic Context Activation is enabled, establish a data
connection again. This is also the case following one of the “wake-on” actions after power save.
Audio assisted pointing
By default, the EXPLORER 540 uses a pointing sound to indicate the signal level during the
pointing procedure (Audio assisted pointing). The sound pattern is as follows:
• Poor signal strength: • • • •
• Good signal strength: •••••••••••••••••••
• Optimum signal strength: (continuous sound instead of single “beeps”)
You can disable the pointing sound using the web interface. For details, see To enable or
disable the pointing sound on page 66.
To repoint the antenna
You may need to point the antenna again later, e.g. if the terminal has been moved or the
signal is blocked.
To start the installation process again, you can do one of the following:
• Use the web interface (
(Control panel) and then Installation). See To restart the
installation process (BGAN) on page 58.
• Reset the EXPLORER 540 using the Reset button inside the interface enclosure on the back
of the terminal. See Reset button on page 101.
The LED is off after successful installation. The LED only comes on again during
reboot or if you restart installation.
If the LED is steady yellow after pointing, it means the installation failed. See
Troubleshooting on page 102.