Chapter 4: Configuration with web interface
98-148232-E To use the logs 59
3. Turn and tilt the antenna slowly until you have obtained the highest possible signal
strength. You can use the pointing sound as well as the signal strength shown on screen.
For details, see Installation process for satellite operation on page 15.
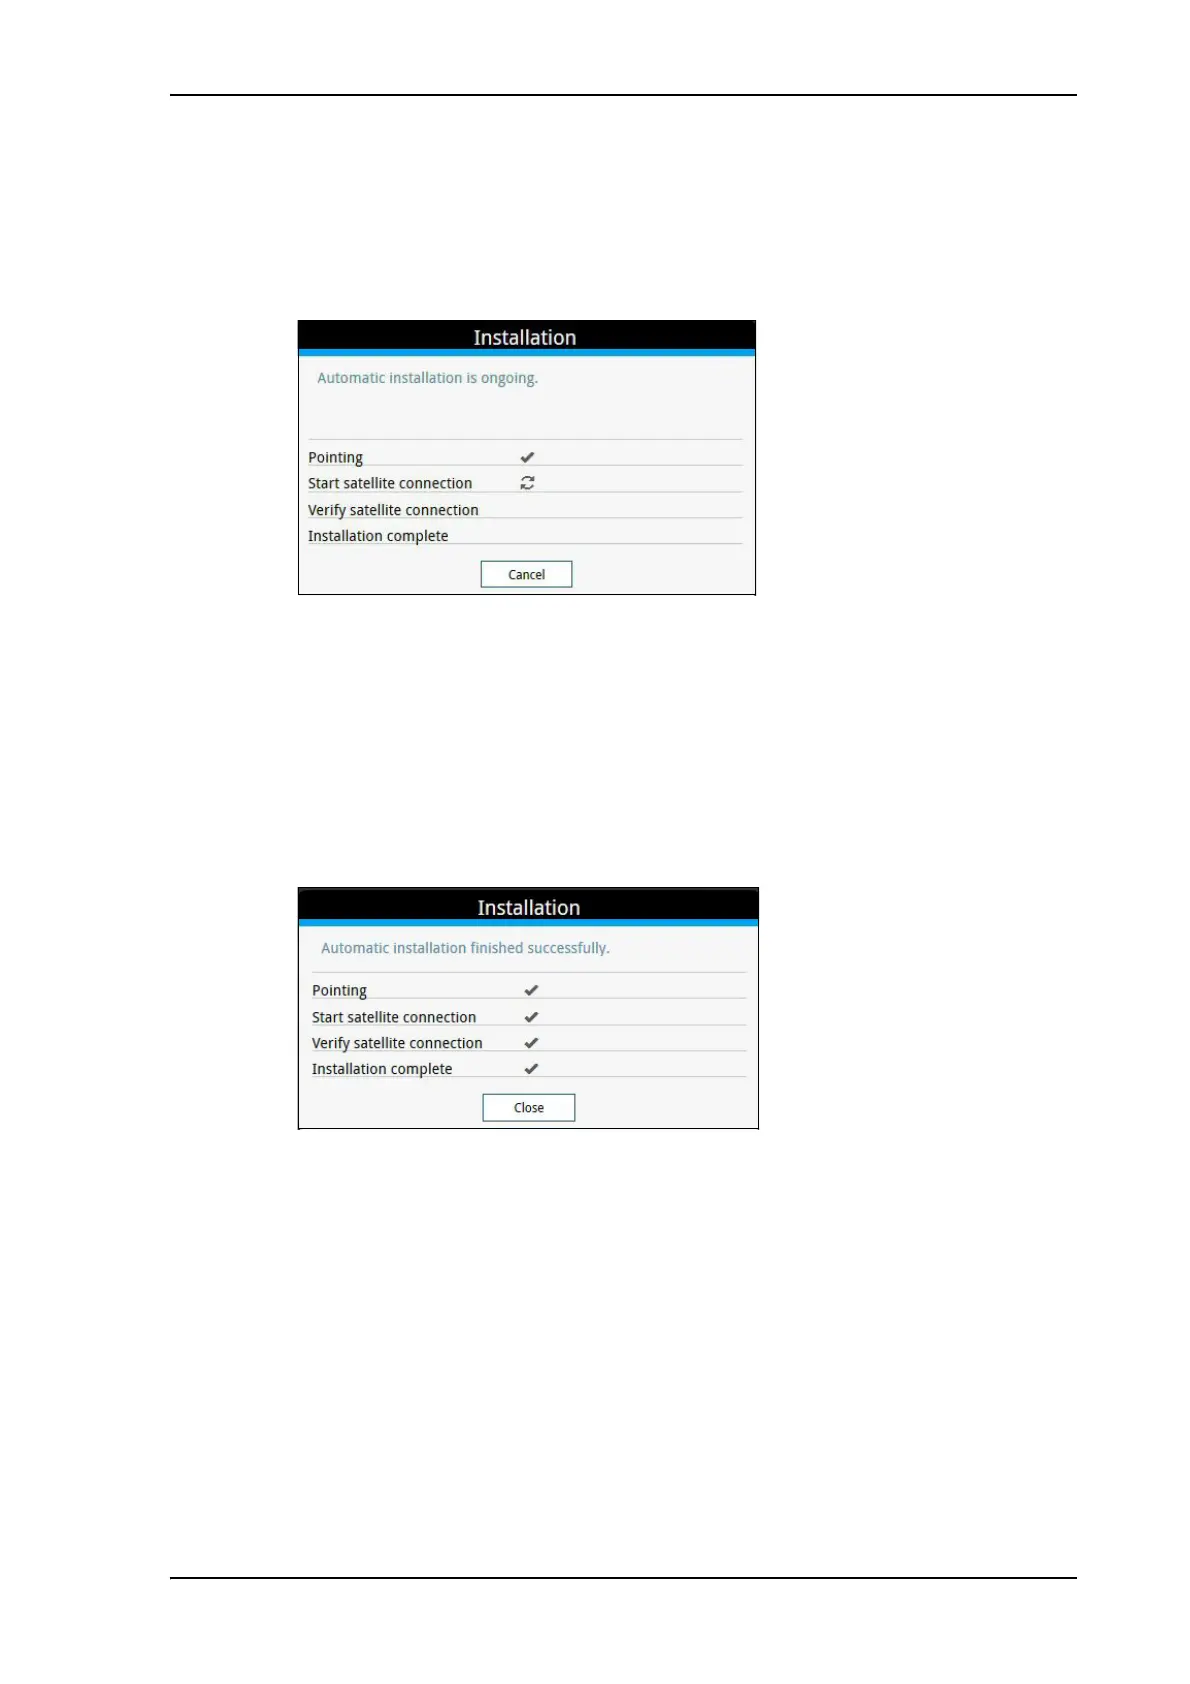
4. When the EXPLORER 540 has detected a stable BGAN signal it automatically exits the
pointing process and starts to connect to the BGAN network.
• If you do nothing, the EXPLORER 540 automatically connects to the BGAN network (if
possible) and then completes the installation process.
• If you want to cancel installation and start over at next power-up, click Cancel. You can
still configure the EXPLORER 540, and the LED will be active.
If there are problems with the installation, the web interface will show a warning icon next
to the failing step in the installation window. The LED on the EXPLORER 540 will be yellow
(warning). See Troubleshooting guide on page 102.
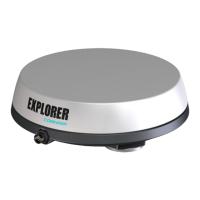
5. Tighten the screws to fix the EXPLORER 540 in the pointed position.
6. When the installation process has ended, click Close to close the Installation window.
To use the logs
To access the logs
To access the Logs, select and select Logs from the menu. The Logs page contains:
• Call log: A list of all incoming, outgoing and missed calls since the log was last cleared.
• Data log: A list of all data sessions since the log was last cleared.
• Total counters: Totals for each type of service since the log was last cleared.
Date and time is the international UTC time, received from the satellite.