5-12 Compaq 1000 Series UPS Operation and Reference Guide
Step 3: Installing New Batteries
To install new batteries, reverse the steps in “Removing the Battery Pack,” in
this chapter.
WARNING: To reduce the risk of short-circuits or arcing, connect the positive
(red) battery lead before connecting the negative (black) battery lead.
IMPORTANT: Check clearance on battery terminal connections when re-inserting the
battery pack into the battery compartment.
Step 4: Testing New Batteries
After installing the new batteries, press the TEST/ALARM RESET button.
For more information on running a self-test, see Chapter 3, “Operation.”
IMPORTANT: The UPS will not execute a self-test until the batteries are 90% charged.
If the installation has been successful, the green Battery Charge indicators
(LEDs 6 to 8) show that the UPS is charging the batteries. This means that the
installation is now complete.
If the installation has not been successful, the Battery Service indicator
(LED 10) will turn red. If this occurs, check the battery terminal connections.
If the Battery Service indicator is still red, see Chapter 6, “Troubleshooting,”
for more information.
Step 5: Disposing of Used Batteries
The spare battery kit includes the instructions and packaging required to return
used batteries to the appropriate location for disposal.
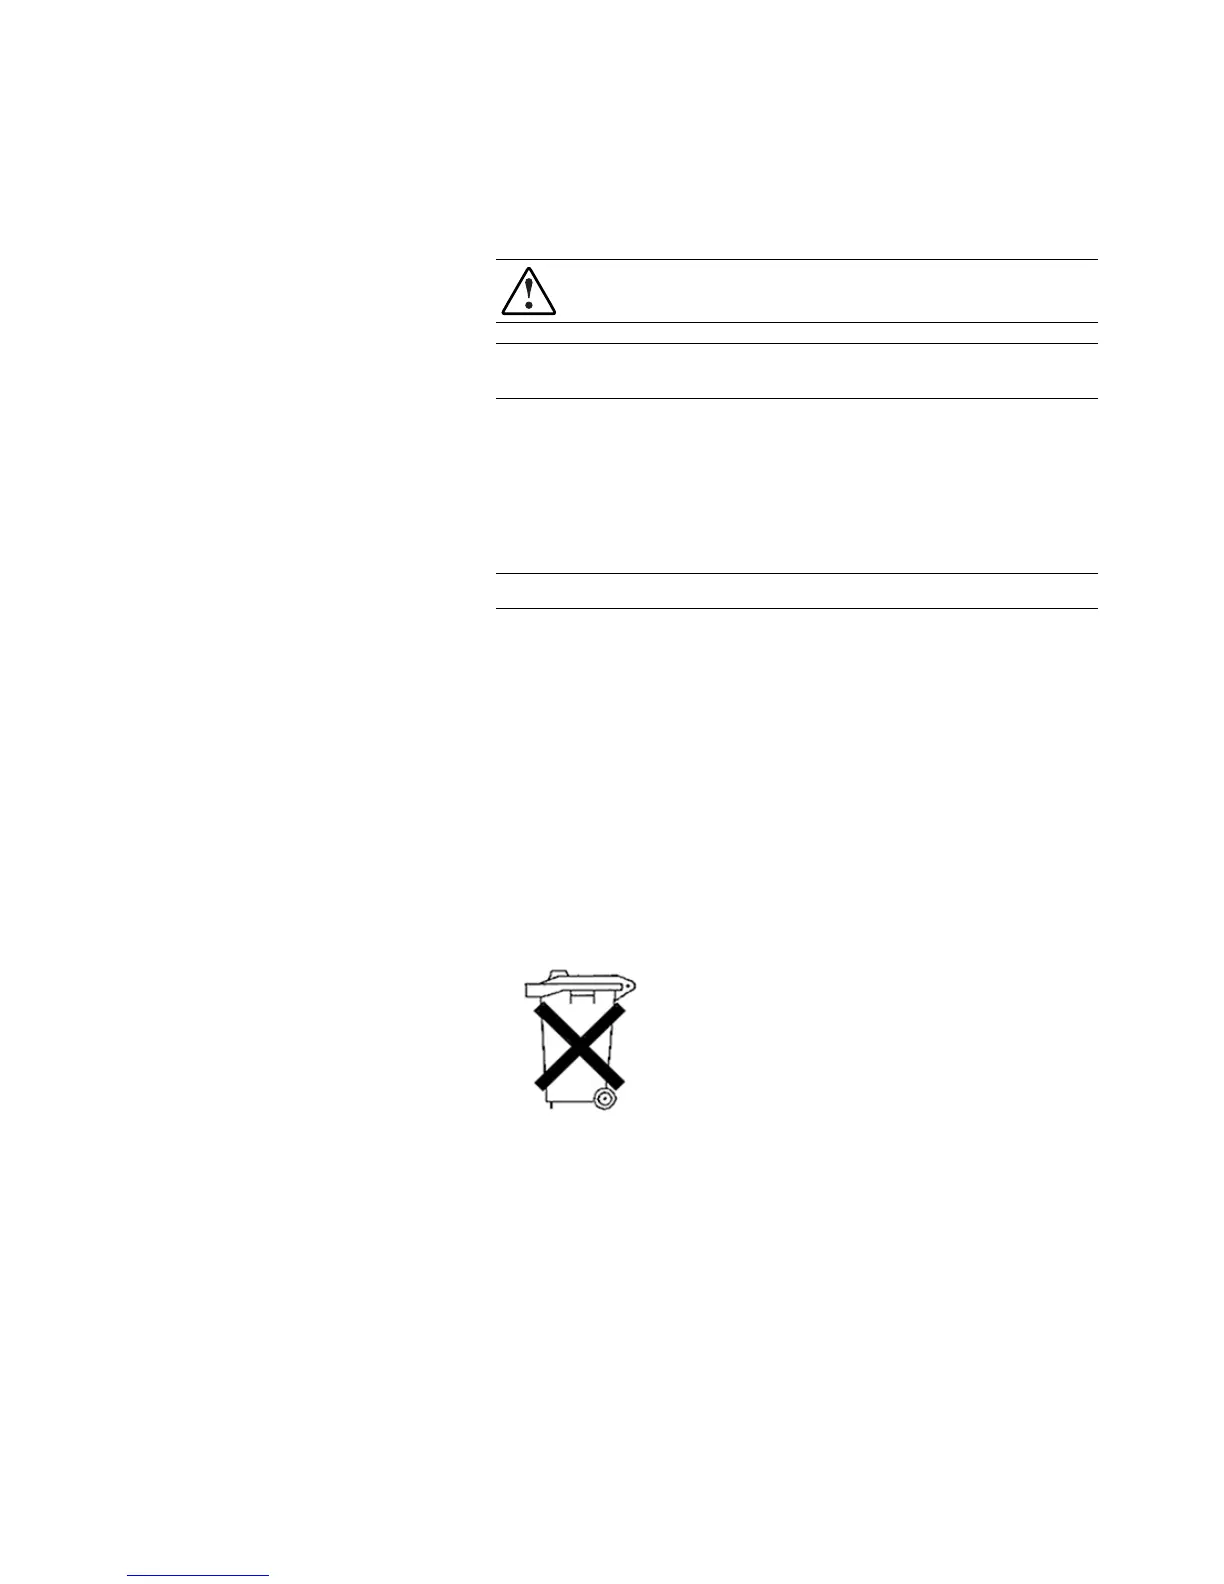
Do not dispose of used batteries with general office or household
waste. Return the used module for proper disposal to either:
■ Compaq, authorized Compaq Partners, or their agents.
■ A recycling center that meets all local environmental
standards.
 Loading...