Pre-setting fixtures are available in two different models.
A bigger fixture is available as an option art.no. 3-45082. The bigger fixture gives
a very exactly pre-setting of clearance for the rotating knives before installing.
Pre-setting
1 Screw the adjustment screws in somewhat (into the knife) on the knife.
2 Place the pre-setting fixture right in front of one of the knife adjusting screws,
with the knife edge backward and upwards.
3 Put an 0.20 mm feeler gauge between the knife edge and the rear of the fixture.
4 Use a hex wrench (8 mm) and unscrew the adjustment screws until the feeler
gauge begins to bind.
5 Place the pre-setting fixture right in front of the knife second adjusting screw,
with the knife edge backward and upwards.
6 Put an 0.20 mm feeler gauge between the knife edge and the rear of the fixture.
7 Use a hex wrench (8 mm) and unscrew the adjustment screws until the feeler
gauge begins to bind.
8 Then the pre-setting is completed and the knife can be installed in the granulator.
Installing of pre-set knives
NOTE: All knife positions must be properly cleaned and free from oil and grease!
Tips for installation of pre-set knives:
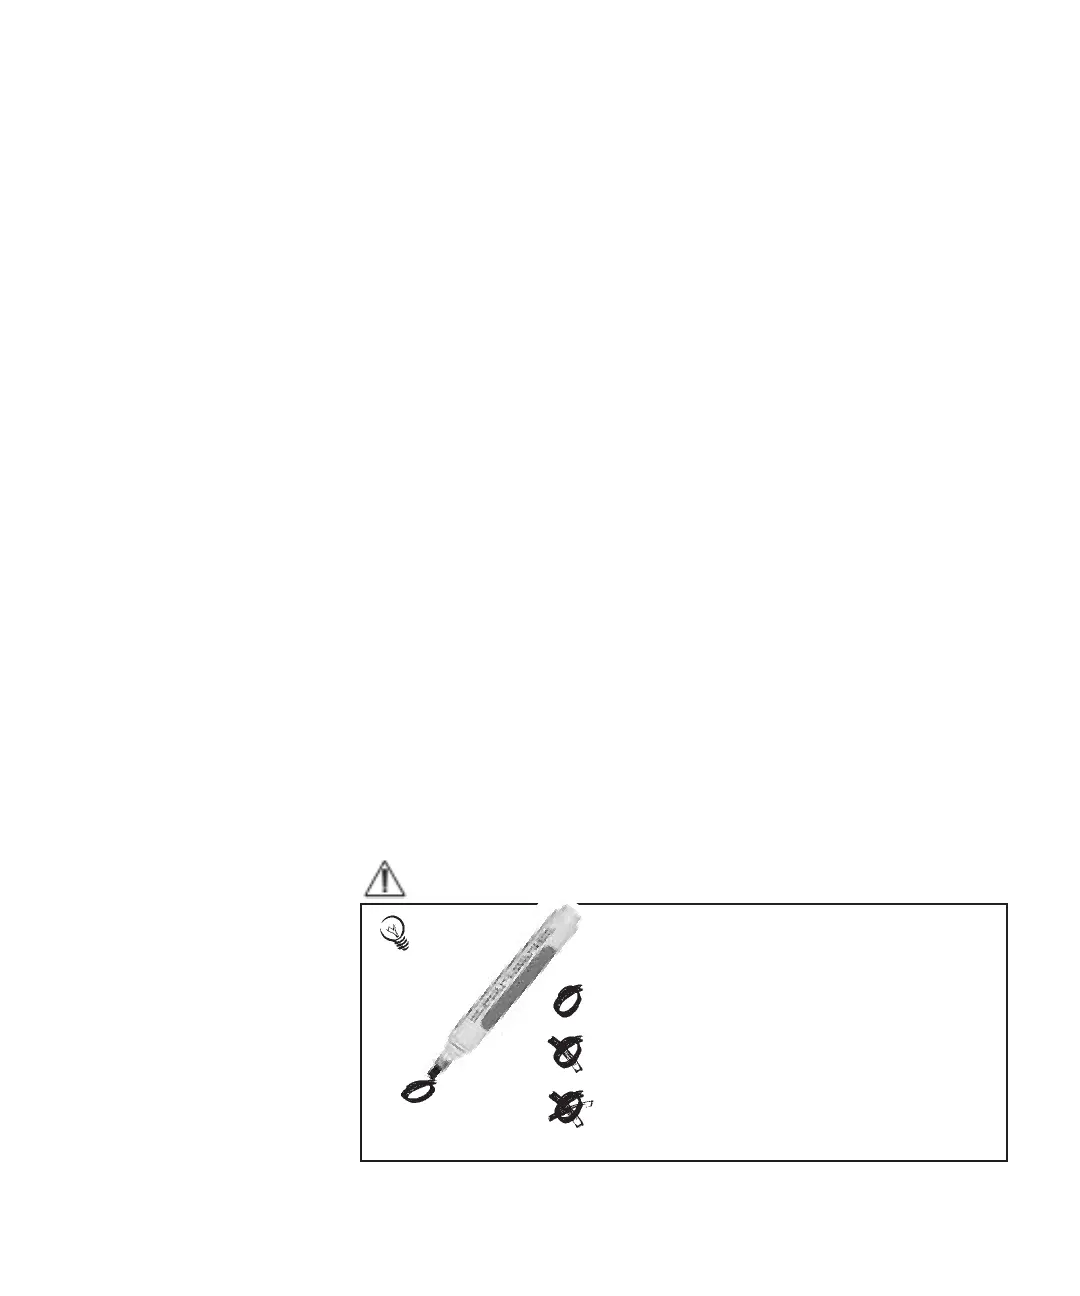
Mark each knife, with a felt-tip pen when each task
is carried out:
= The knife clearance is correctly set in the knife
fixture.
= The knife screws are torqued to the correct
torque.
= The knife clearance has been rechecked and is
correct.
7.1 Knife changing (continued)
7-10 l Ser vice
 Loading...