7-16 l Ser vice
4 Fasten all the rotating knife pairs with the socket cap screws and the support
rules with an alternated increased torque to 200 Nm.
5
6
Fasten the knife with the socket cap screws and the support rules further
with an alternated increased torque to 400 Nm.
7 Fasten the knife with the socket cap screws and the support rules furthermore
with an alternated increased torque to 600 Nm.
Check the knife installation
8 Re-check the tightening torque for all the fixed knife pairs, 600 Nm.
9 Then re-check the knife clearance of all rotating knife pairs against the fixed
knife no. 1 (rear).
Use a feeler gauge, the clearance should be 0.20 - 0.50 mm.
If the knife clearance of any rotating knife pair is incorrect
Undo the screws to the knife pair, then knock/hammer the knife pair in against the
rear of the knife position, so that the knives firmly goes in to the rear of the knife
position.
Then continue from step 3 as per above for this knife pair.
10 Re-check the tightening torque for all the rotating knife pairs.
If the tightening torque of any screw to any of the rotating knife pairs is
changed, the knife clearance for this knife pair must also be re-checked again.
NOTE: Sign in the service schedule when knife changing is completed.
4 - 8 hours after knife changing
1 Re-check the tightening torque for all the rotating knife pairs.
2 If the tightening torque of any screw to any of the rotating knife pairs is
changed, the knife clearance for this knife pair must also be re-checked again.
NOTE: Sign in the service schedule when the re-check after knife installation is completed.
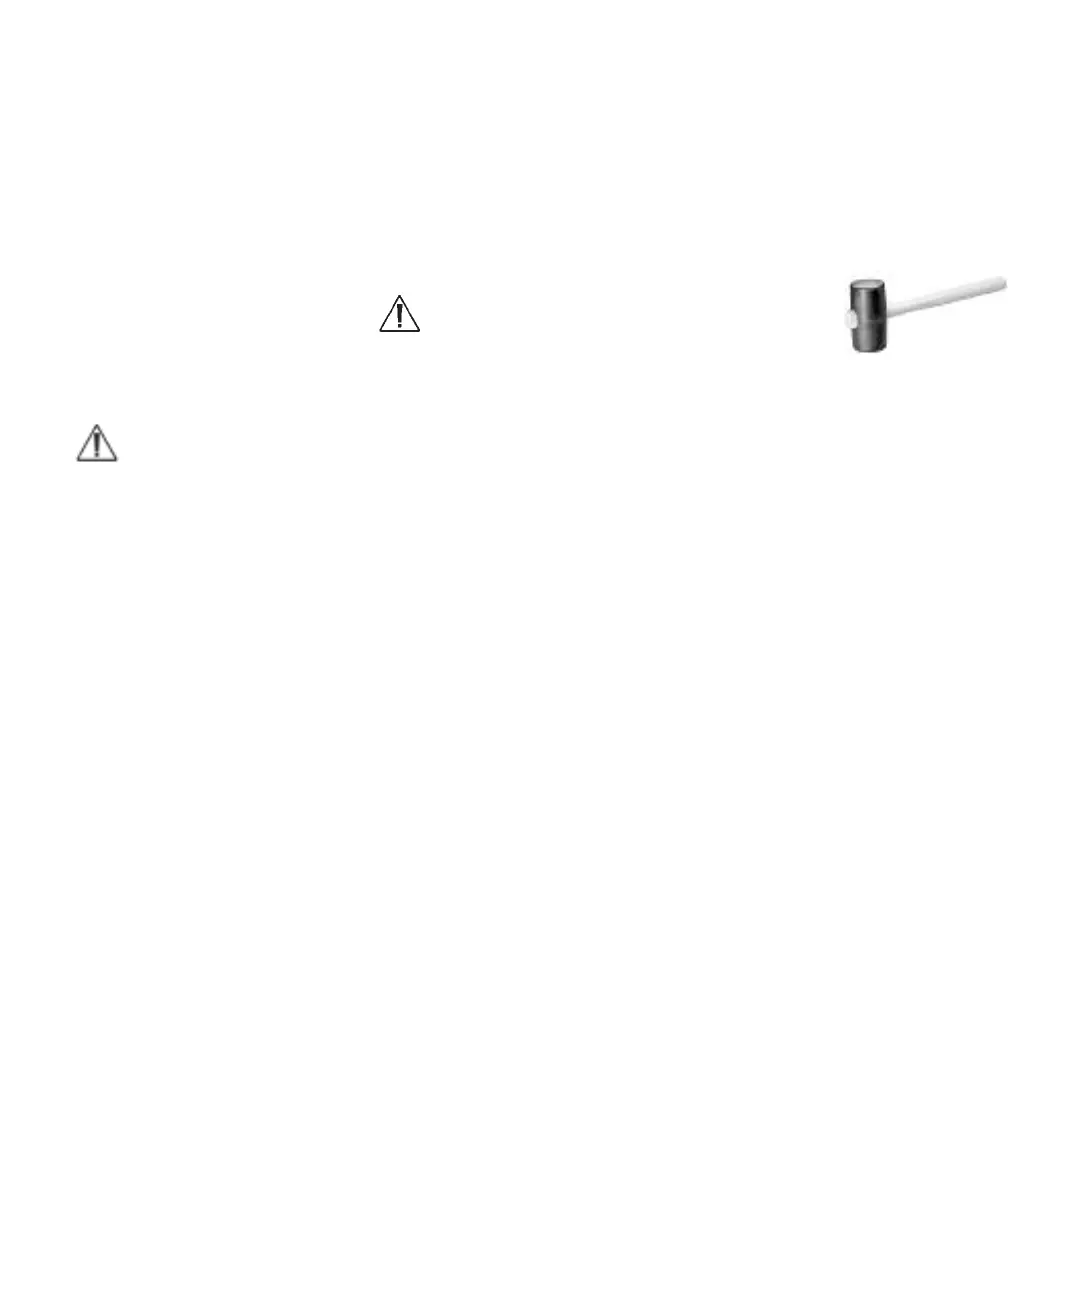
NOTE: Use a plastic or rubber mallet and knock/hammer
the knives hardly in against the rear of the knife position.
NOTE: Knock/hammer
between the alternately
increasing tightening torque
with the plastic or rubber
mallet, so that the knives
firmly goes in to the rear of
the knife position.
7.1 Knife changing (continued)