Repairs
Cornelius Deutschland GmbH
Document no. TD2005100
Version 15/03/2019, Index 0
Installation and service manual Dispensing valve
SFV1
17
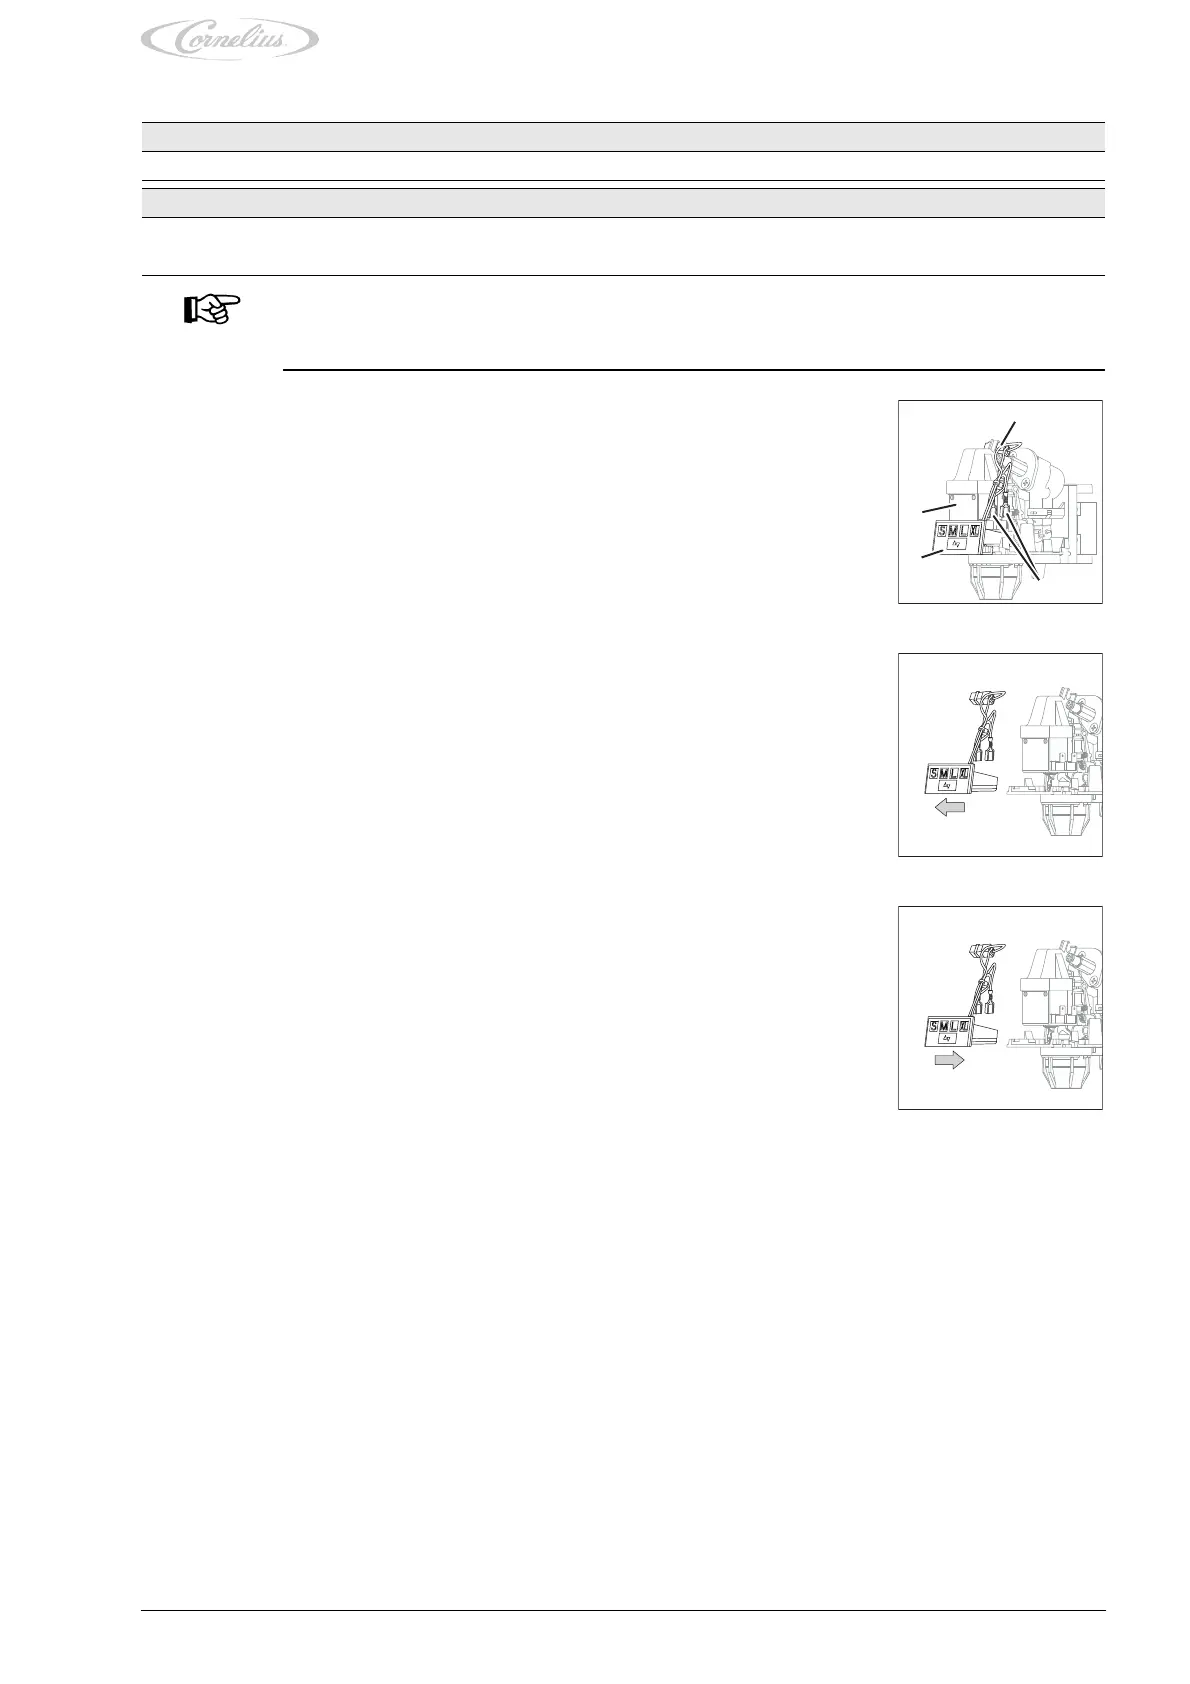
6.3 Replacing the control panel
NOTICE!
The replacement procedure for the control panel is exactly the same on the dispensing valves SFV1.
Replacement is described here analogously using an example.
Prerequisites References
The rear valve cover has been removed. see chapter 6.2
Spare parts ID/reference Qty/amount Comment
SFV1 portion control: Control panel 3518-200 1
SFV1 push button: Control panel 2325 1
1. Disconnect the plug (Fig. 22/1) of the control panel (Fig. 22/3).
2. Disconnect the electrical cables (Fig. 22/2) for the control panel (Fig. 22/3) on the pull-type so-
lenoid (Fig. 22/4).
Fig. 22
1
2
3
4
3. Pull the control panel forwards out of the dispensing valve.
Fig. 23
4. Slide the new control panel into the dispensing valve.
5. Connect the electrical cables (Fig. 22/2) for the control panel (Fig. 22/3) on the pull-type sole-
noid (Fig. 22/4).
6. Connect the plug (Fig. 22/1) of the control panel (Fig. 22/3).
Finishing tasks
1. Mount the rear valve cover, see chapter 6.2.
Fig. 24